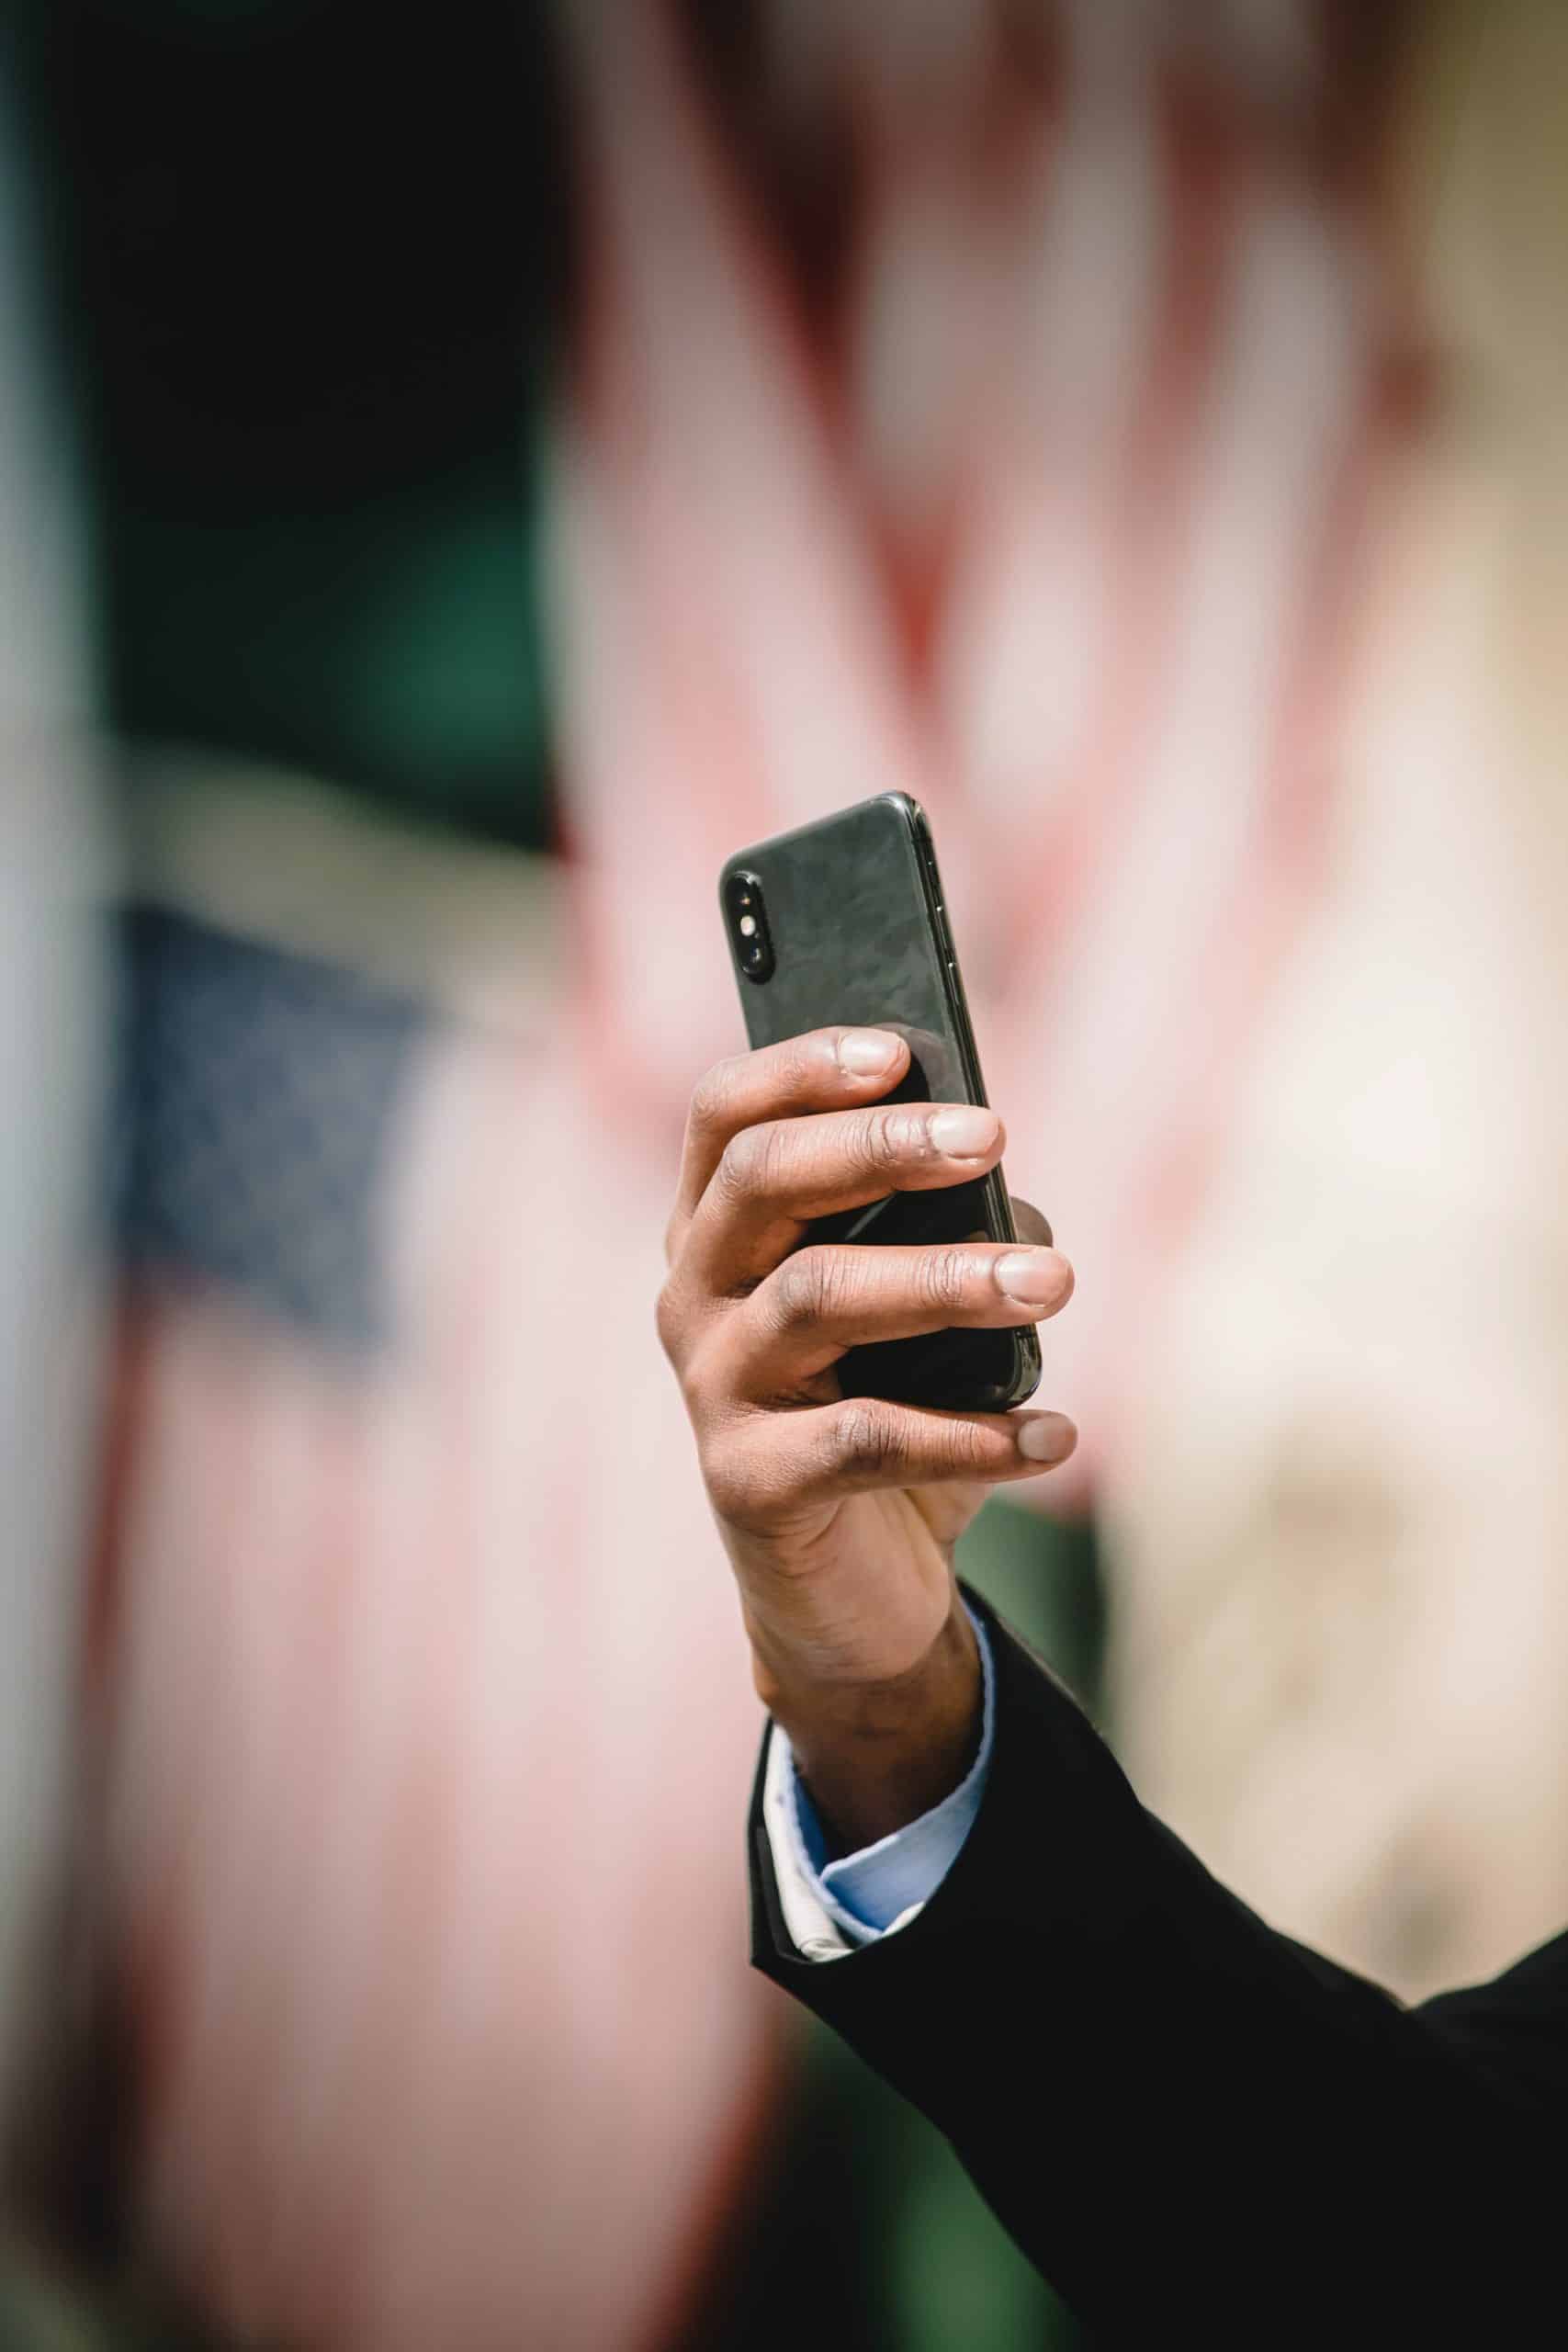
 You don’t need a fancy camera to take professional-looking pictures; you can get the perfect shot using a smartphone as long as you are using the right angles!
This blog will help you avoid some of the most common mistakes, and equip your team (and yourself) with the ability to take impactful photos that will make people want to click and learn more.
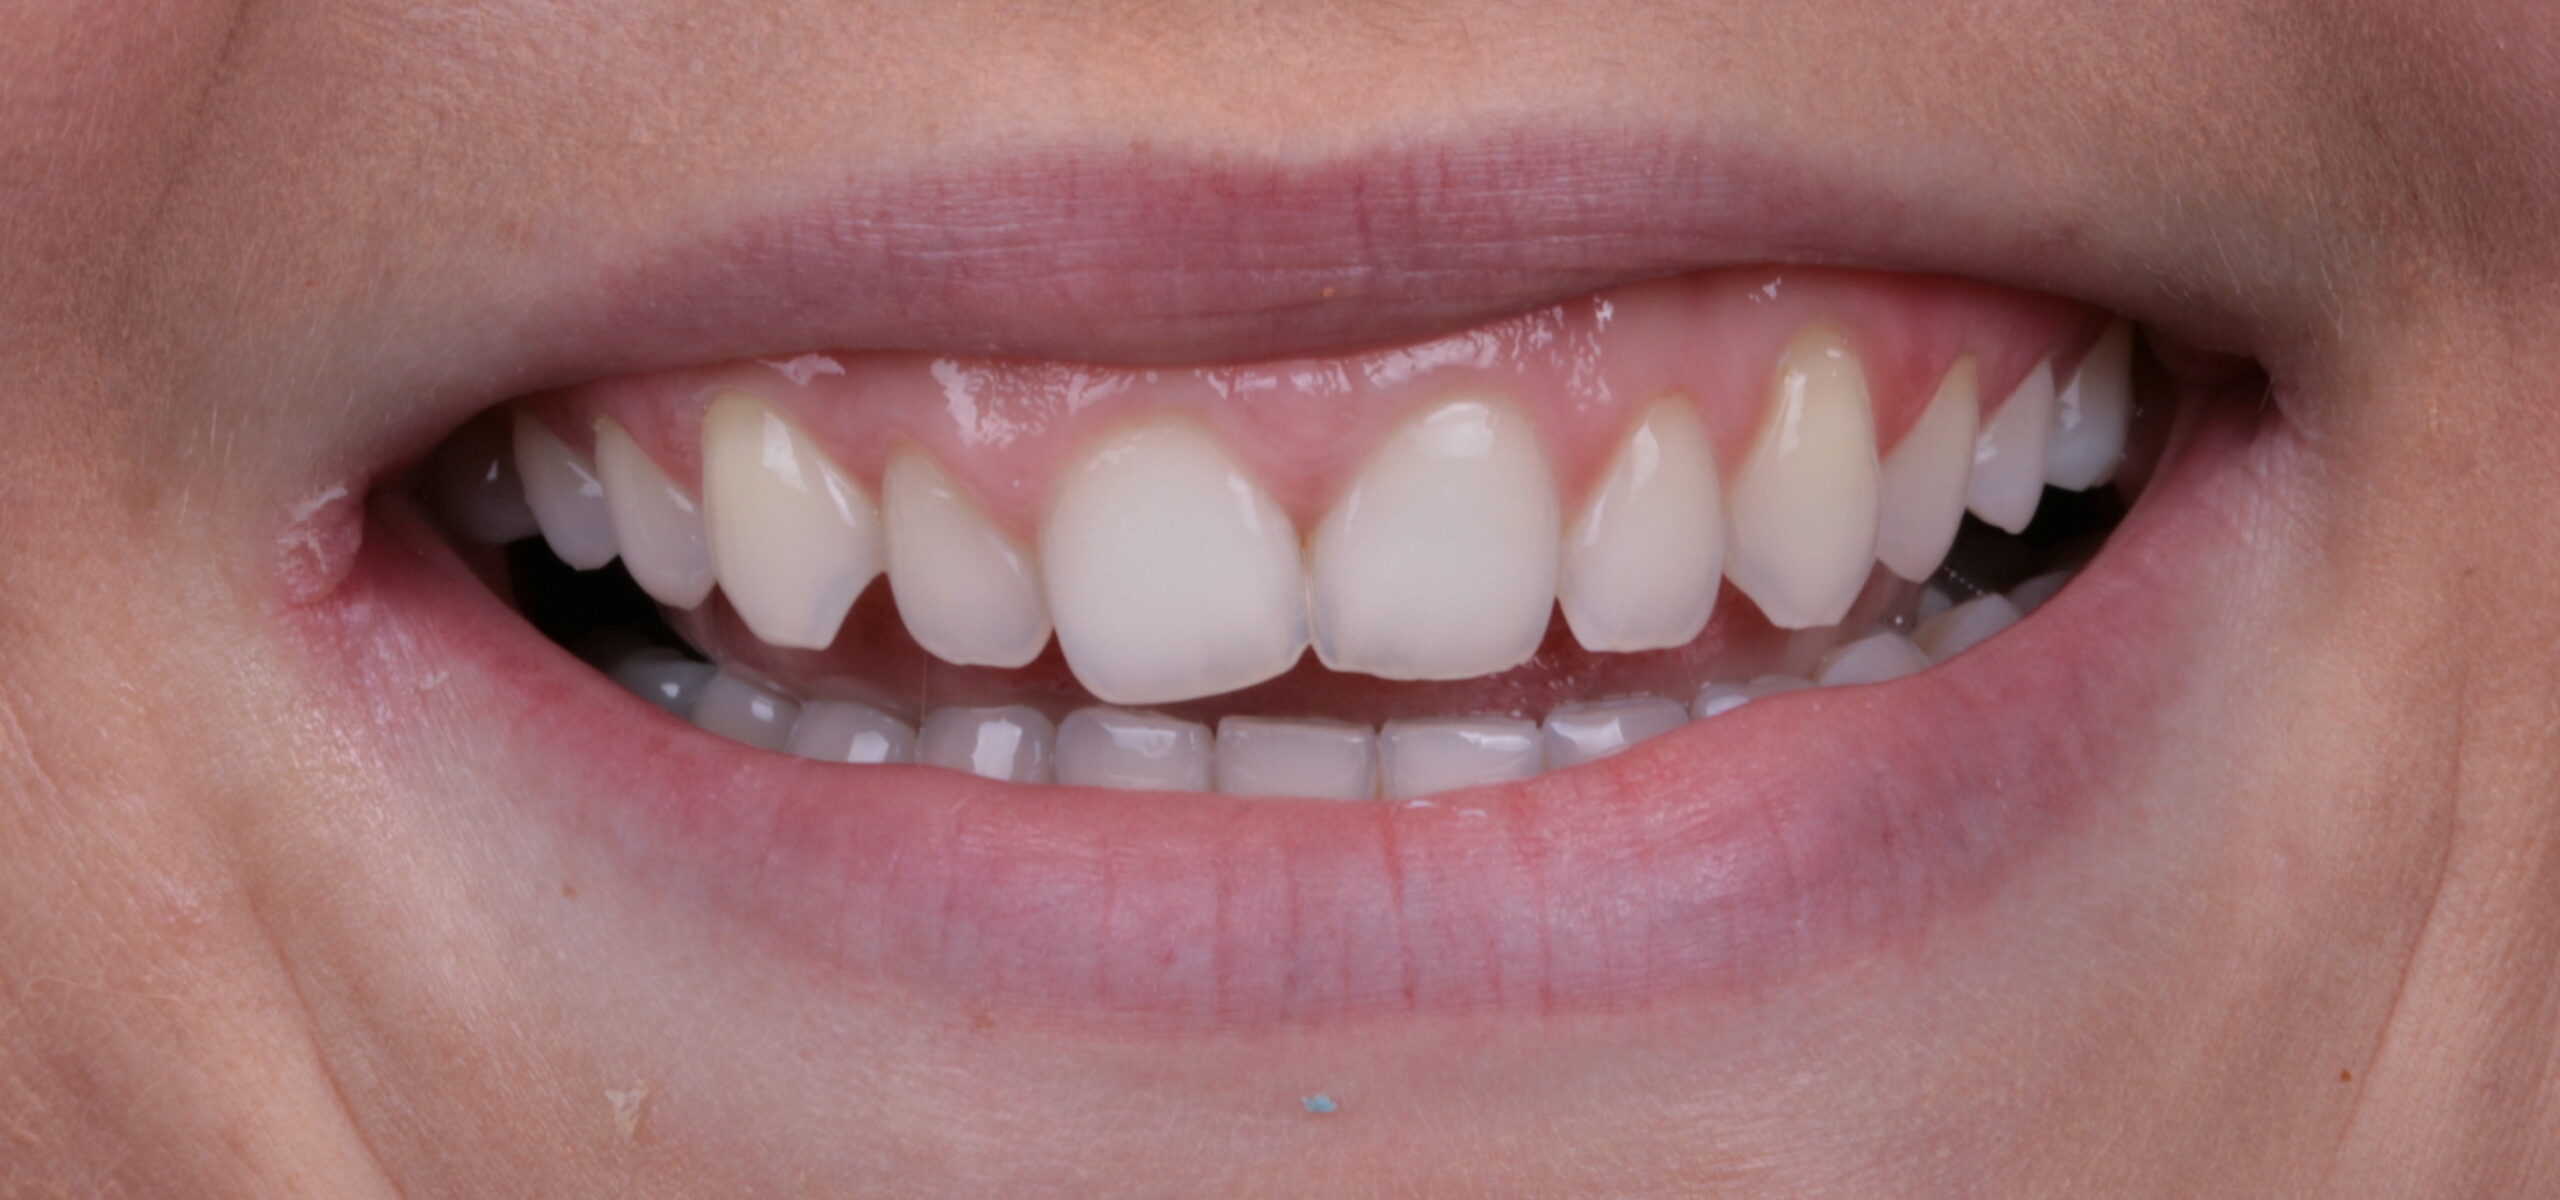
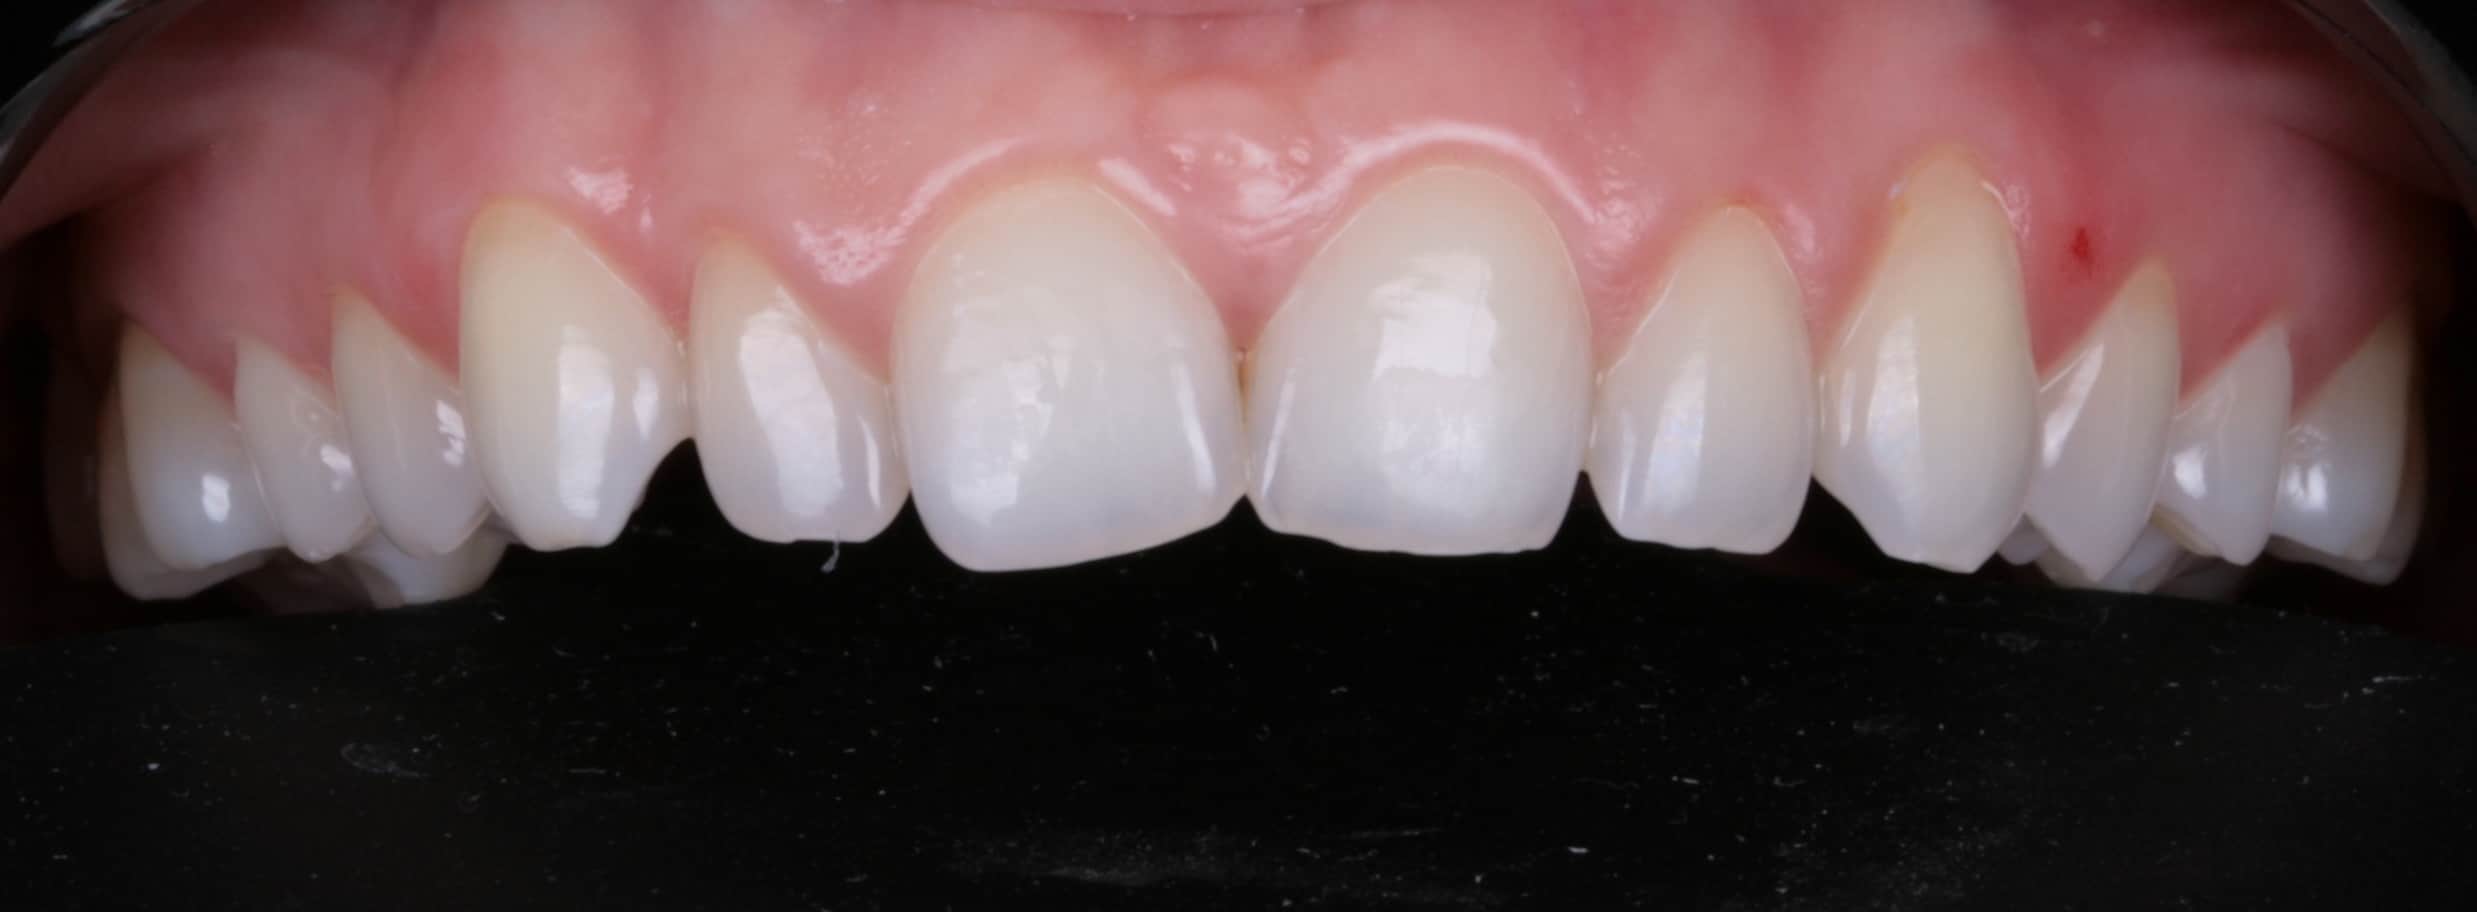
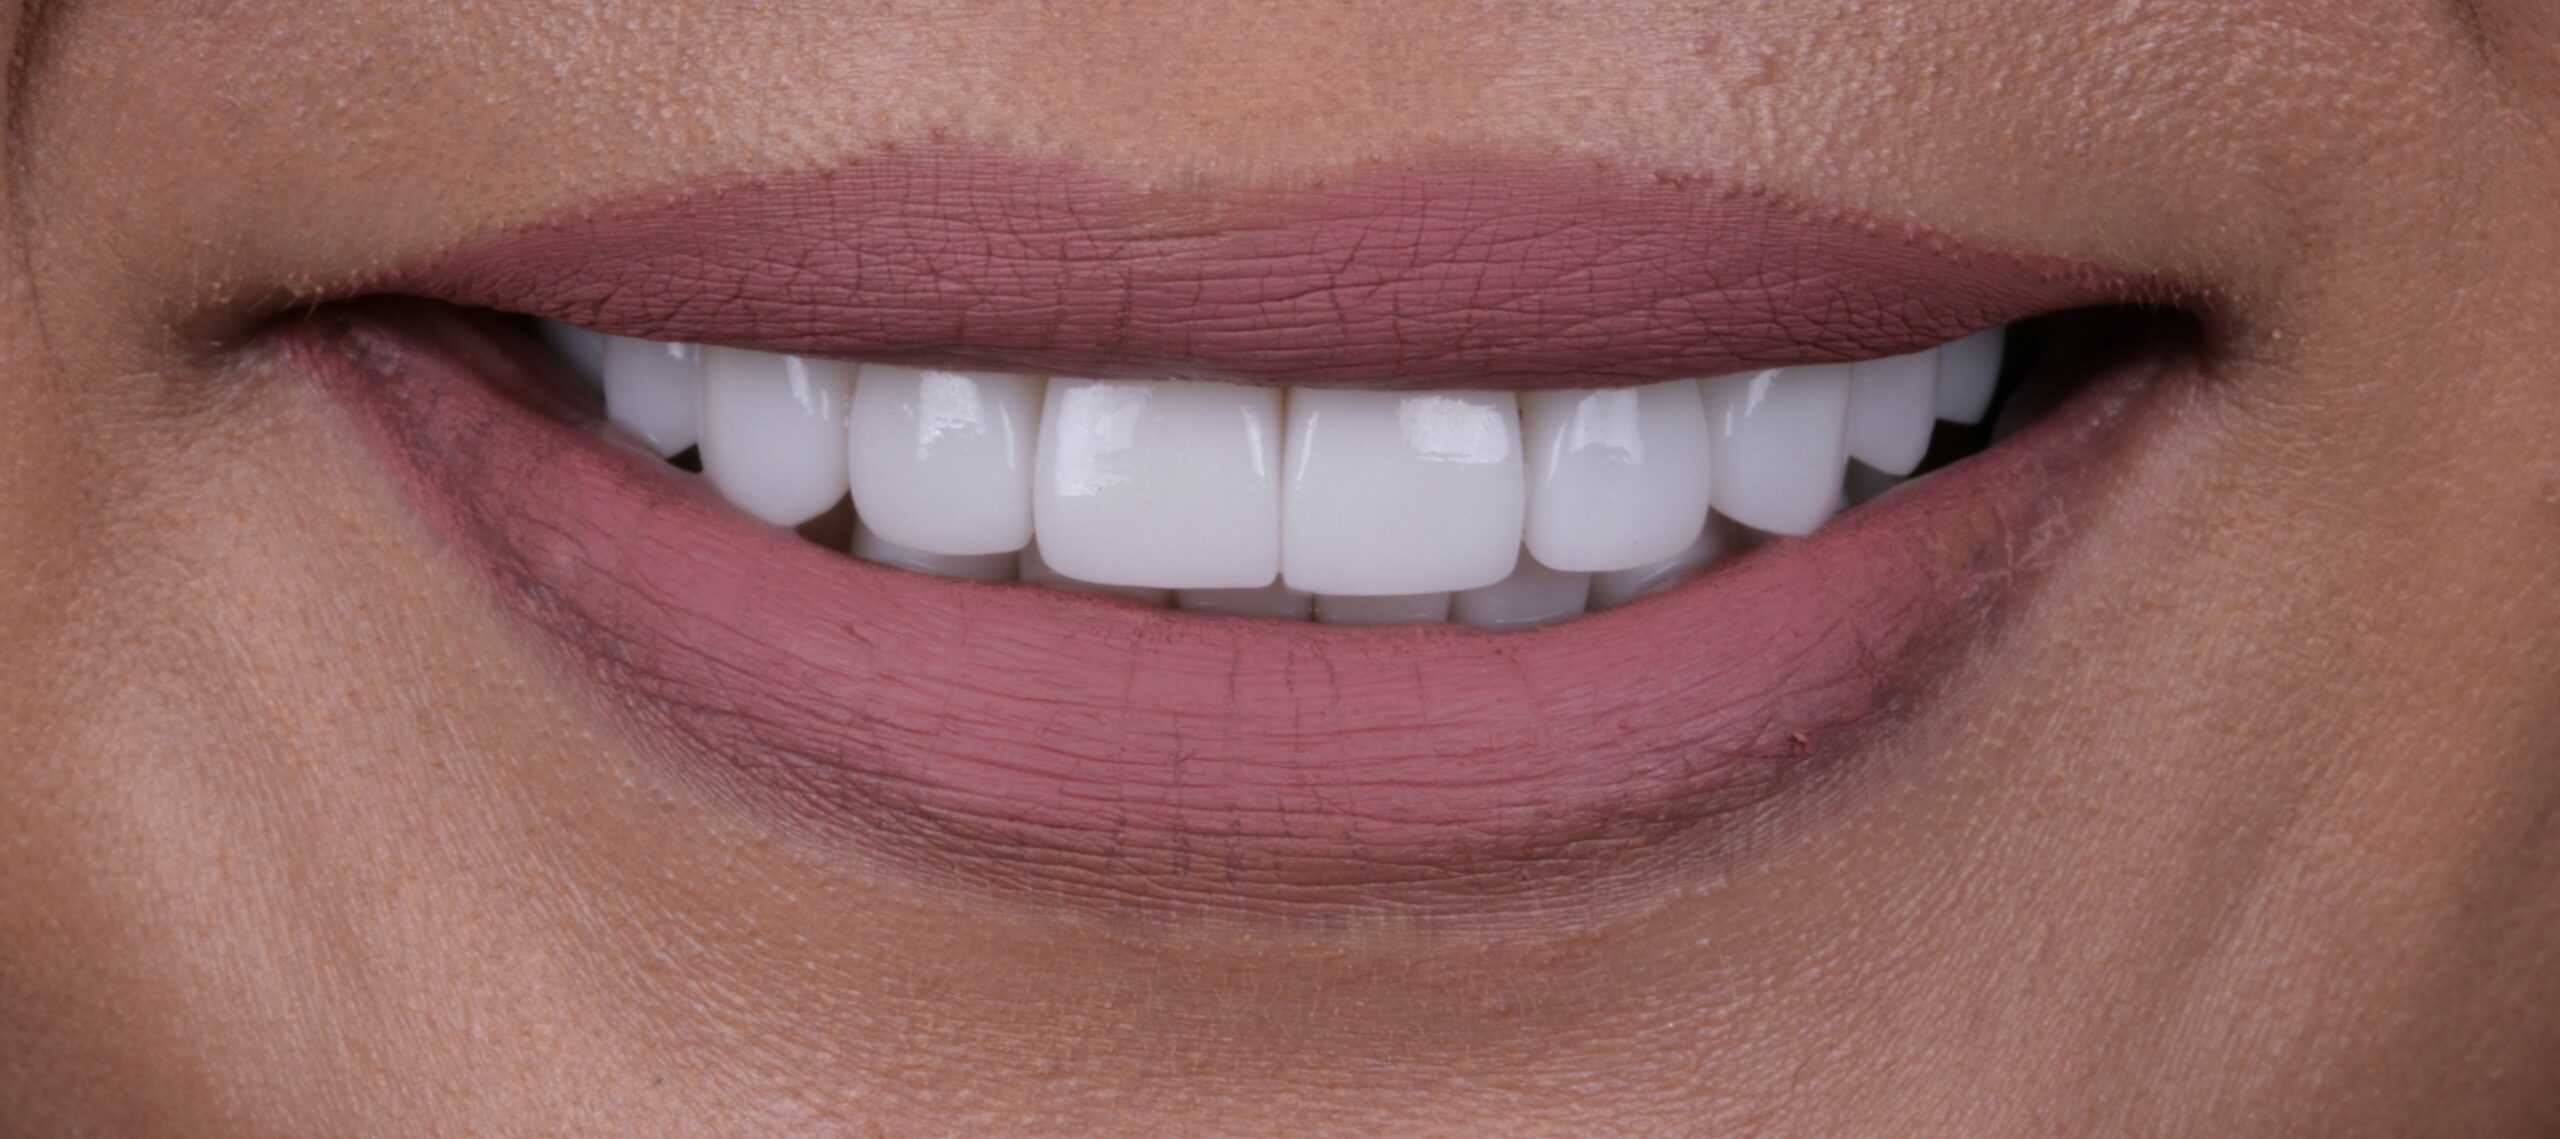
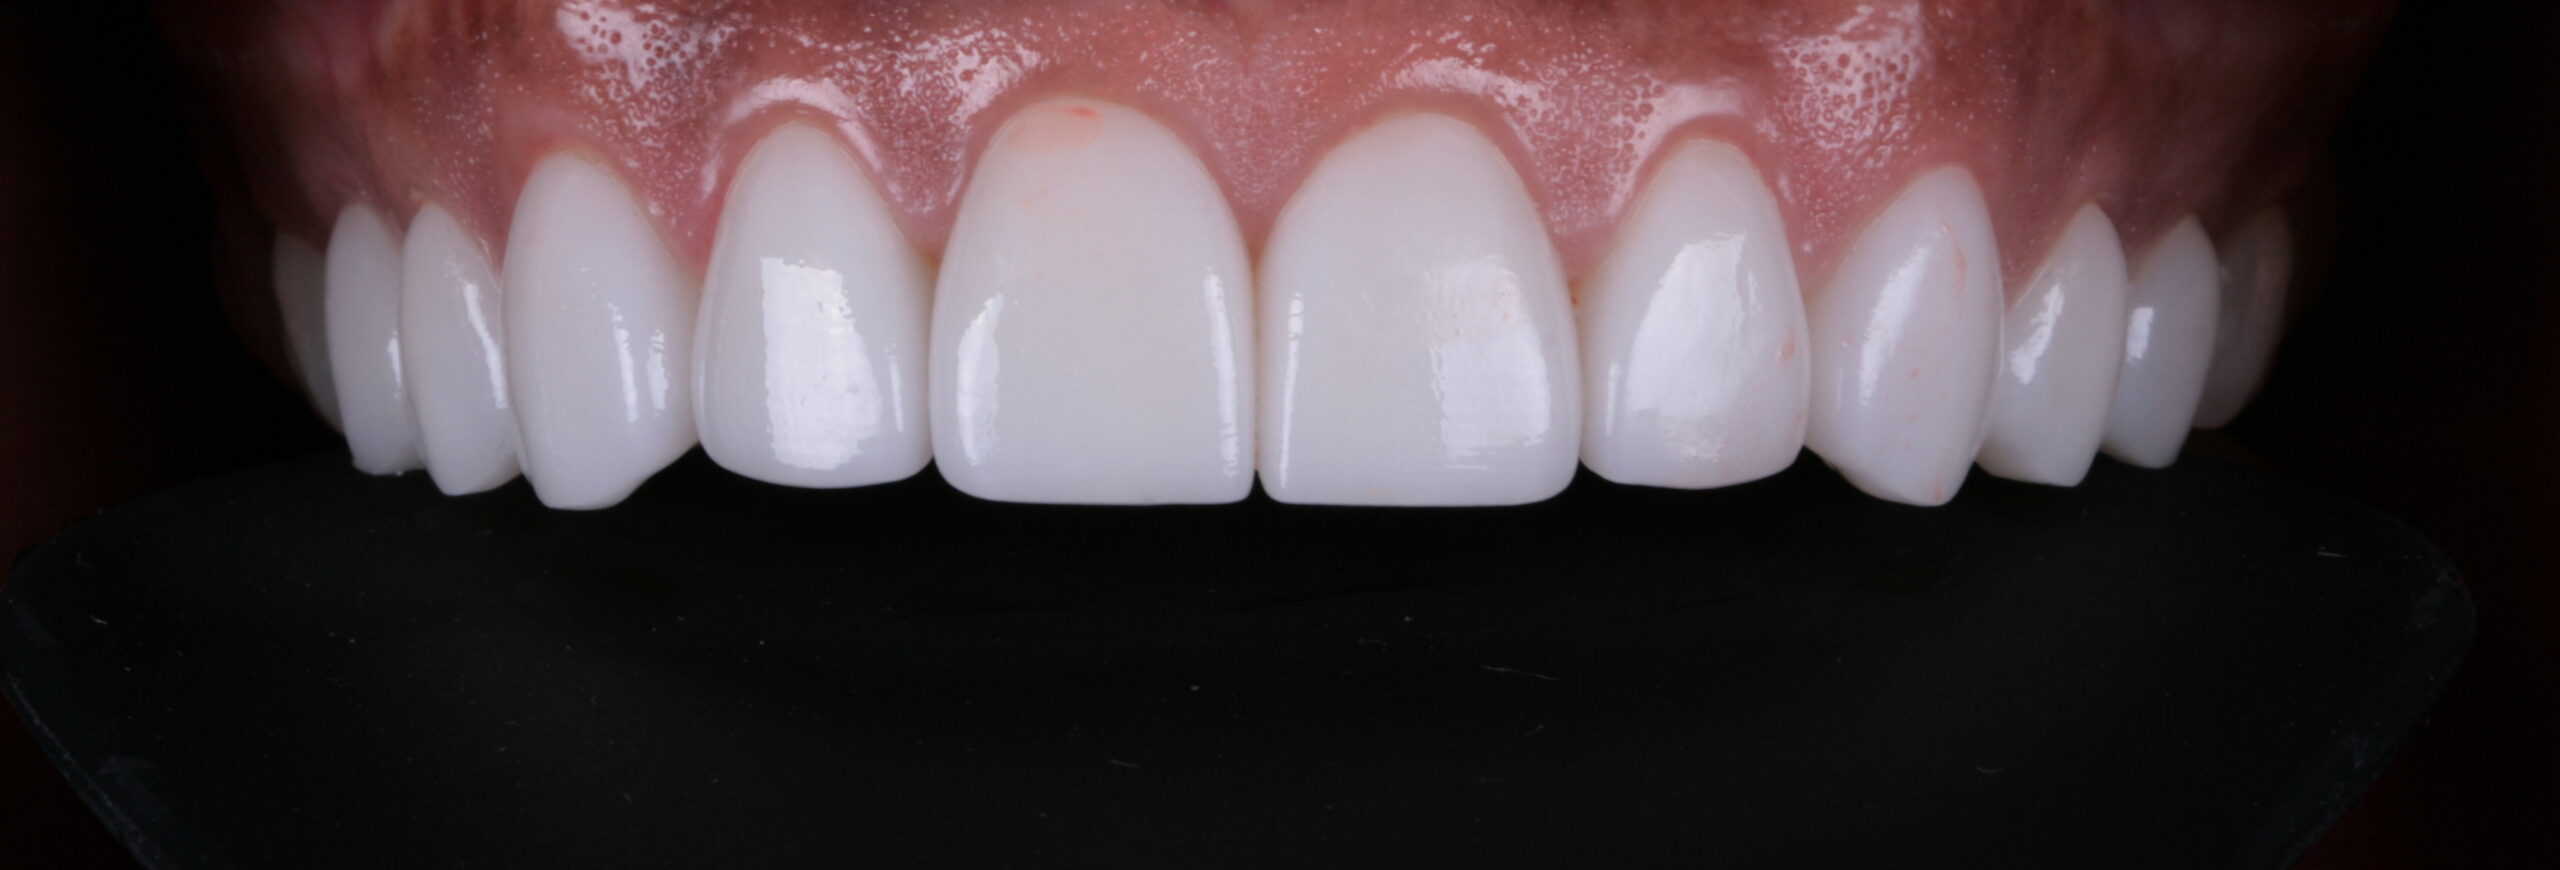
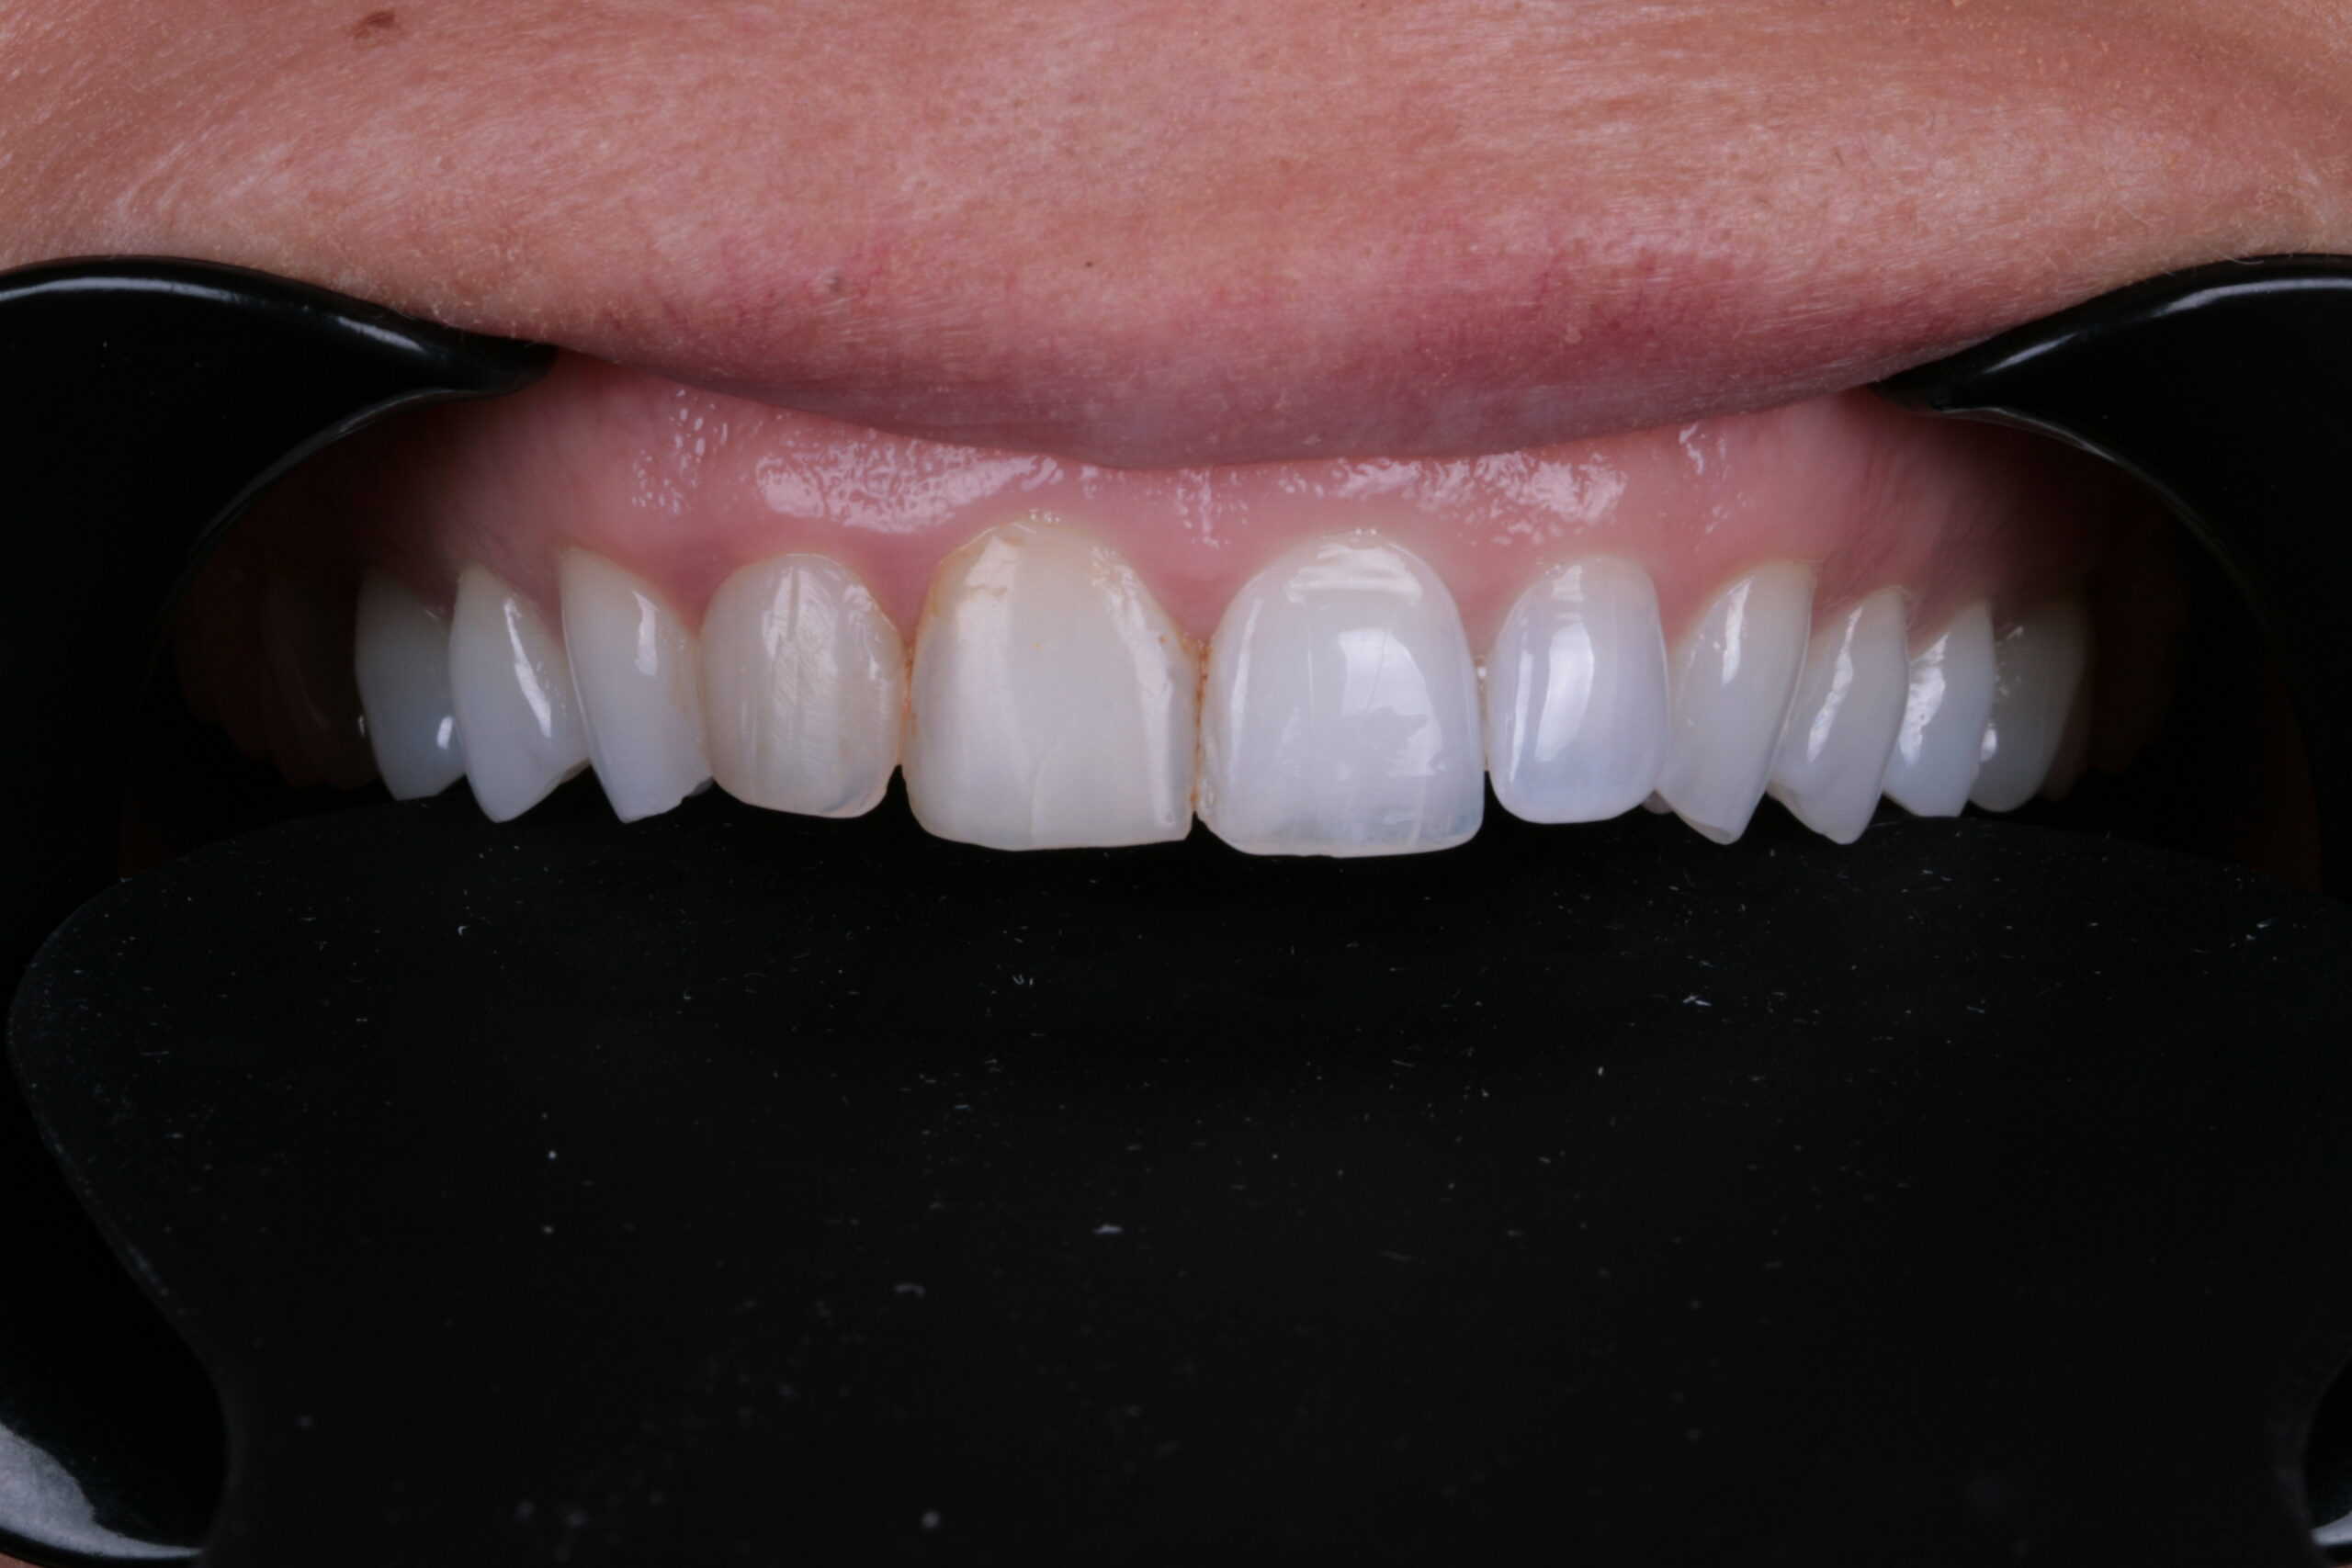
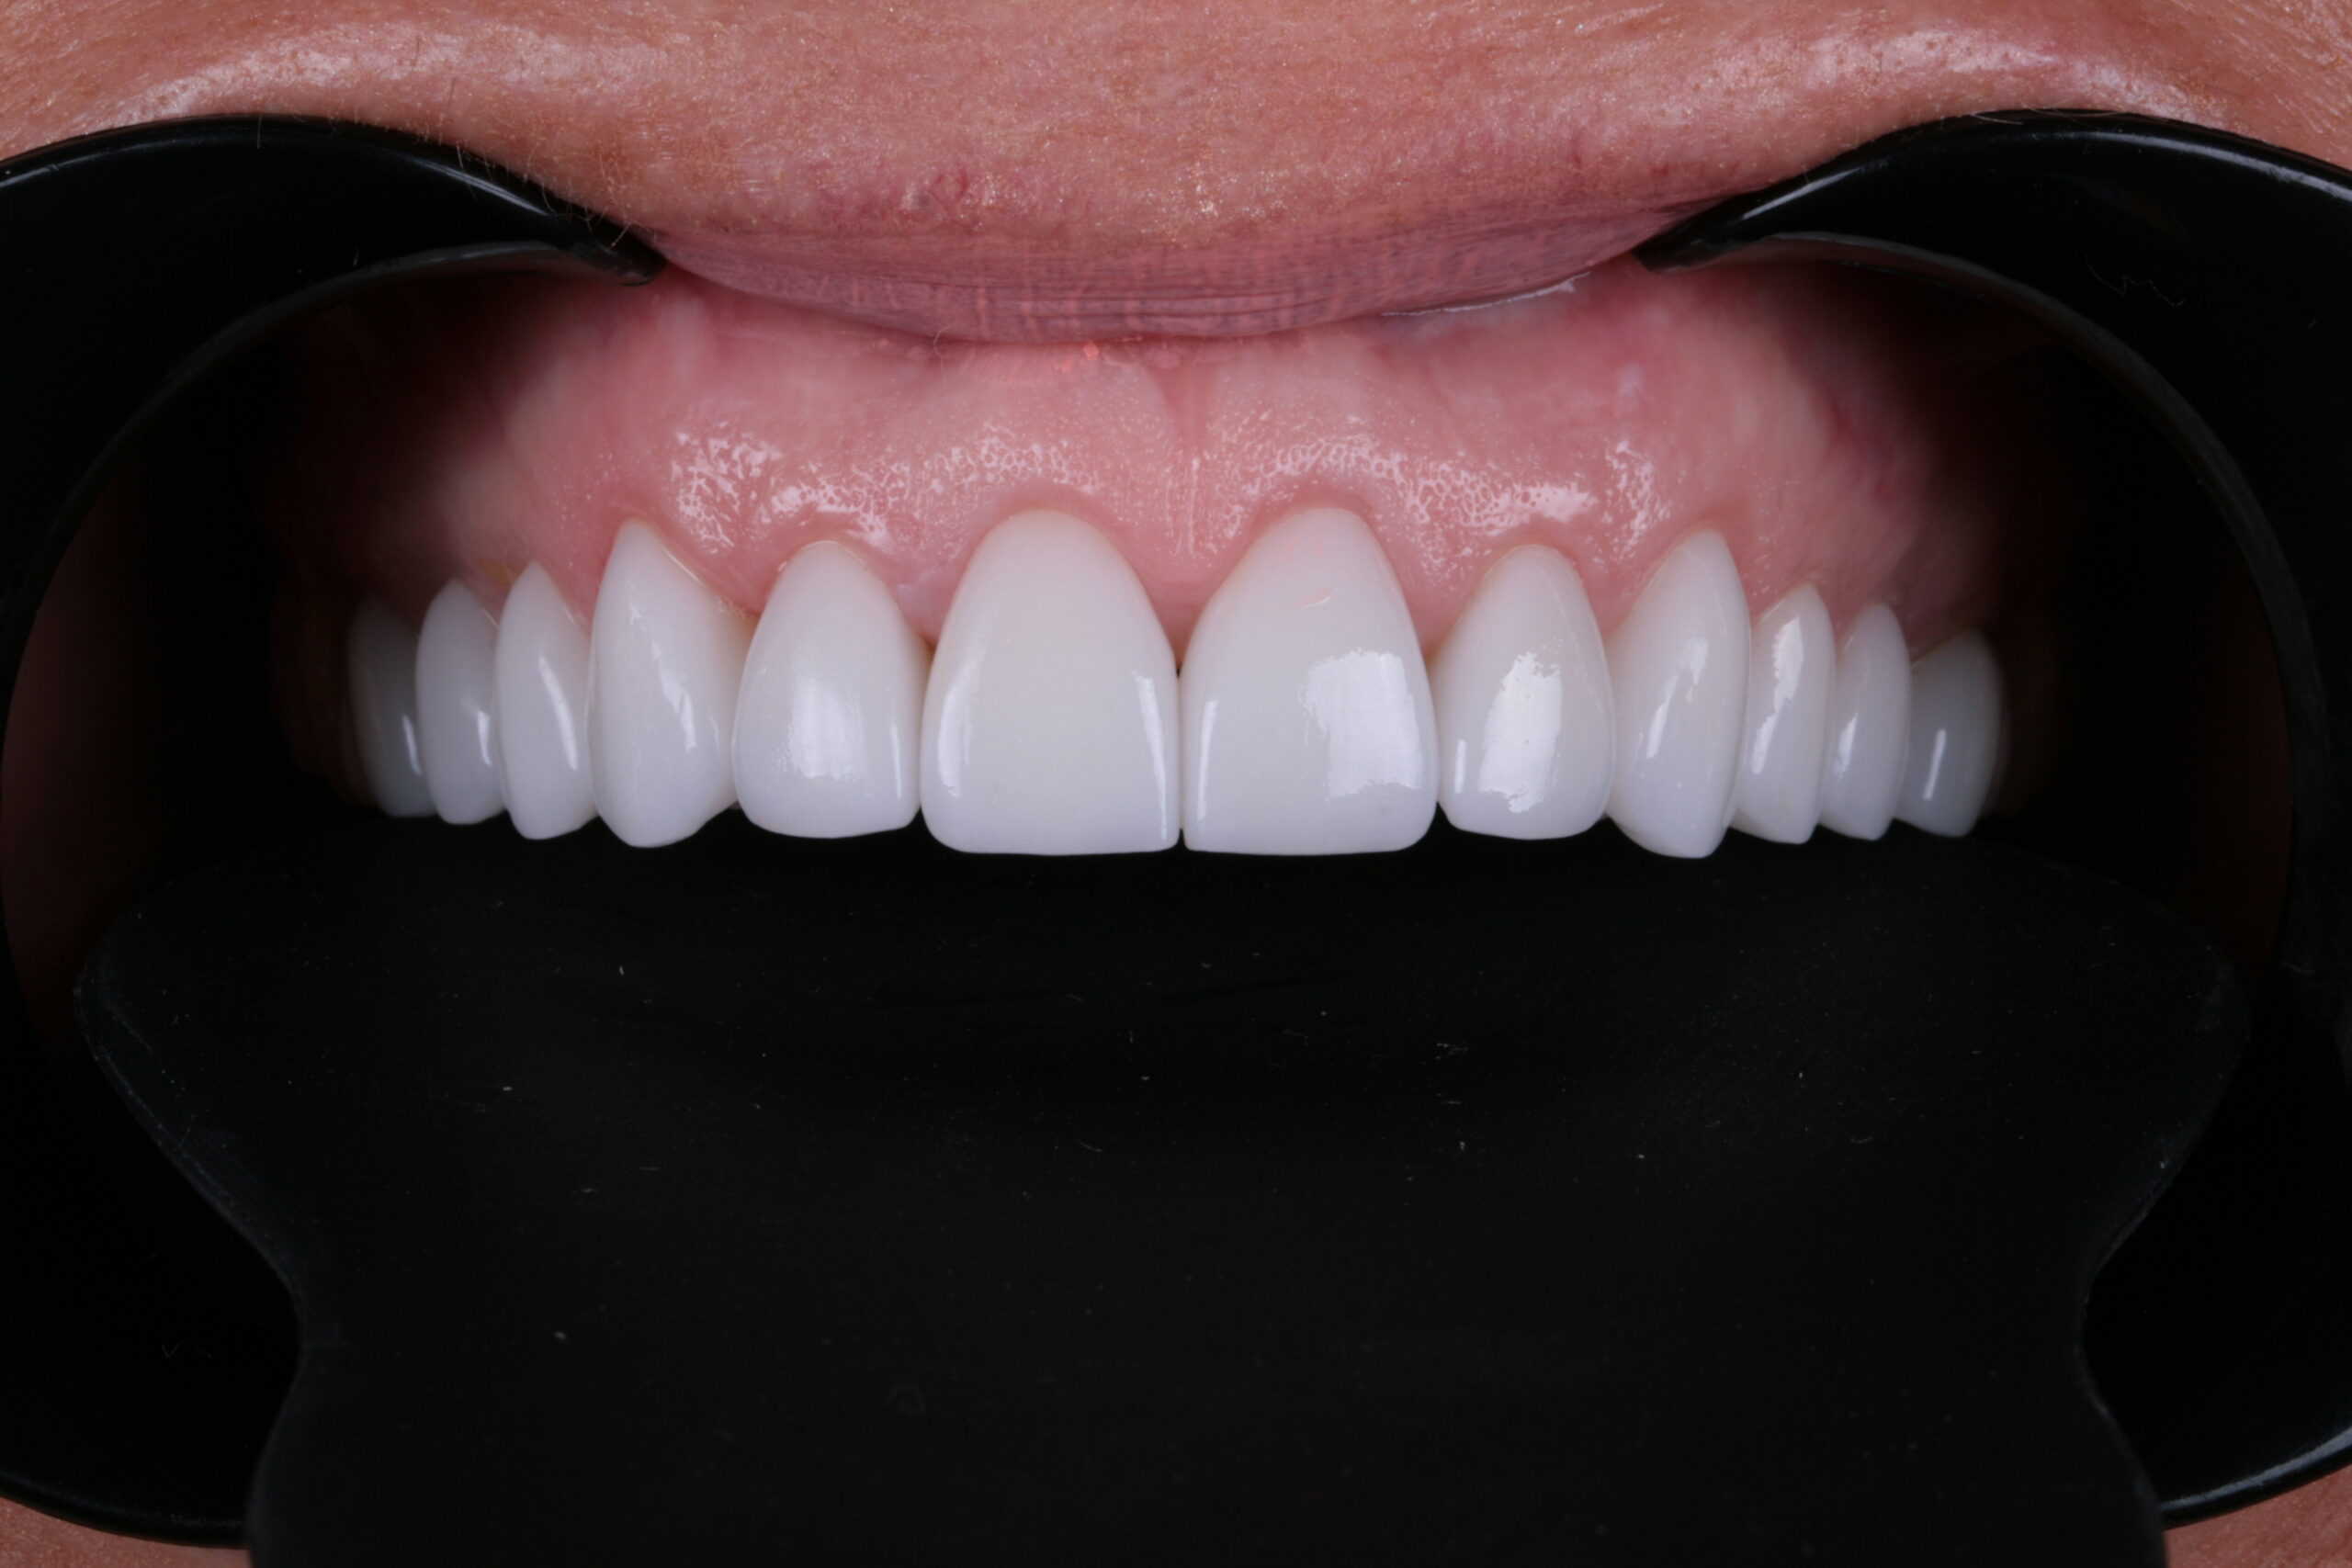
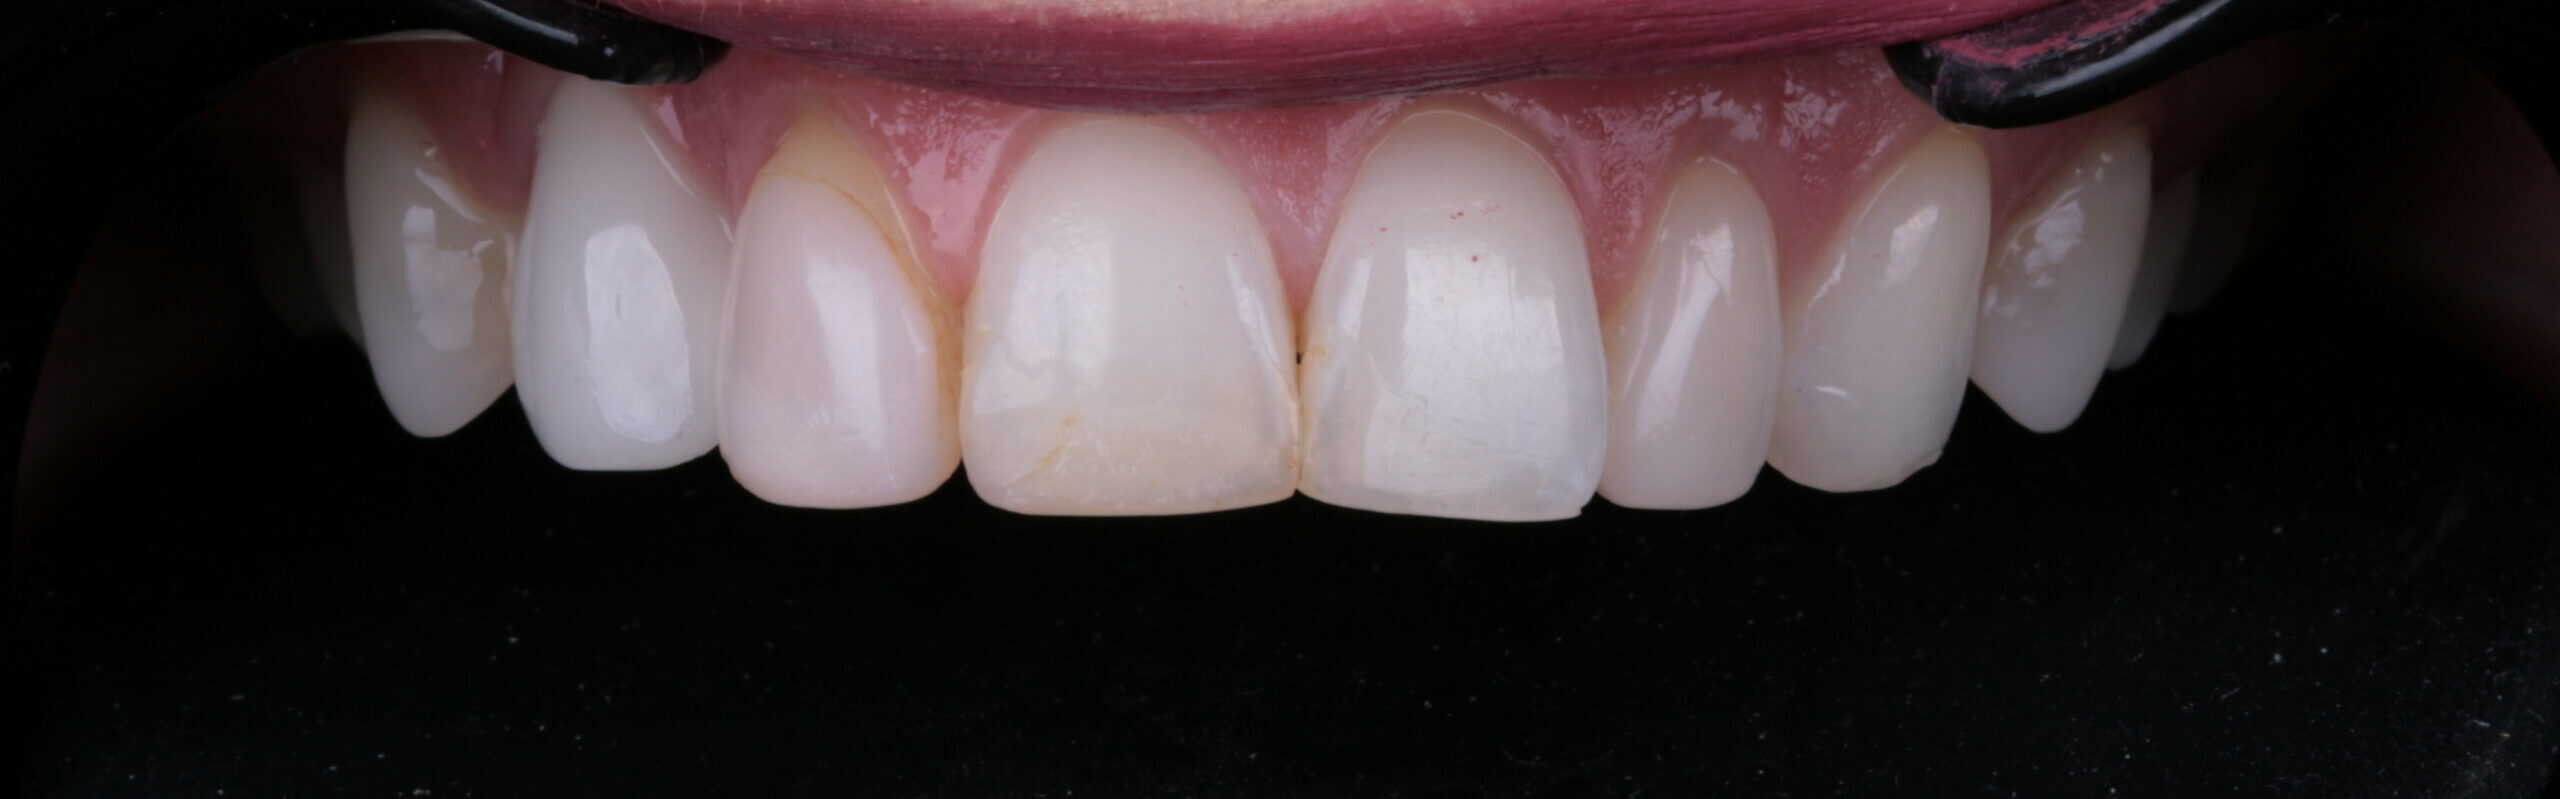
When using a phone, you can run into the following issues when taking pictures, especially when taking pictures of your patients teeth:
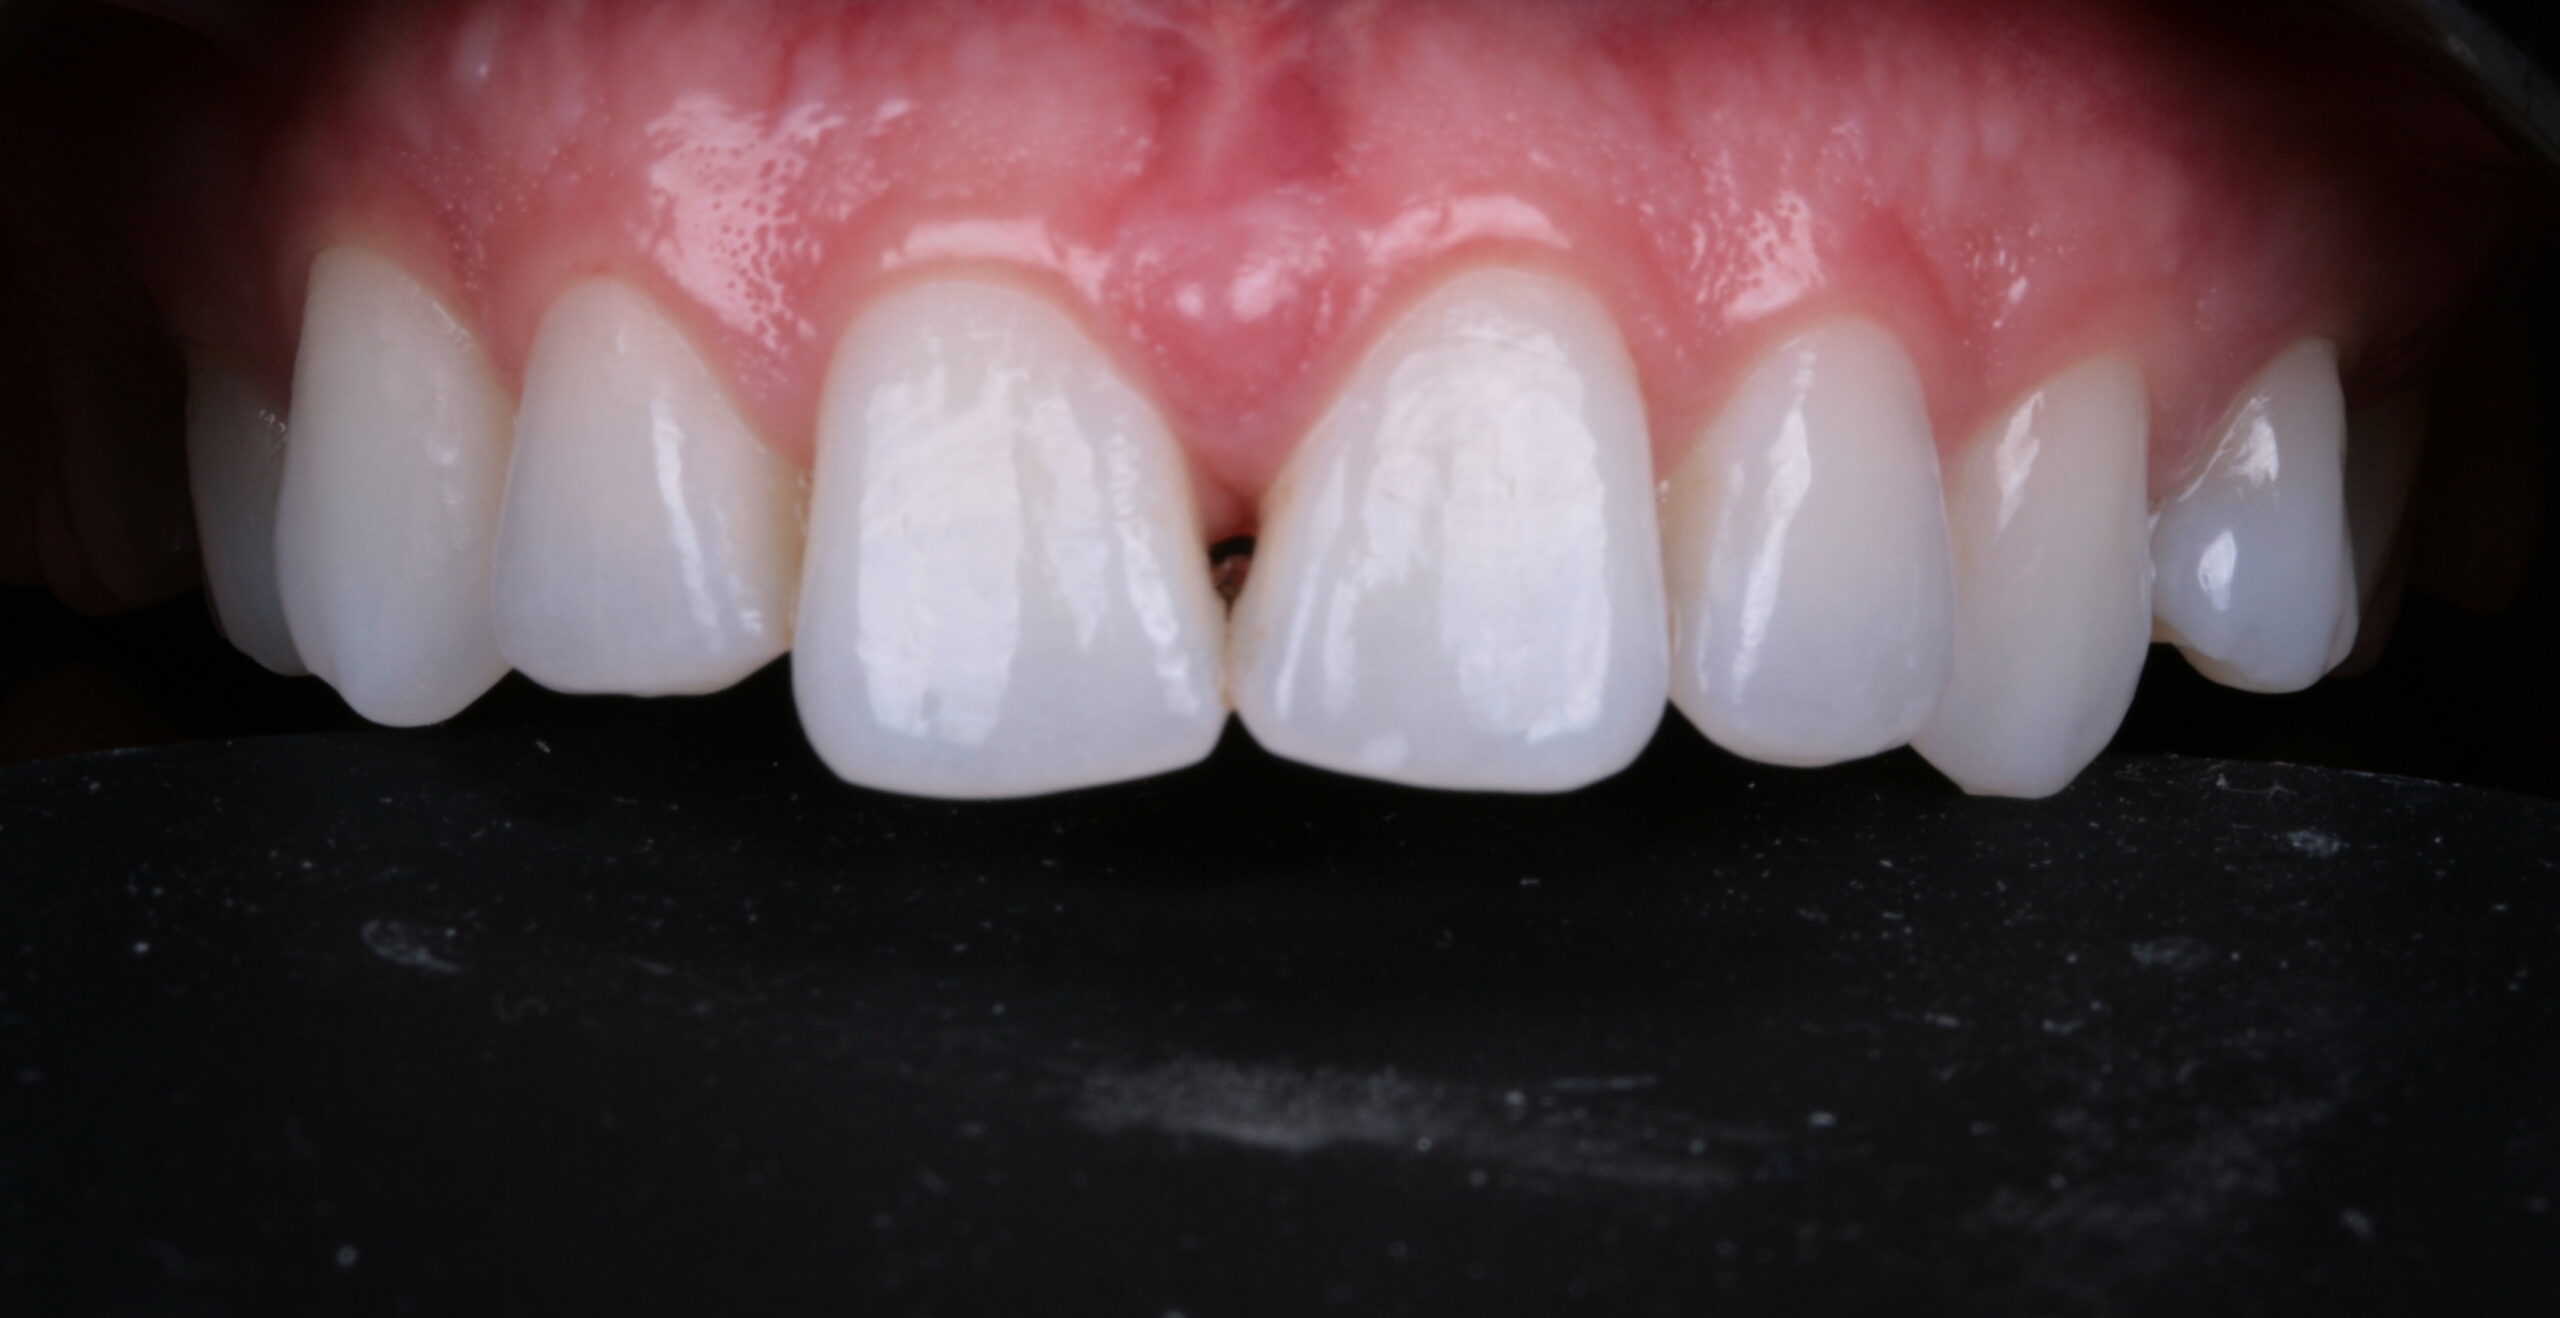
- Bad lighting: too dark or too light
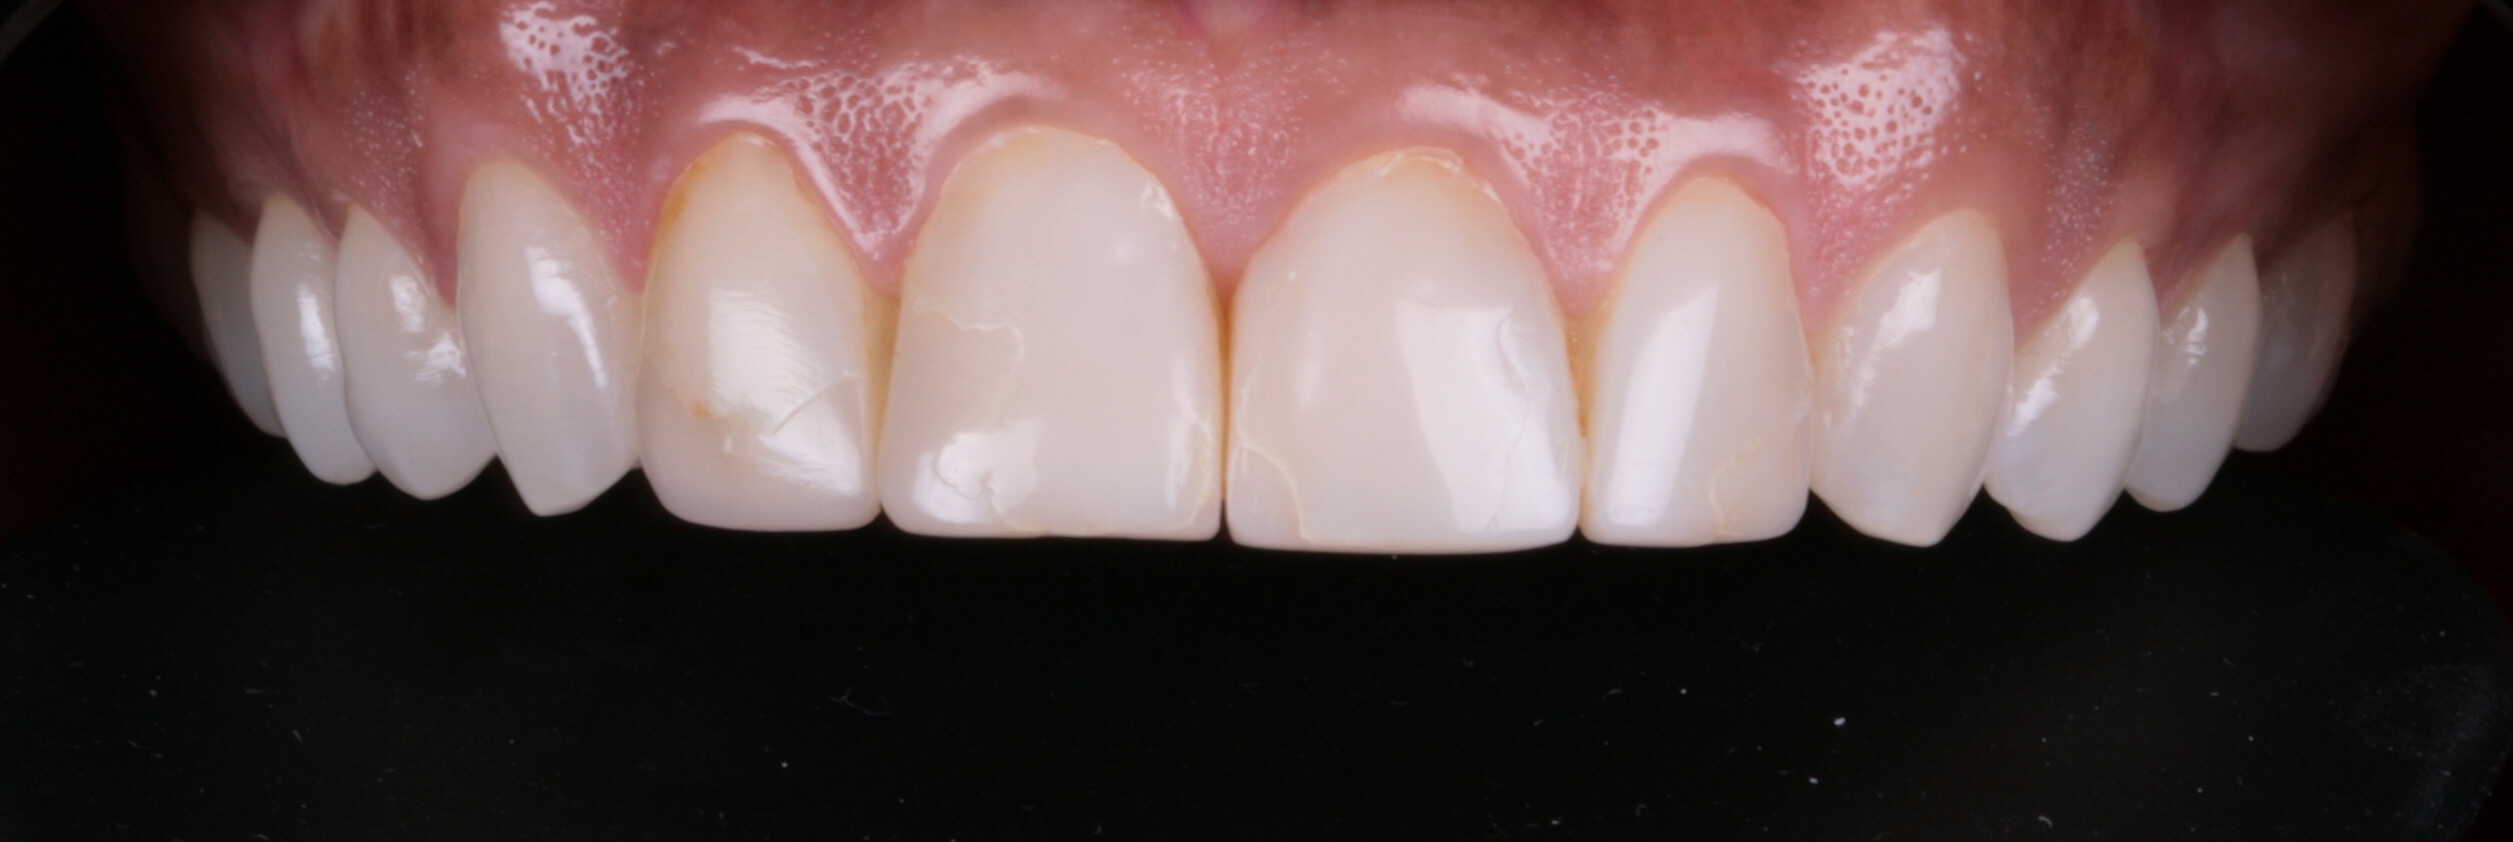
- Large reflections on the tooth
- Not in focus
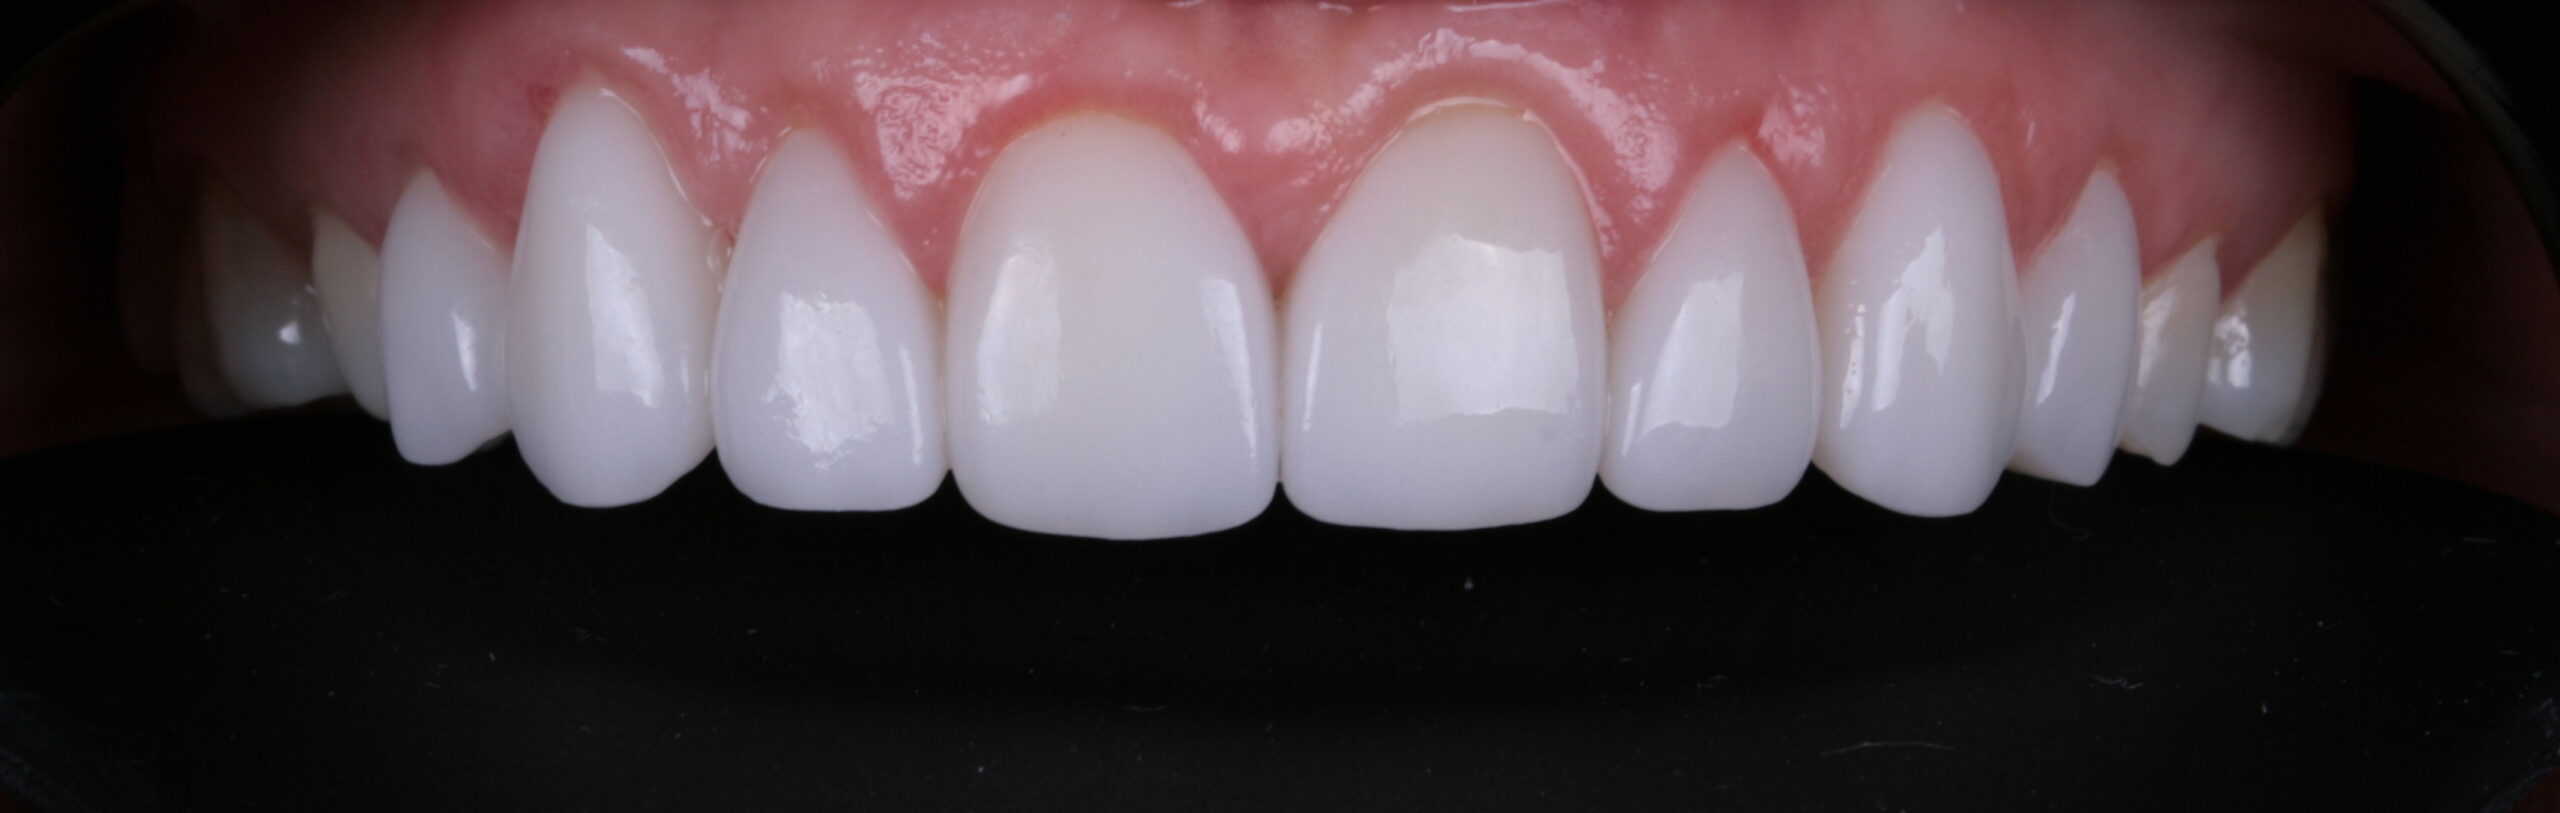
Here are some tips that will have you shooting A+ content in no time.
#1. Exposure and Lighting
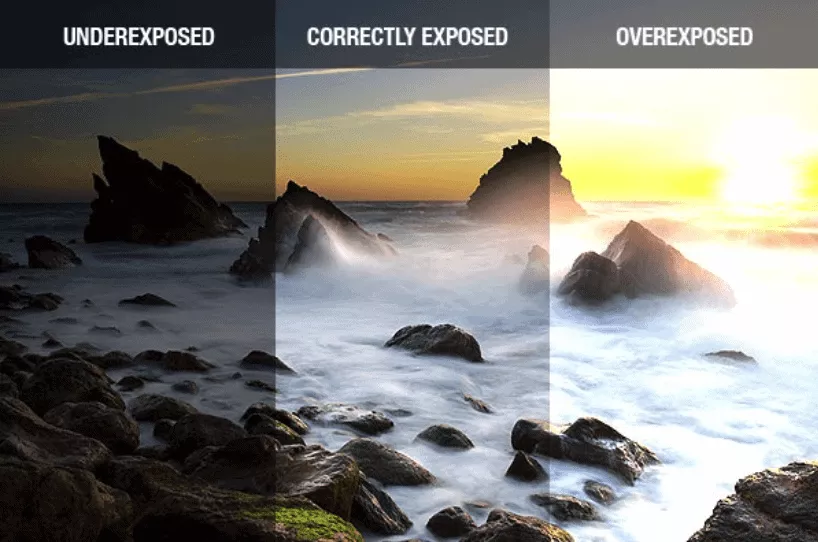
Call us crazy, but slightly underexpose your photos!
It’s better to have a slightly underexposed shot to fix in post-editing rather than having a blown-out photo. Setting the exposure is super easy to do on both iPhone and Android.
- iPhone — tap your phone screen when you’re taking the shot and wait till the yellow box appears. Once it’s there, move the little sun on the right of the box, and you’ll see the exposure lowering and keep moving the yellow sundown until your liking.
- Android — tap the screen on darker and lighter parts of the shot, and it’ll manually balance the exposure.
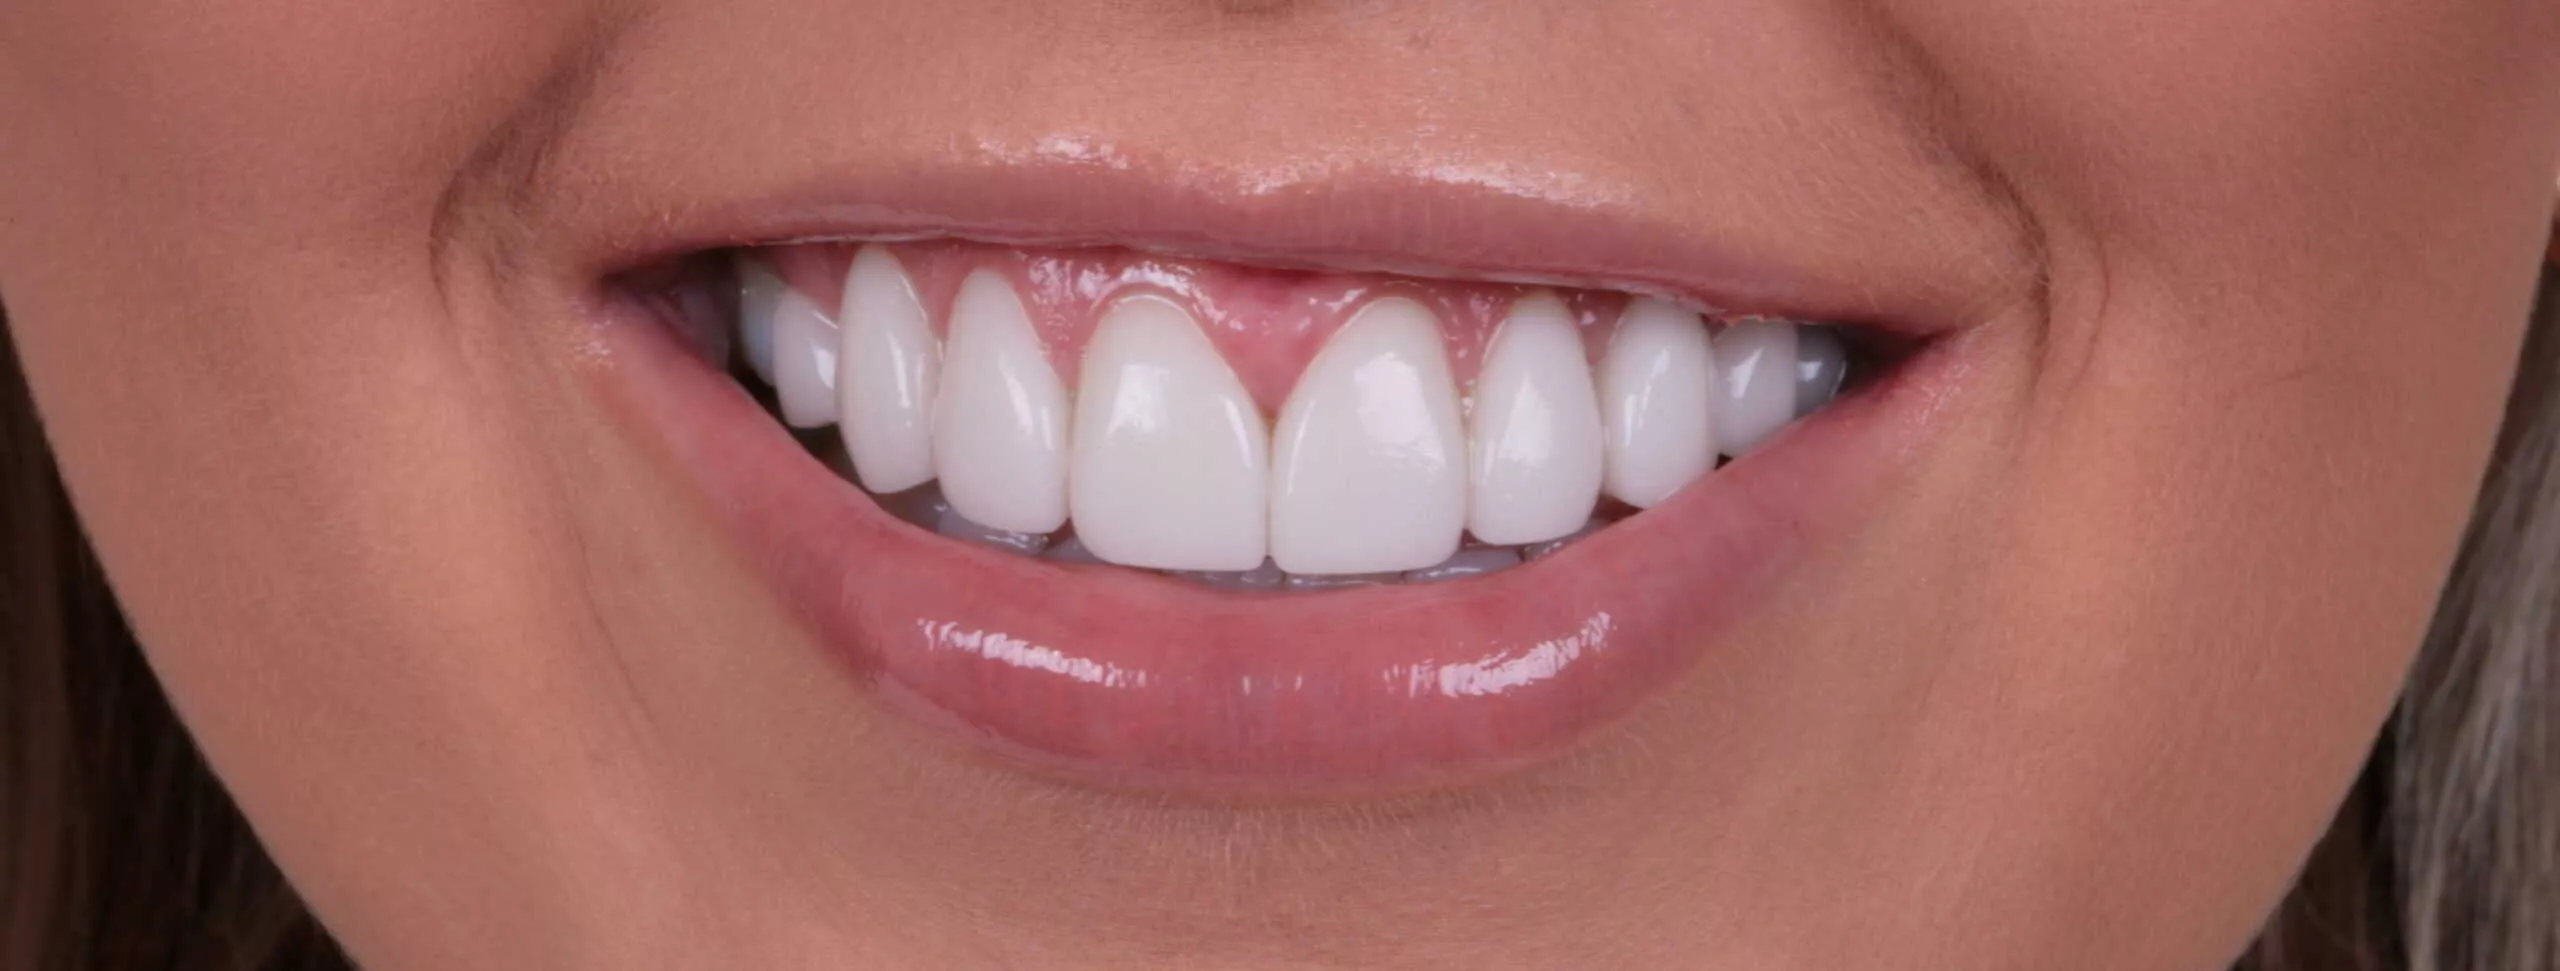
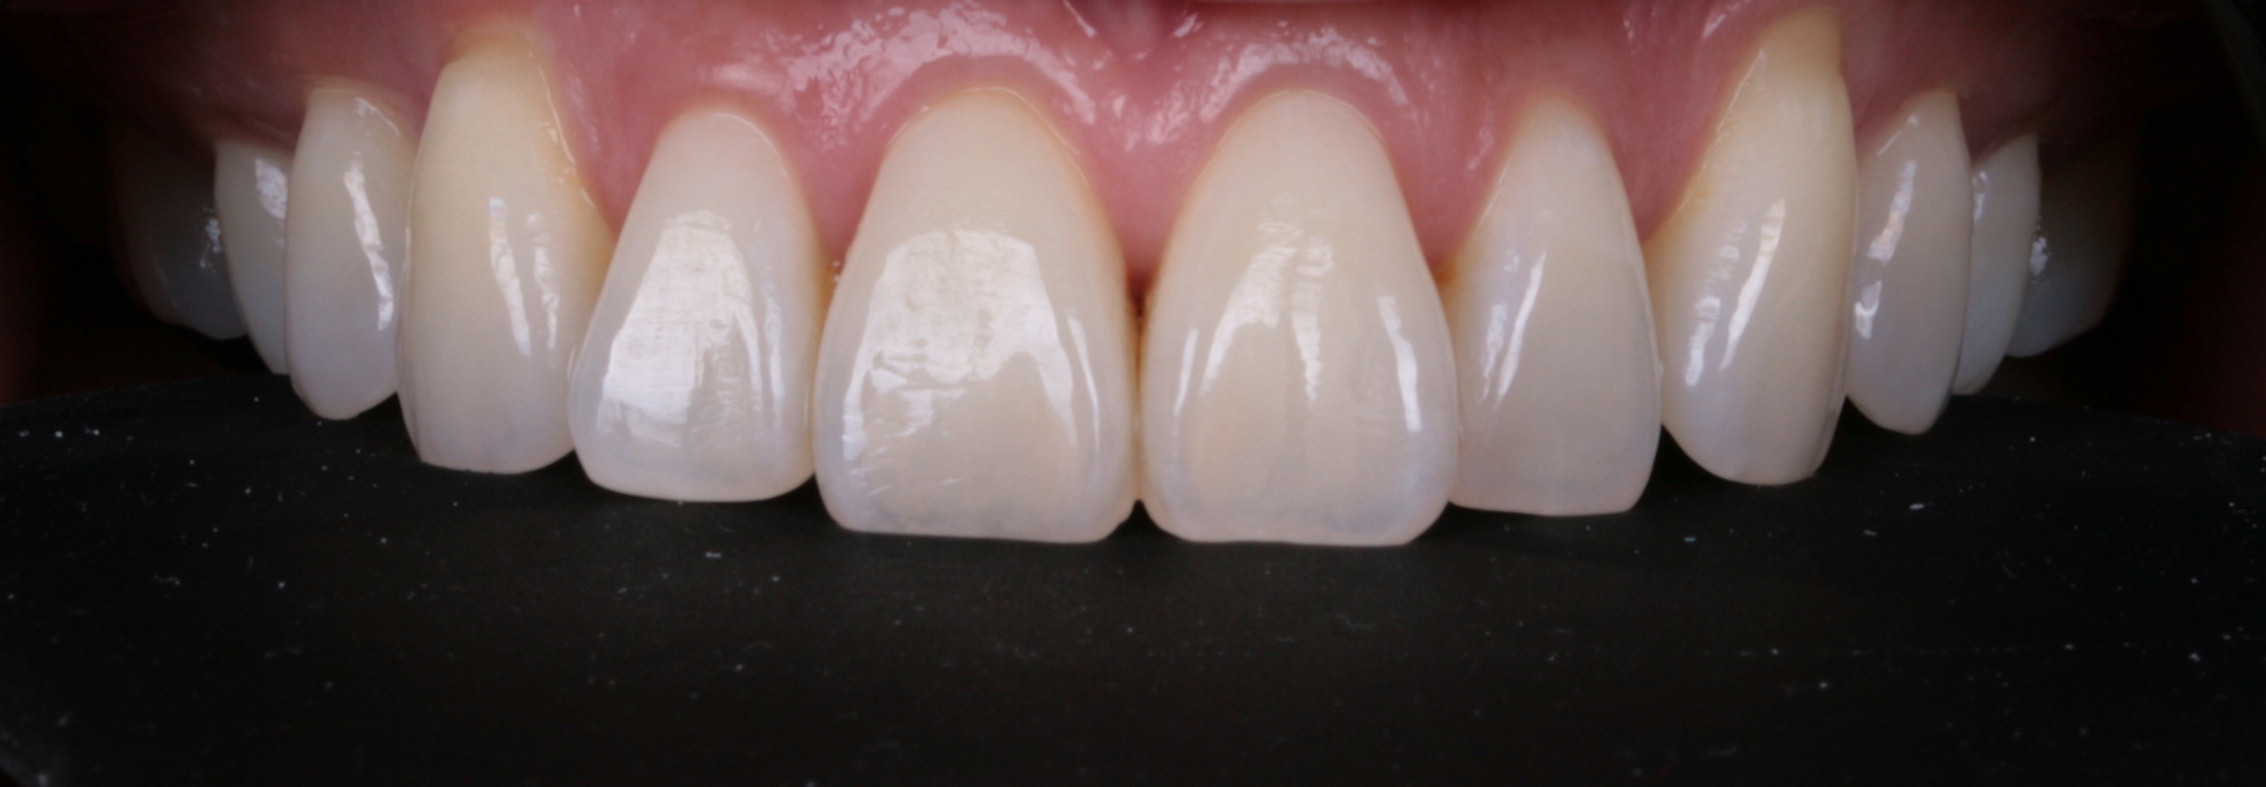
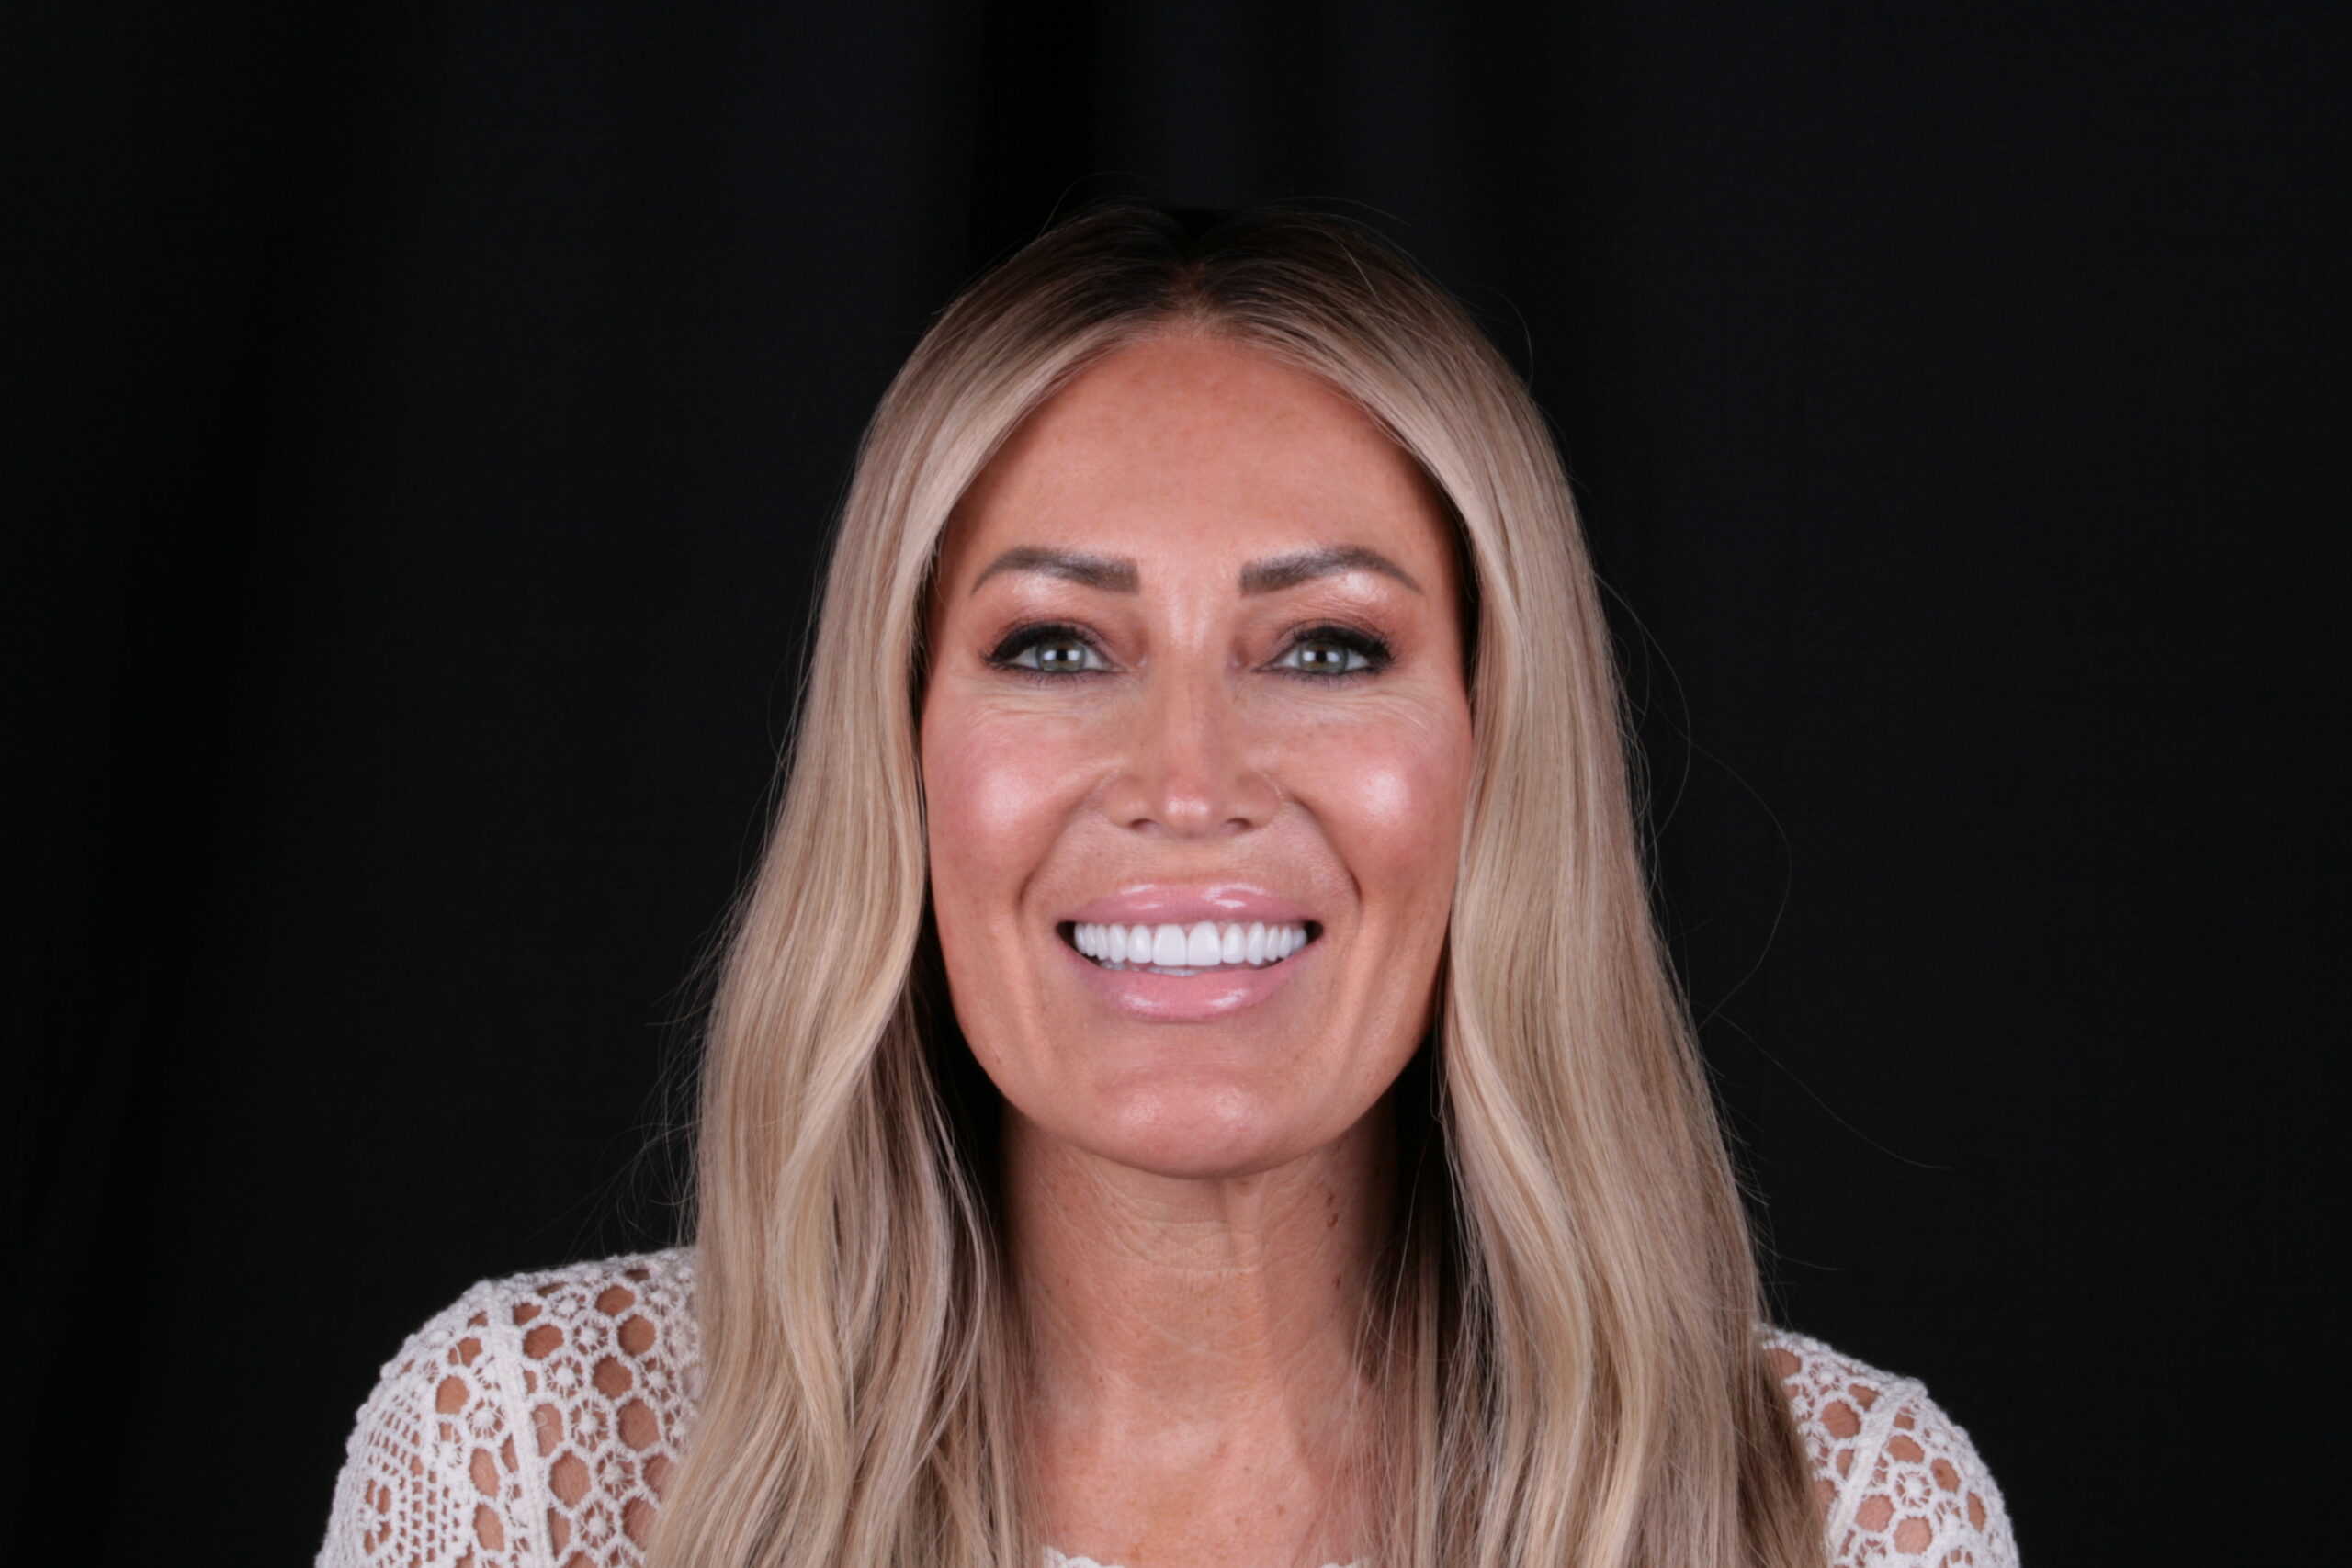
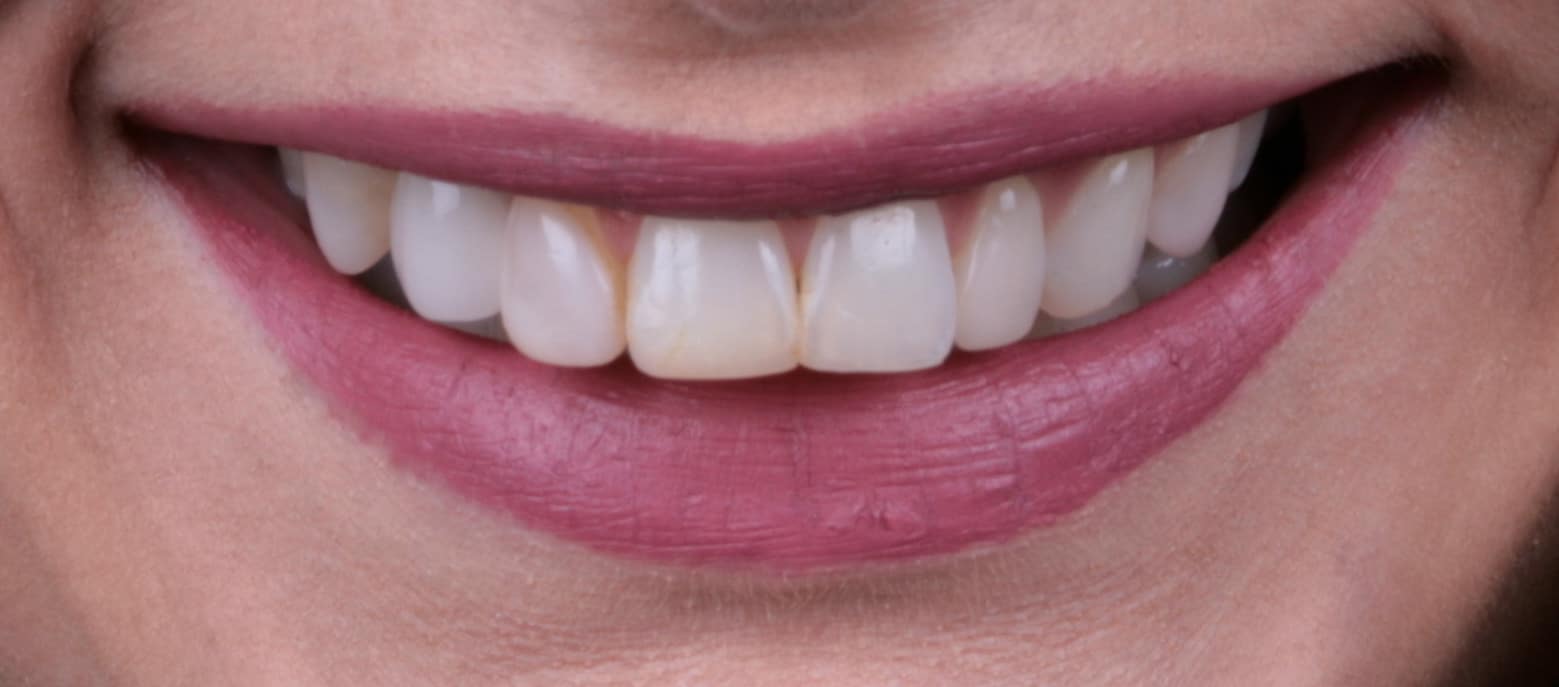
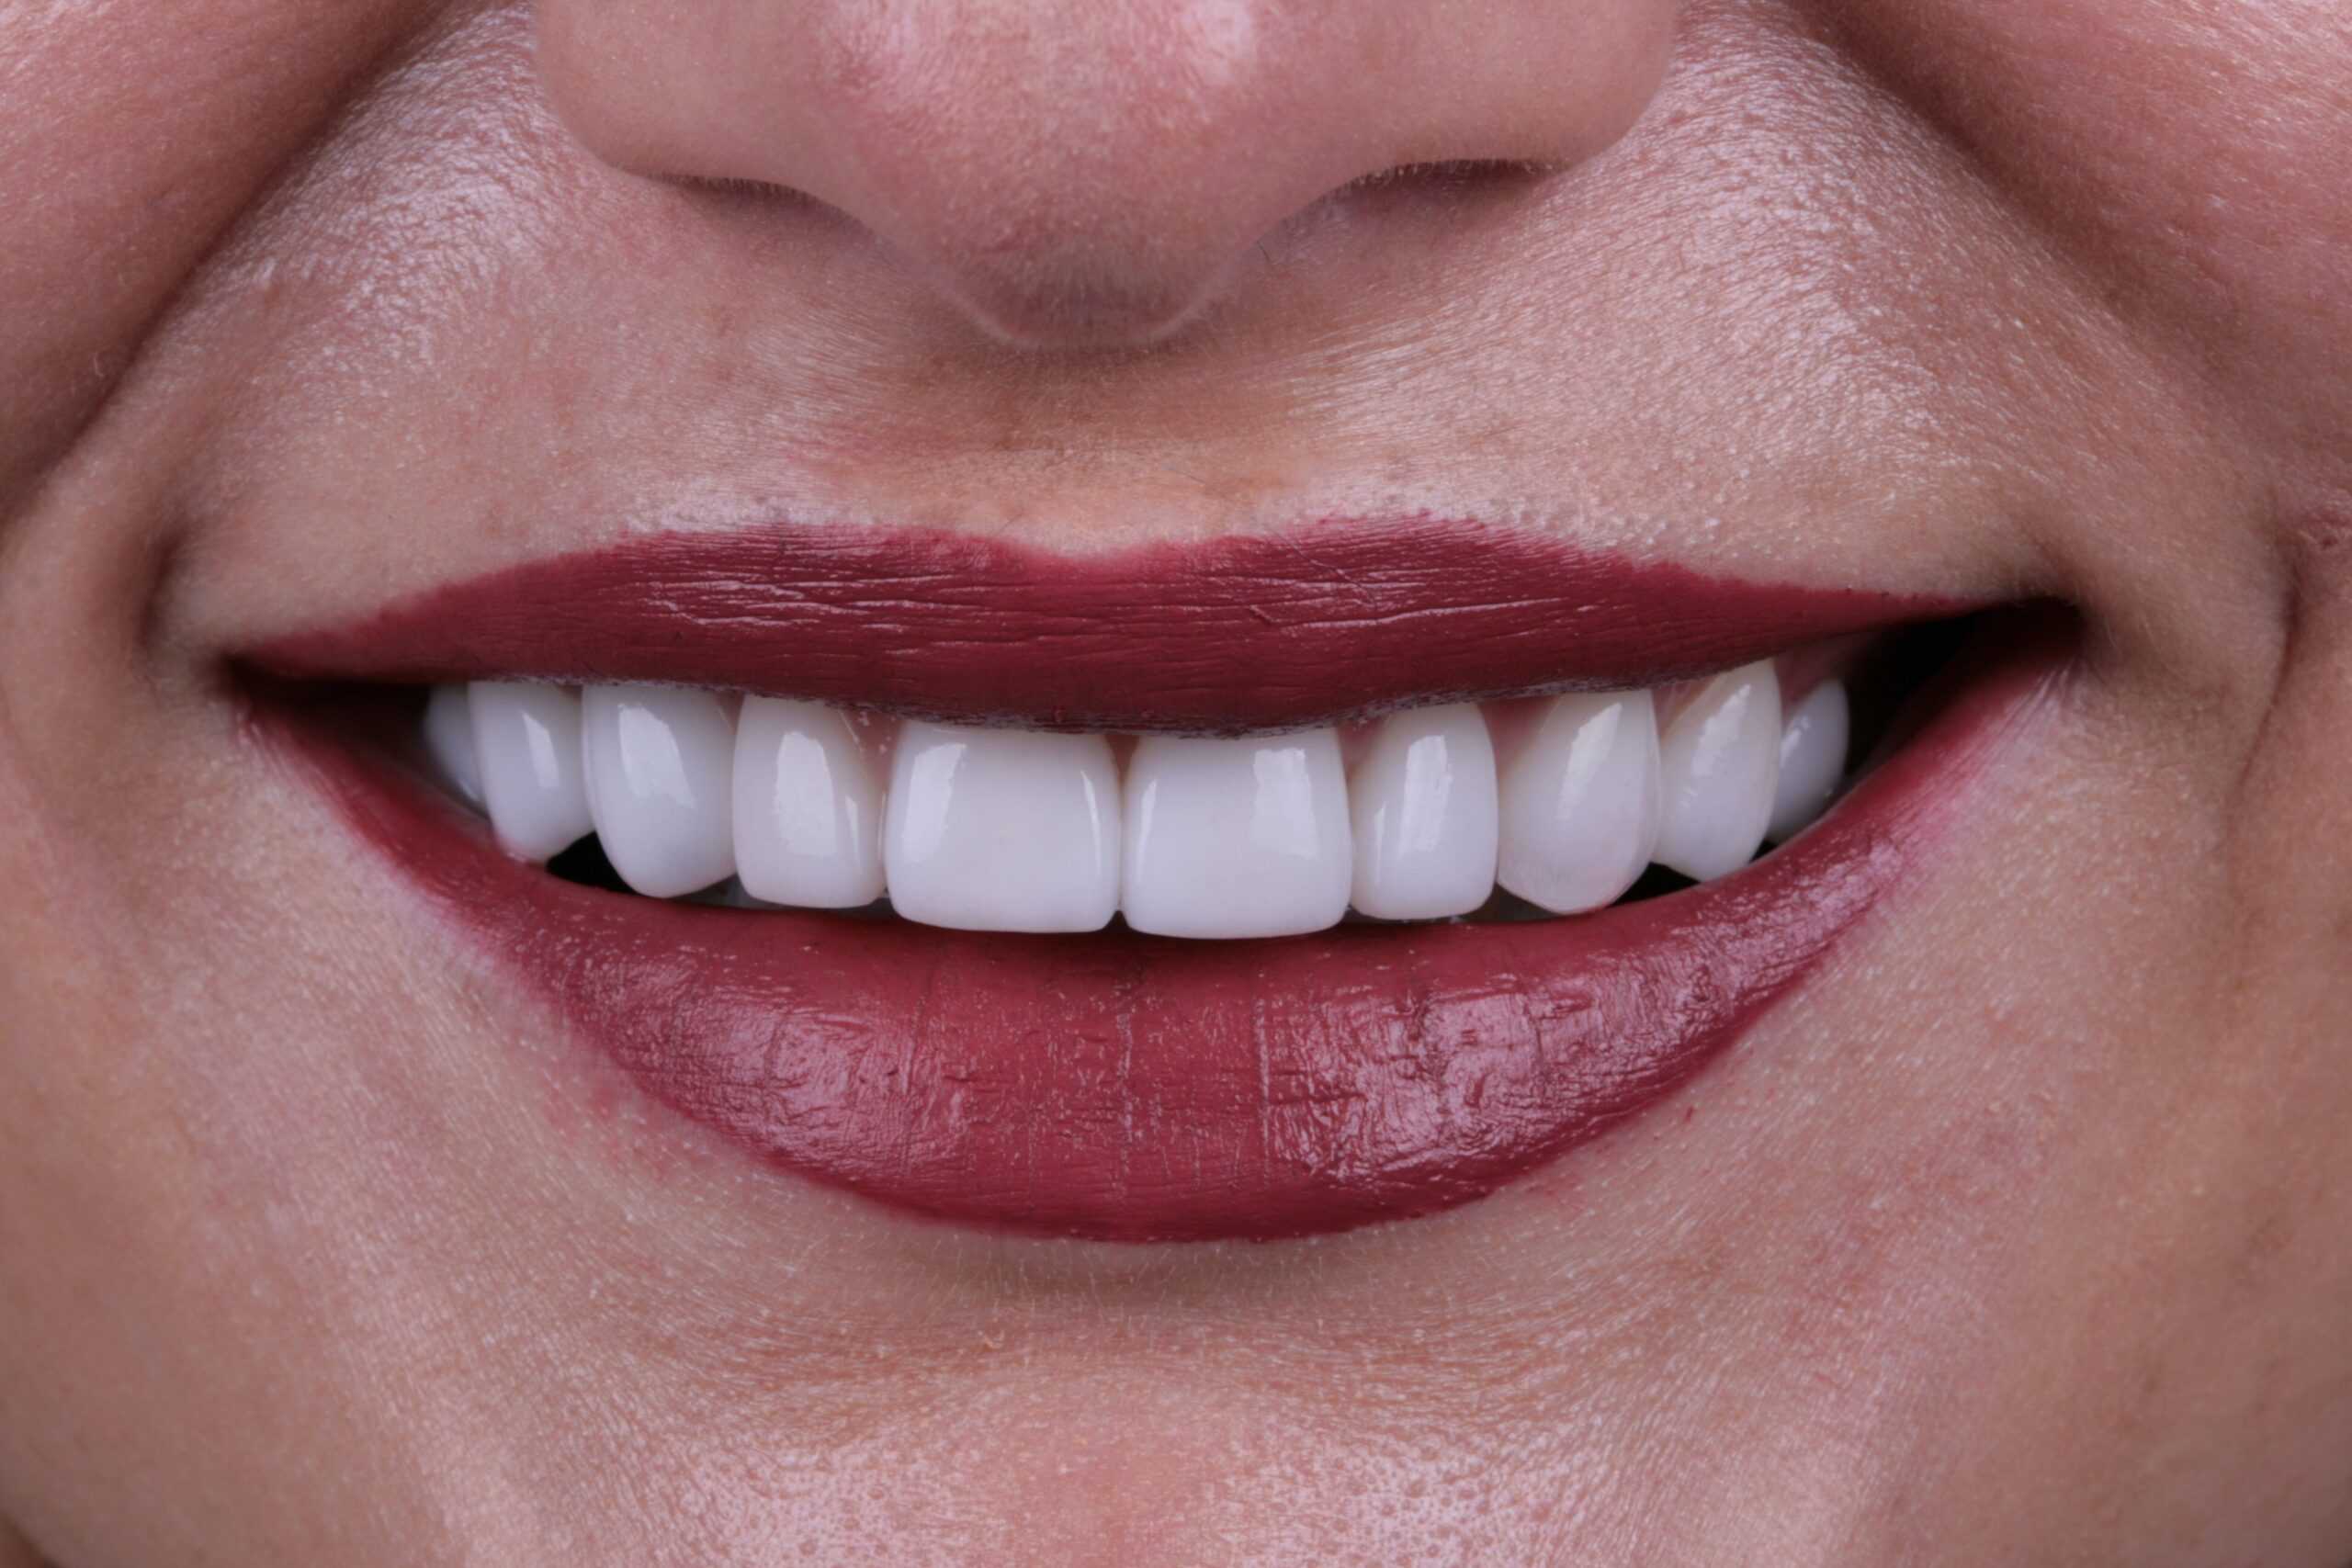
The truly best way to get a great photo is to shoot in natural light! If you’re able to use natural light, do it. Sit the patient upright, open the blinds if you’re near a window, turn off your Operatory Light, and never use a flash. This will help avoid any unsightly reflections on the teeth as well.
#2. Focus, Focus, Focus
If a photo is even just slightly blurry, it can ruin a good picture. Making sure your shot is in focus is very important. Most smartphones have autofocus, but factors can still come into play that can throw everything off. To get a nice, crisp picture, do the following:
- Clean the lens to ensure nothing is fogging up the screen
- Take a step back; zooming in can actually pixelate your photo. It’s better to crop the photo to your desired size after.
- Consider using a tripod. Your hands can be shaky and cause the photo to become blurry.
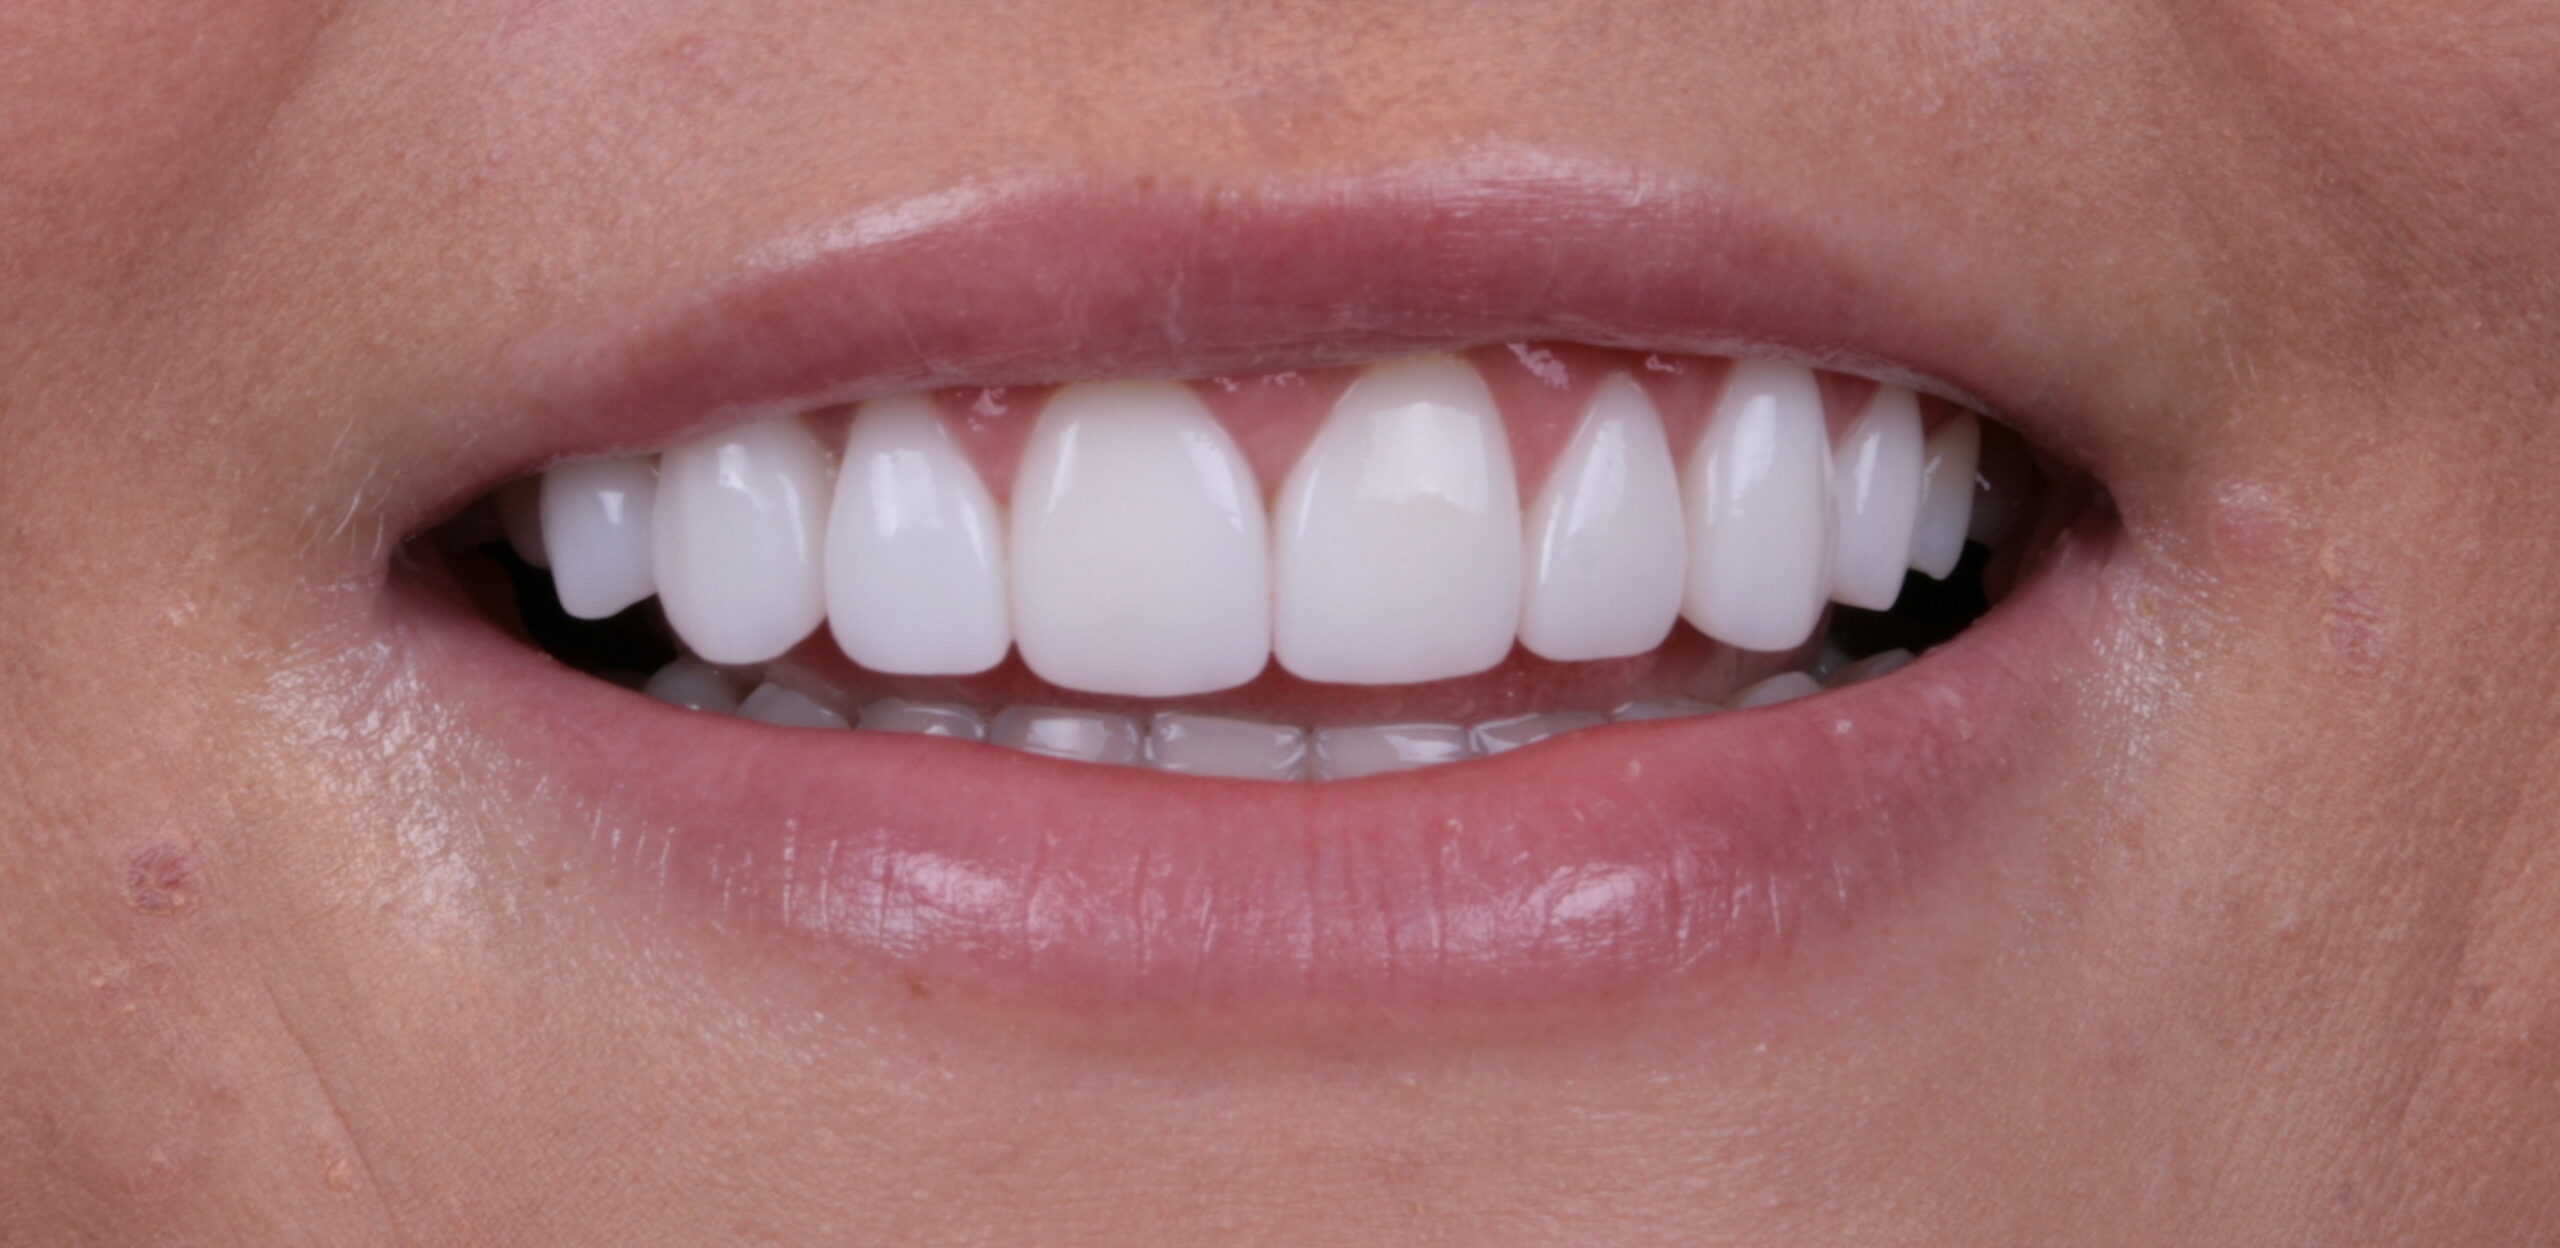
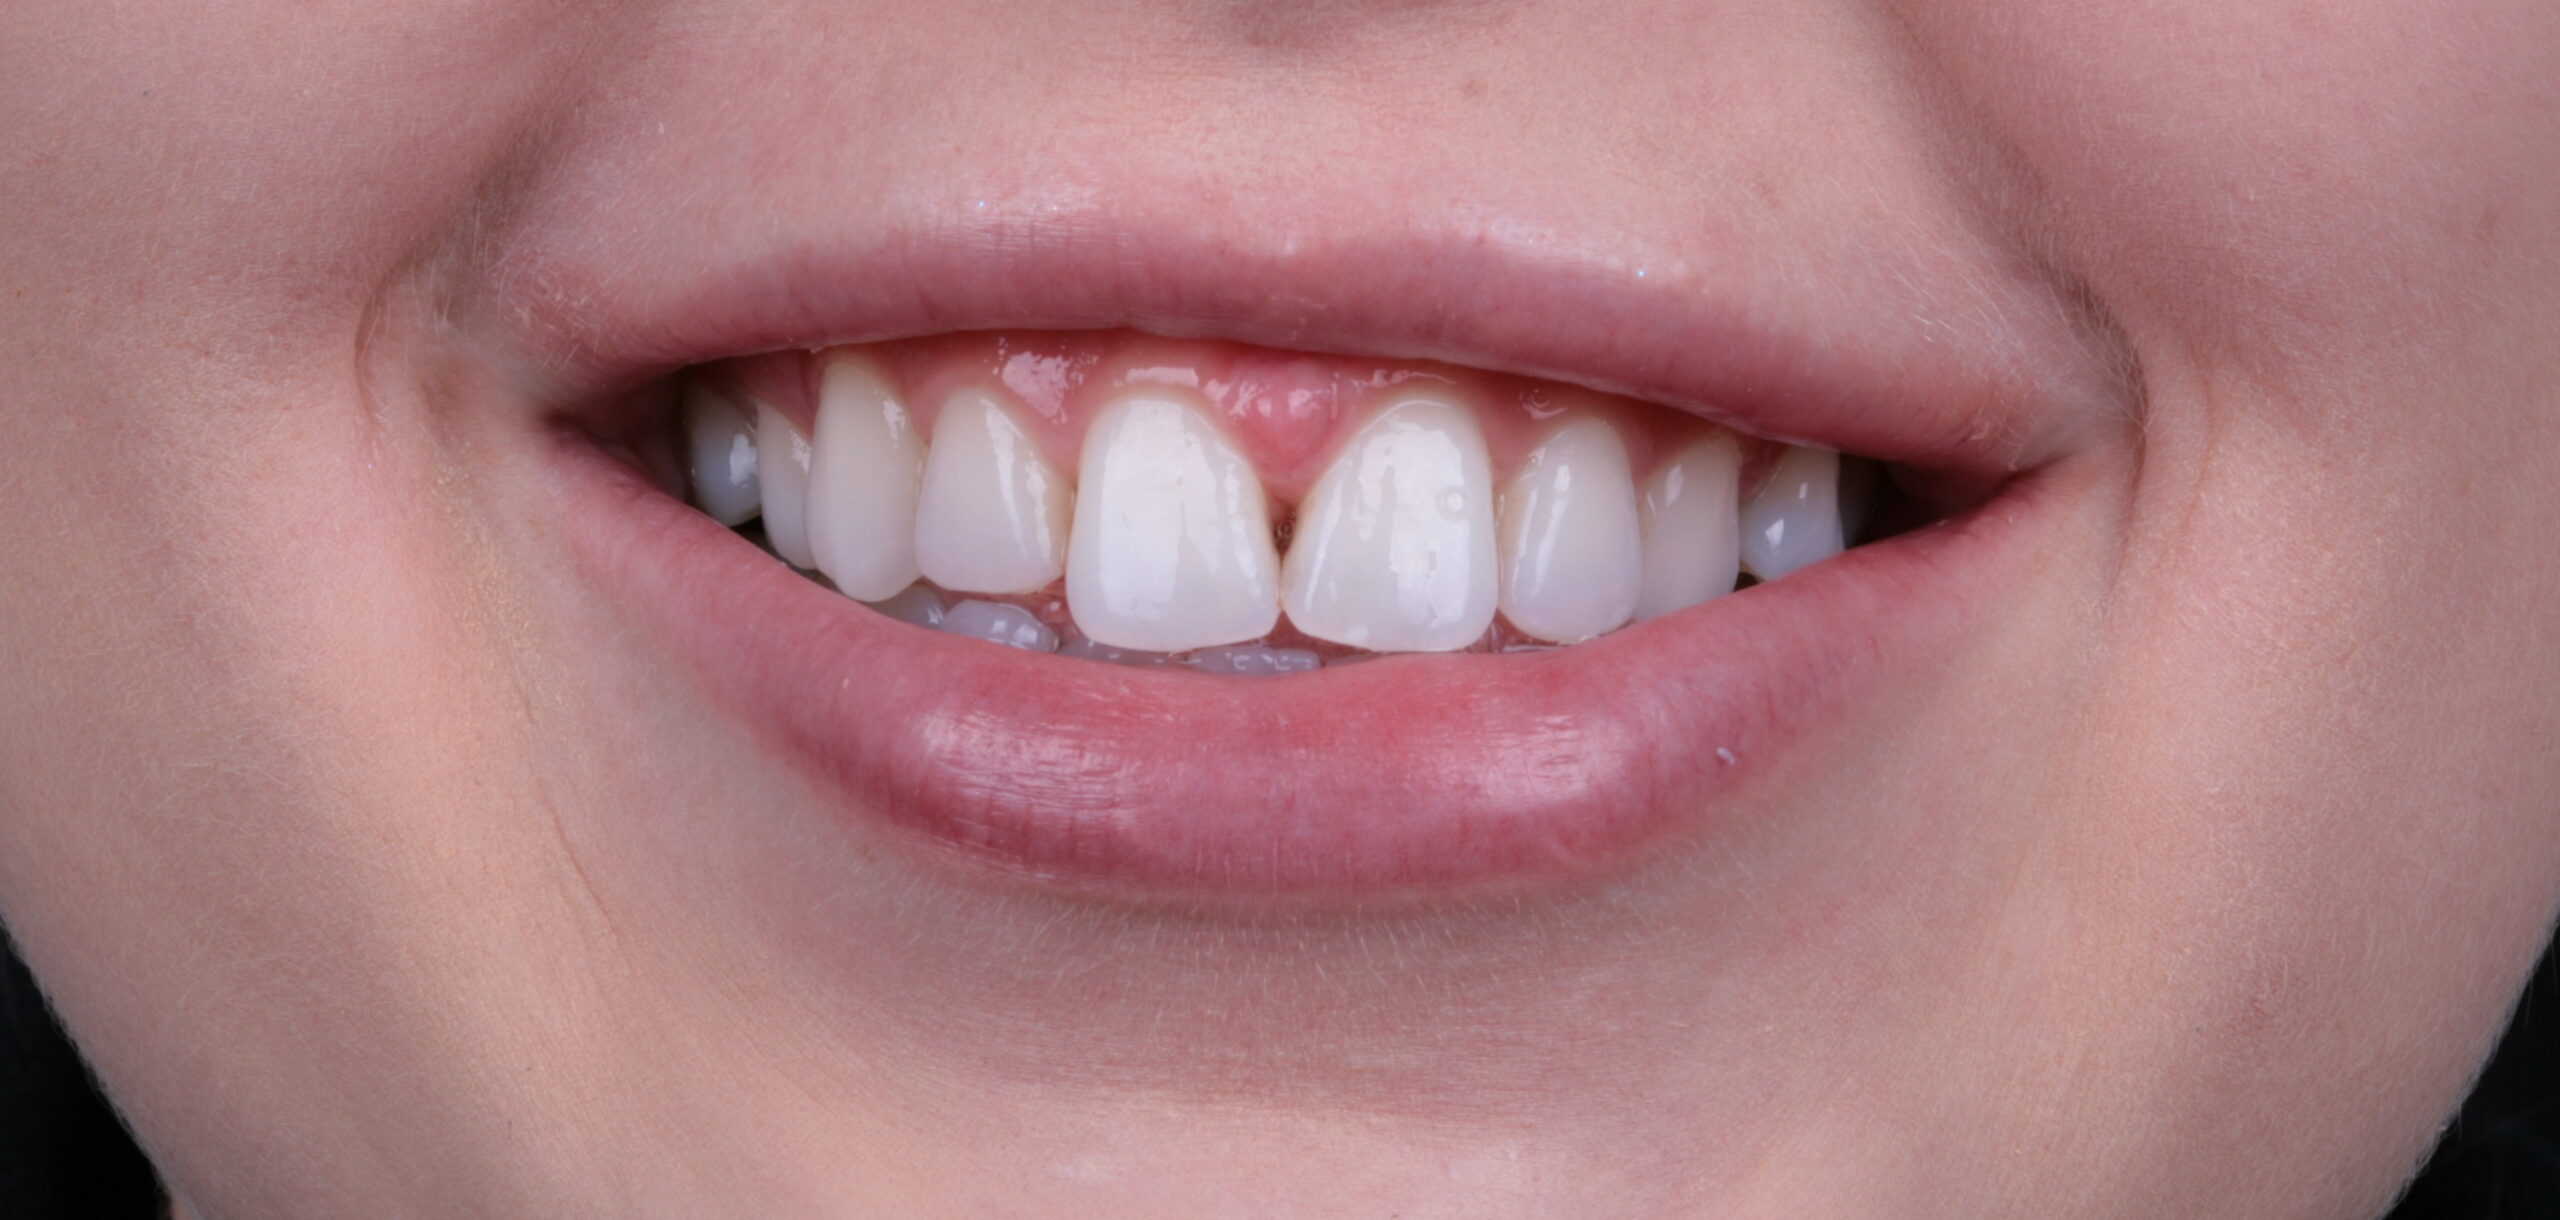
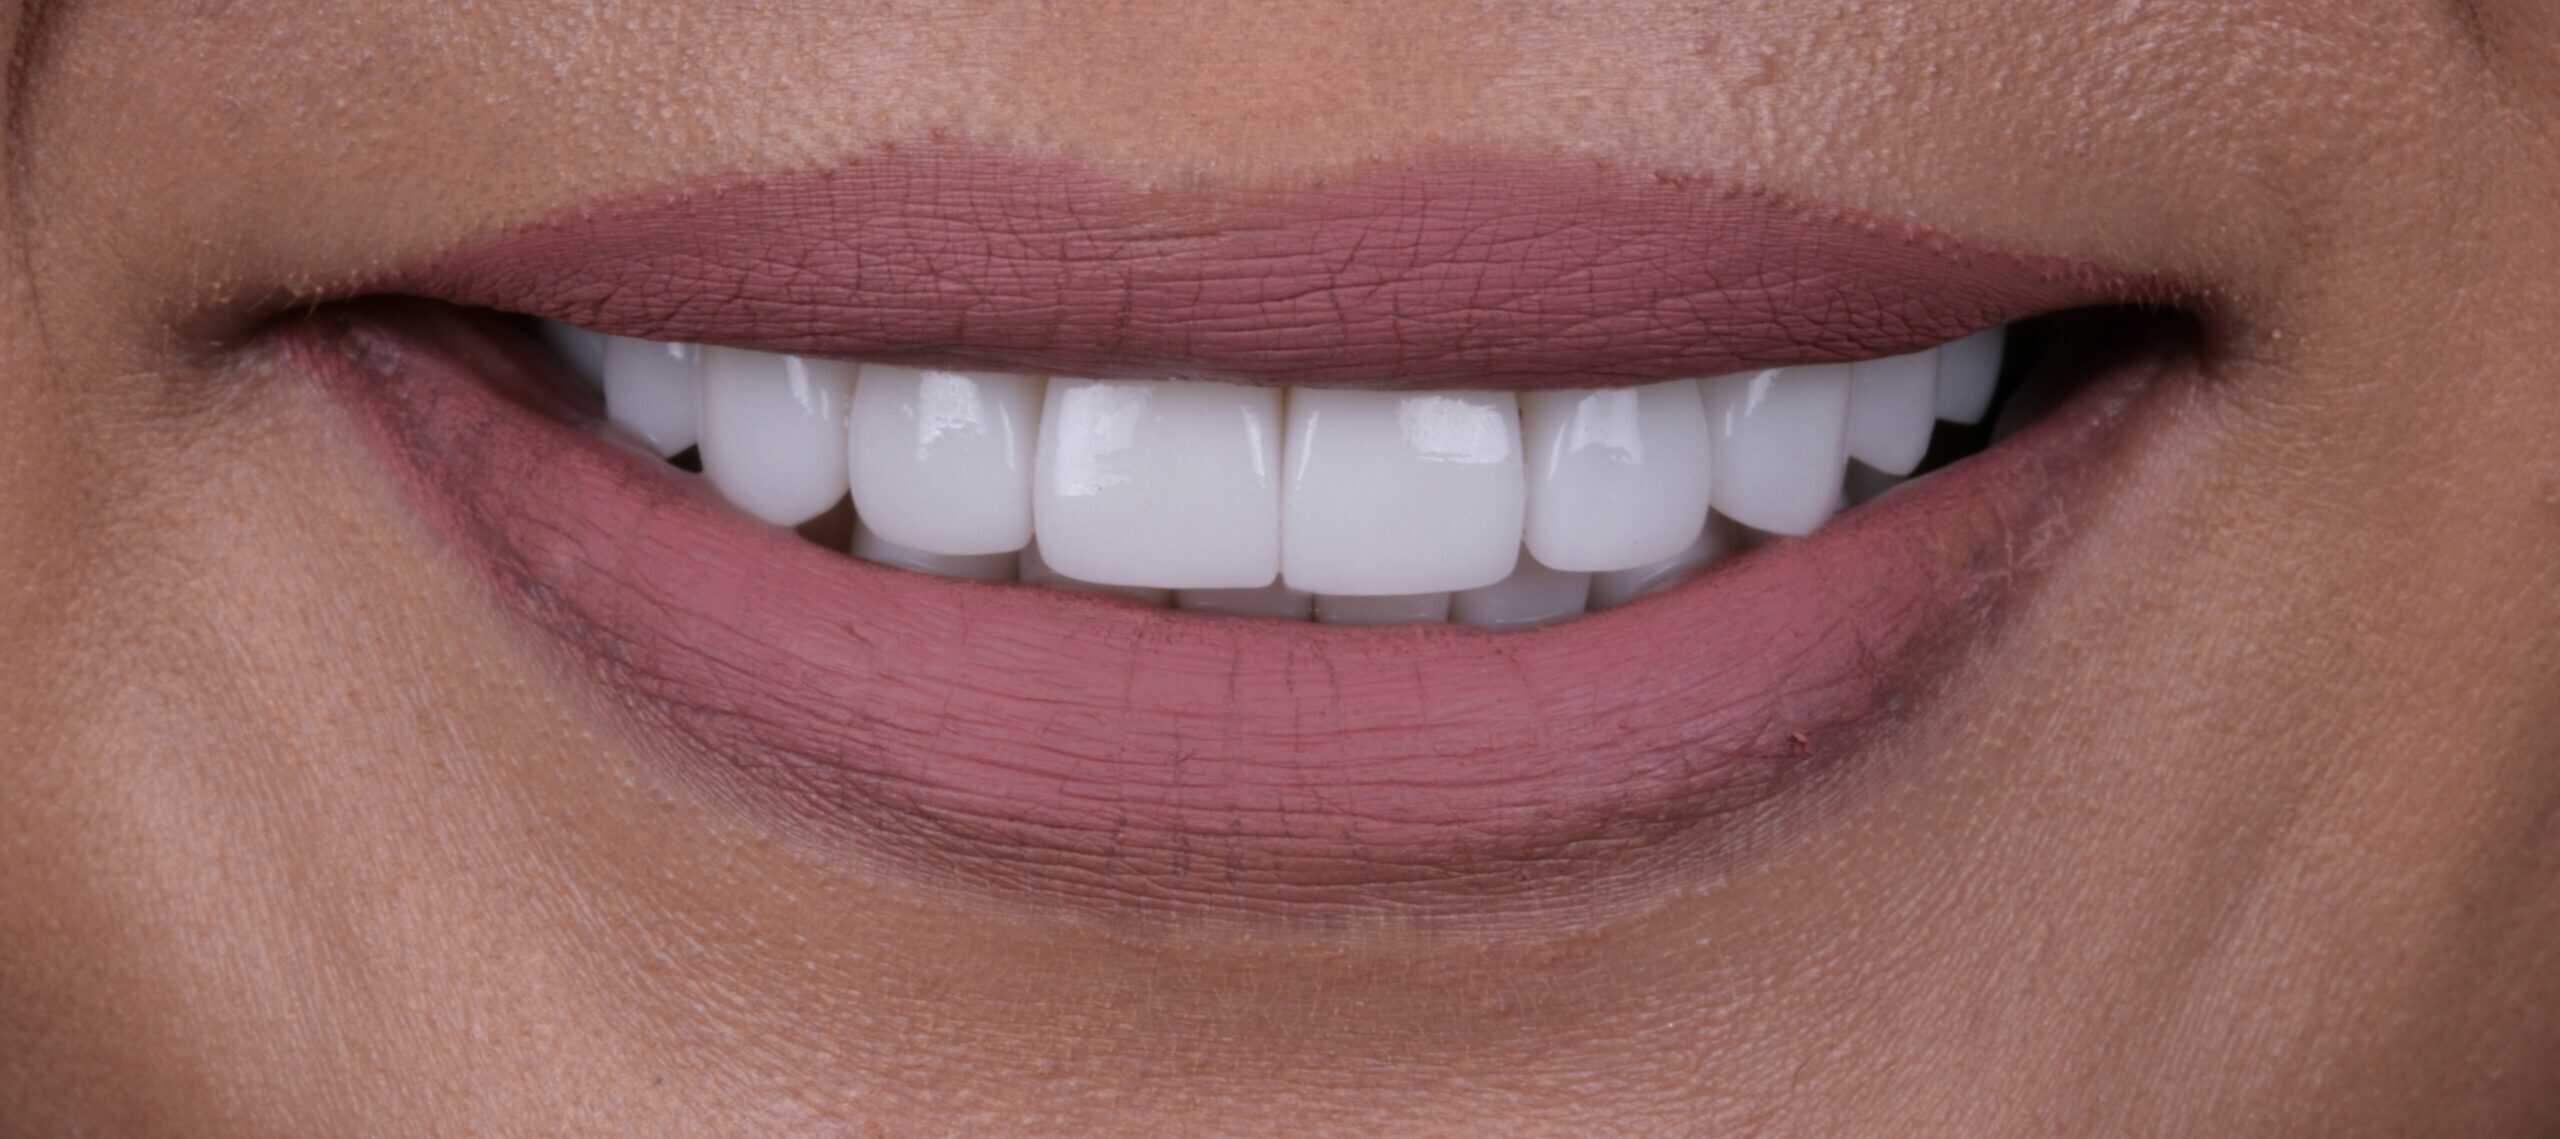
#3. Post-Production Editing
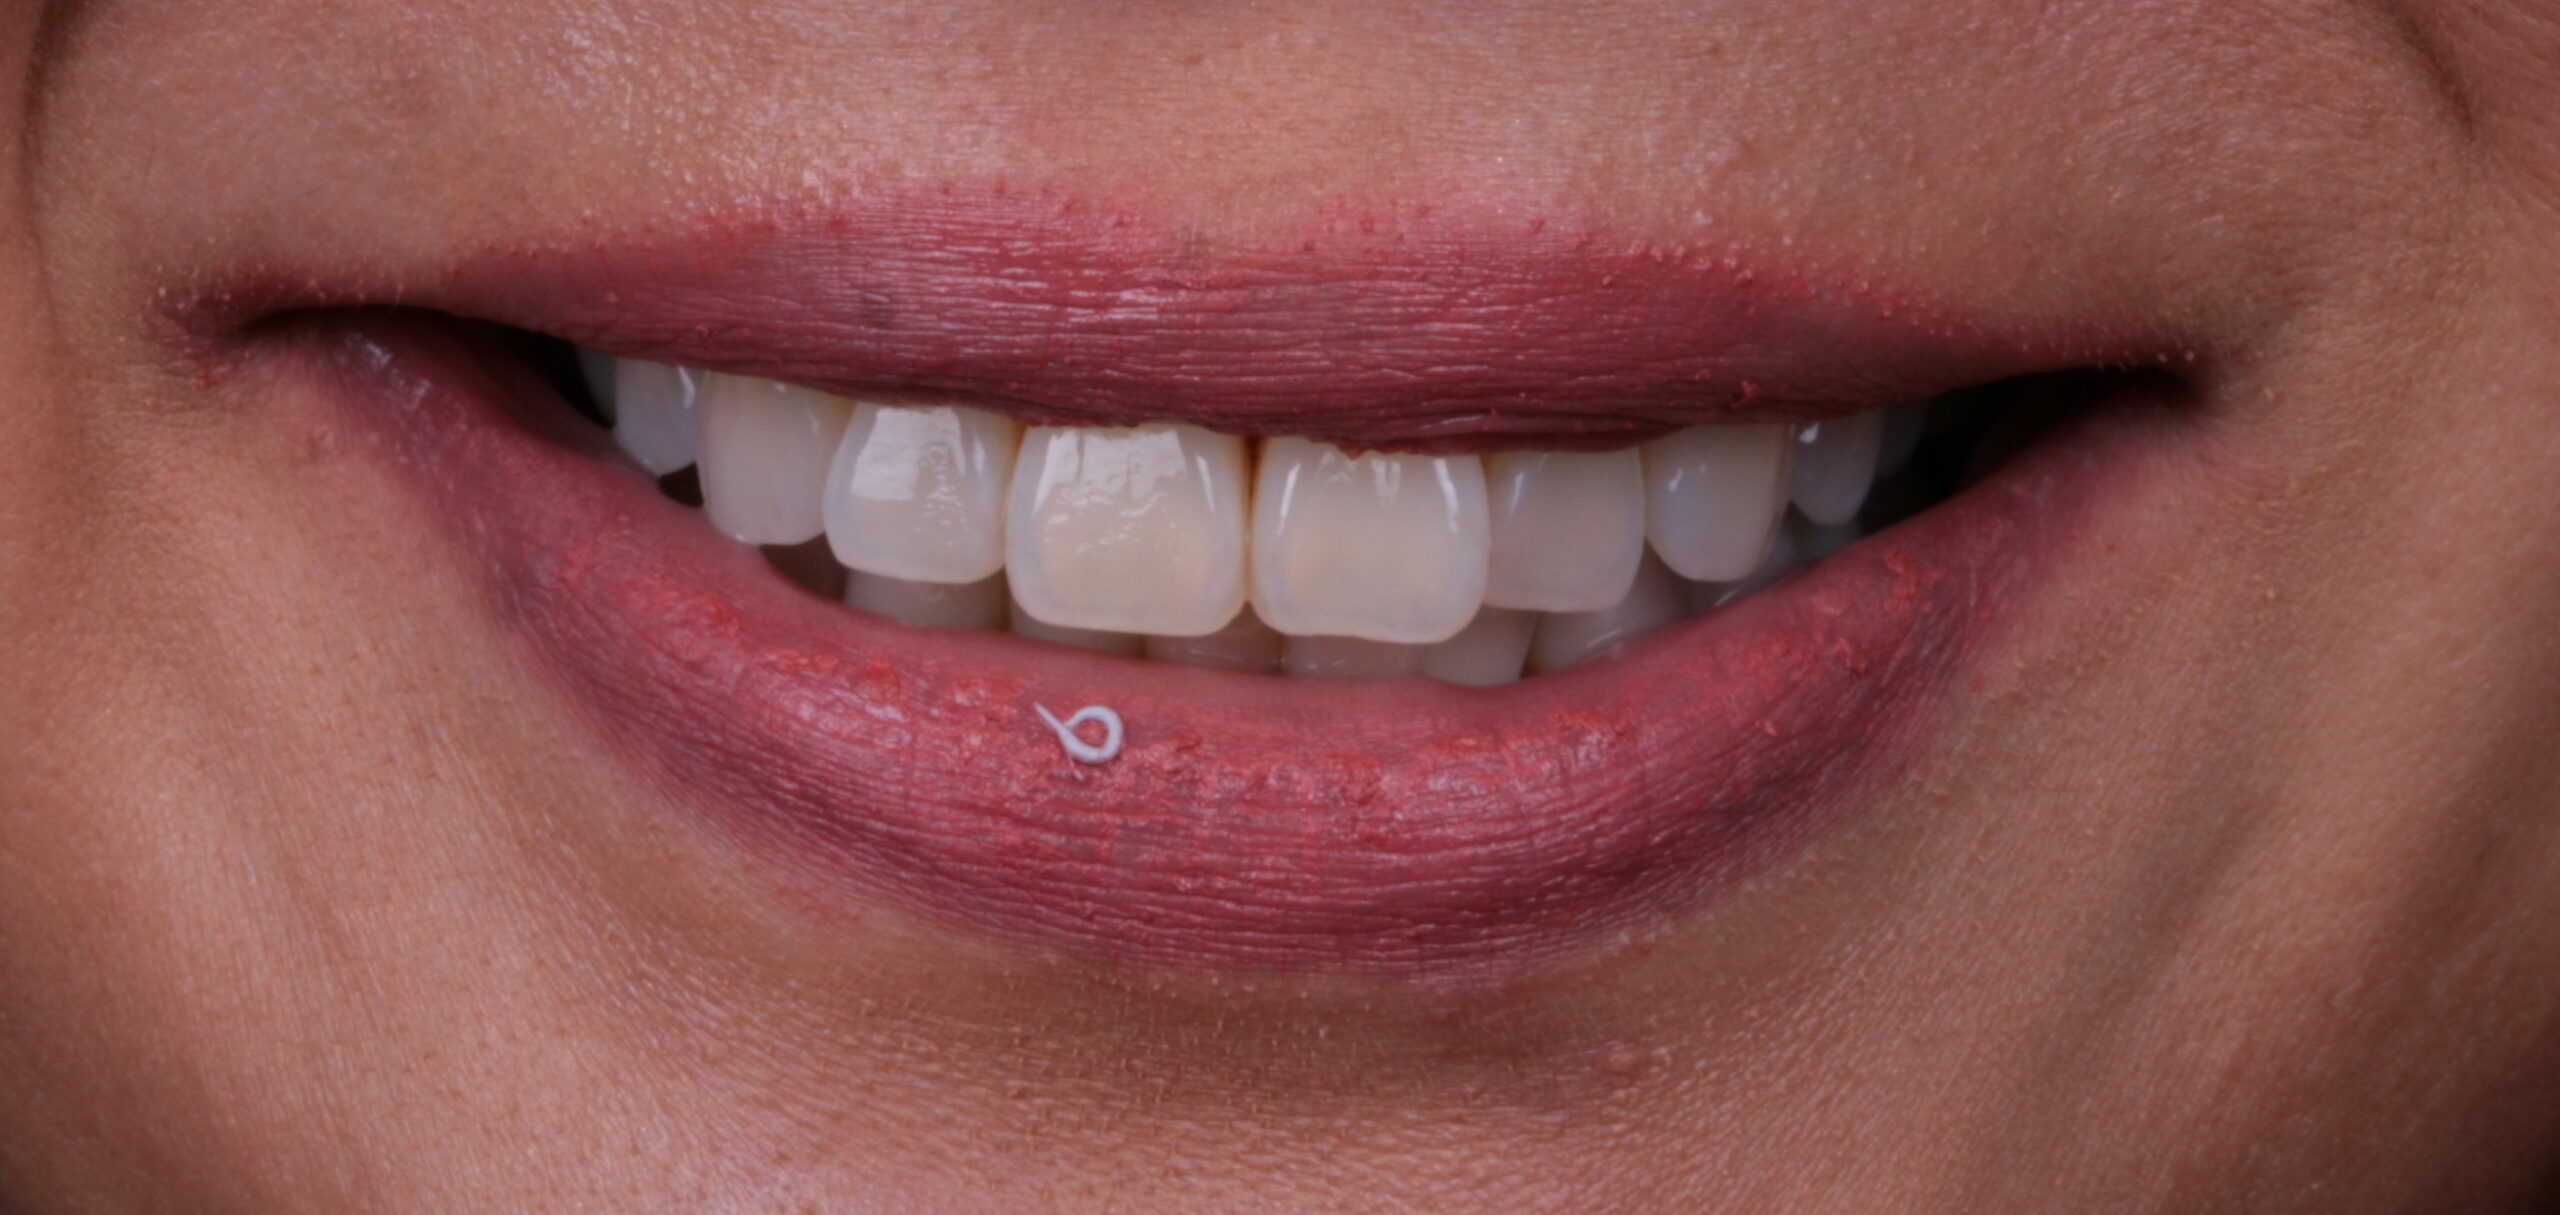
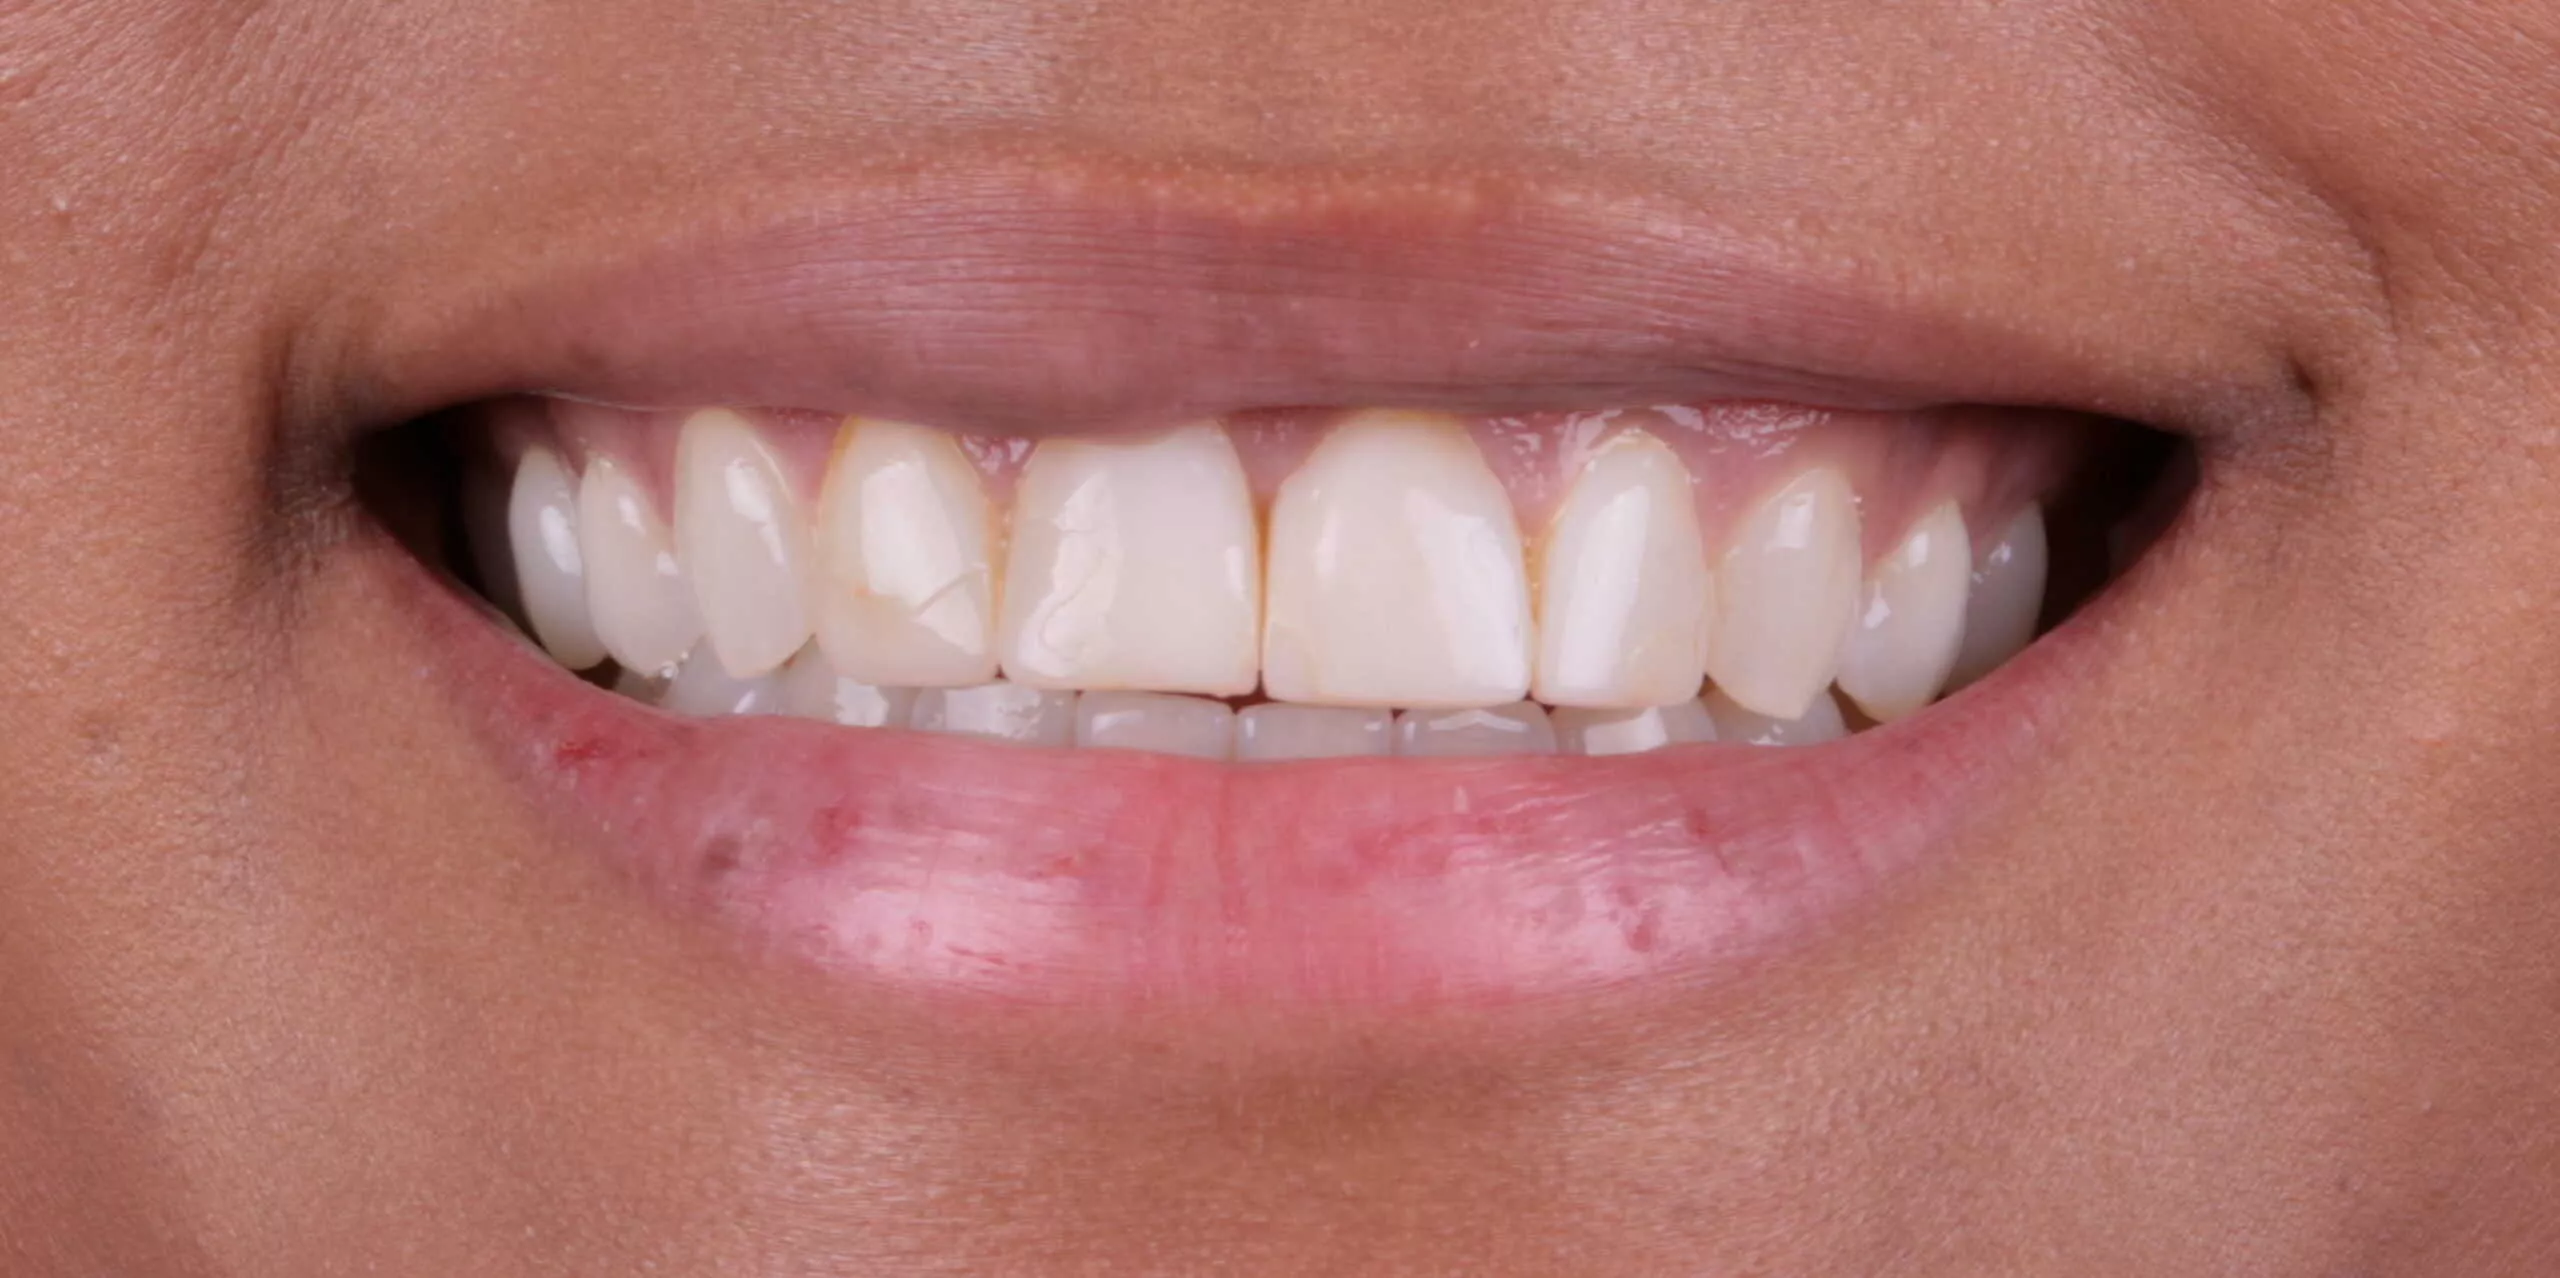
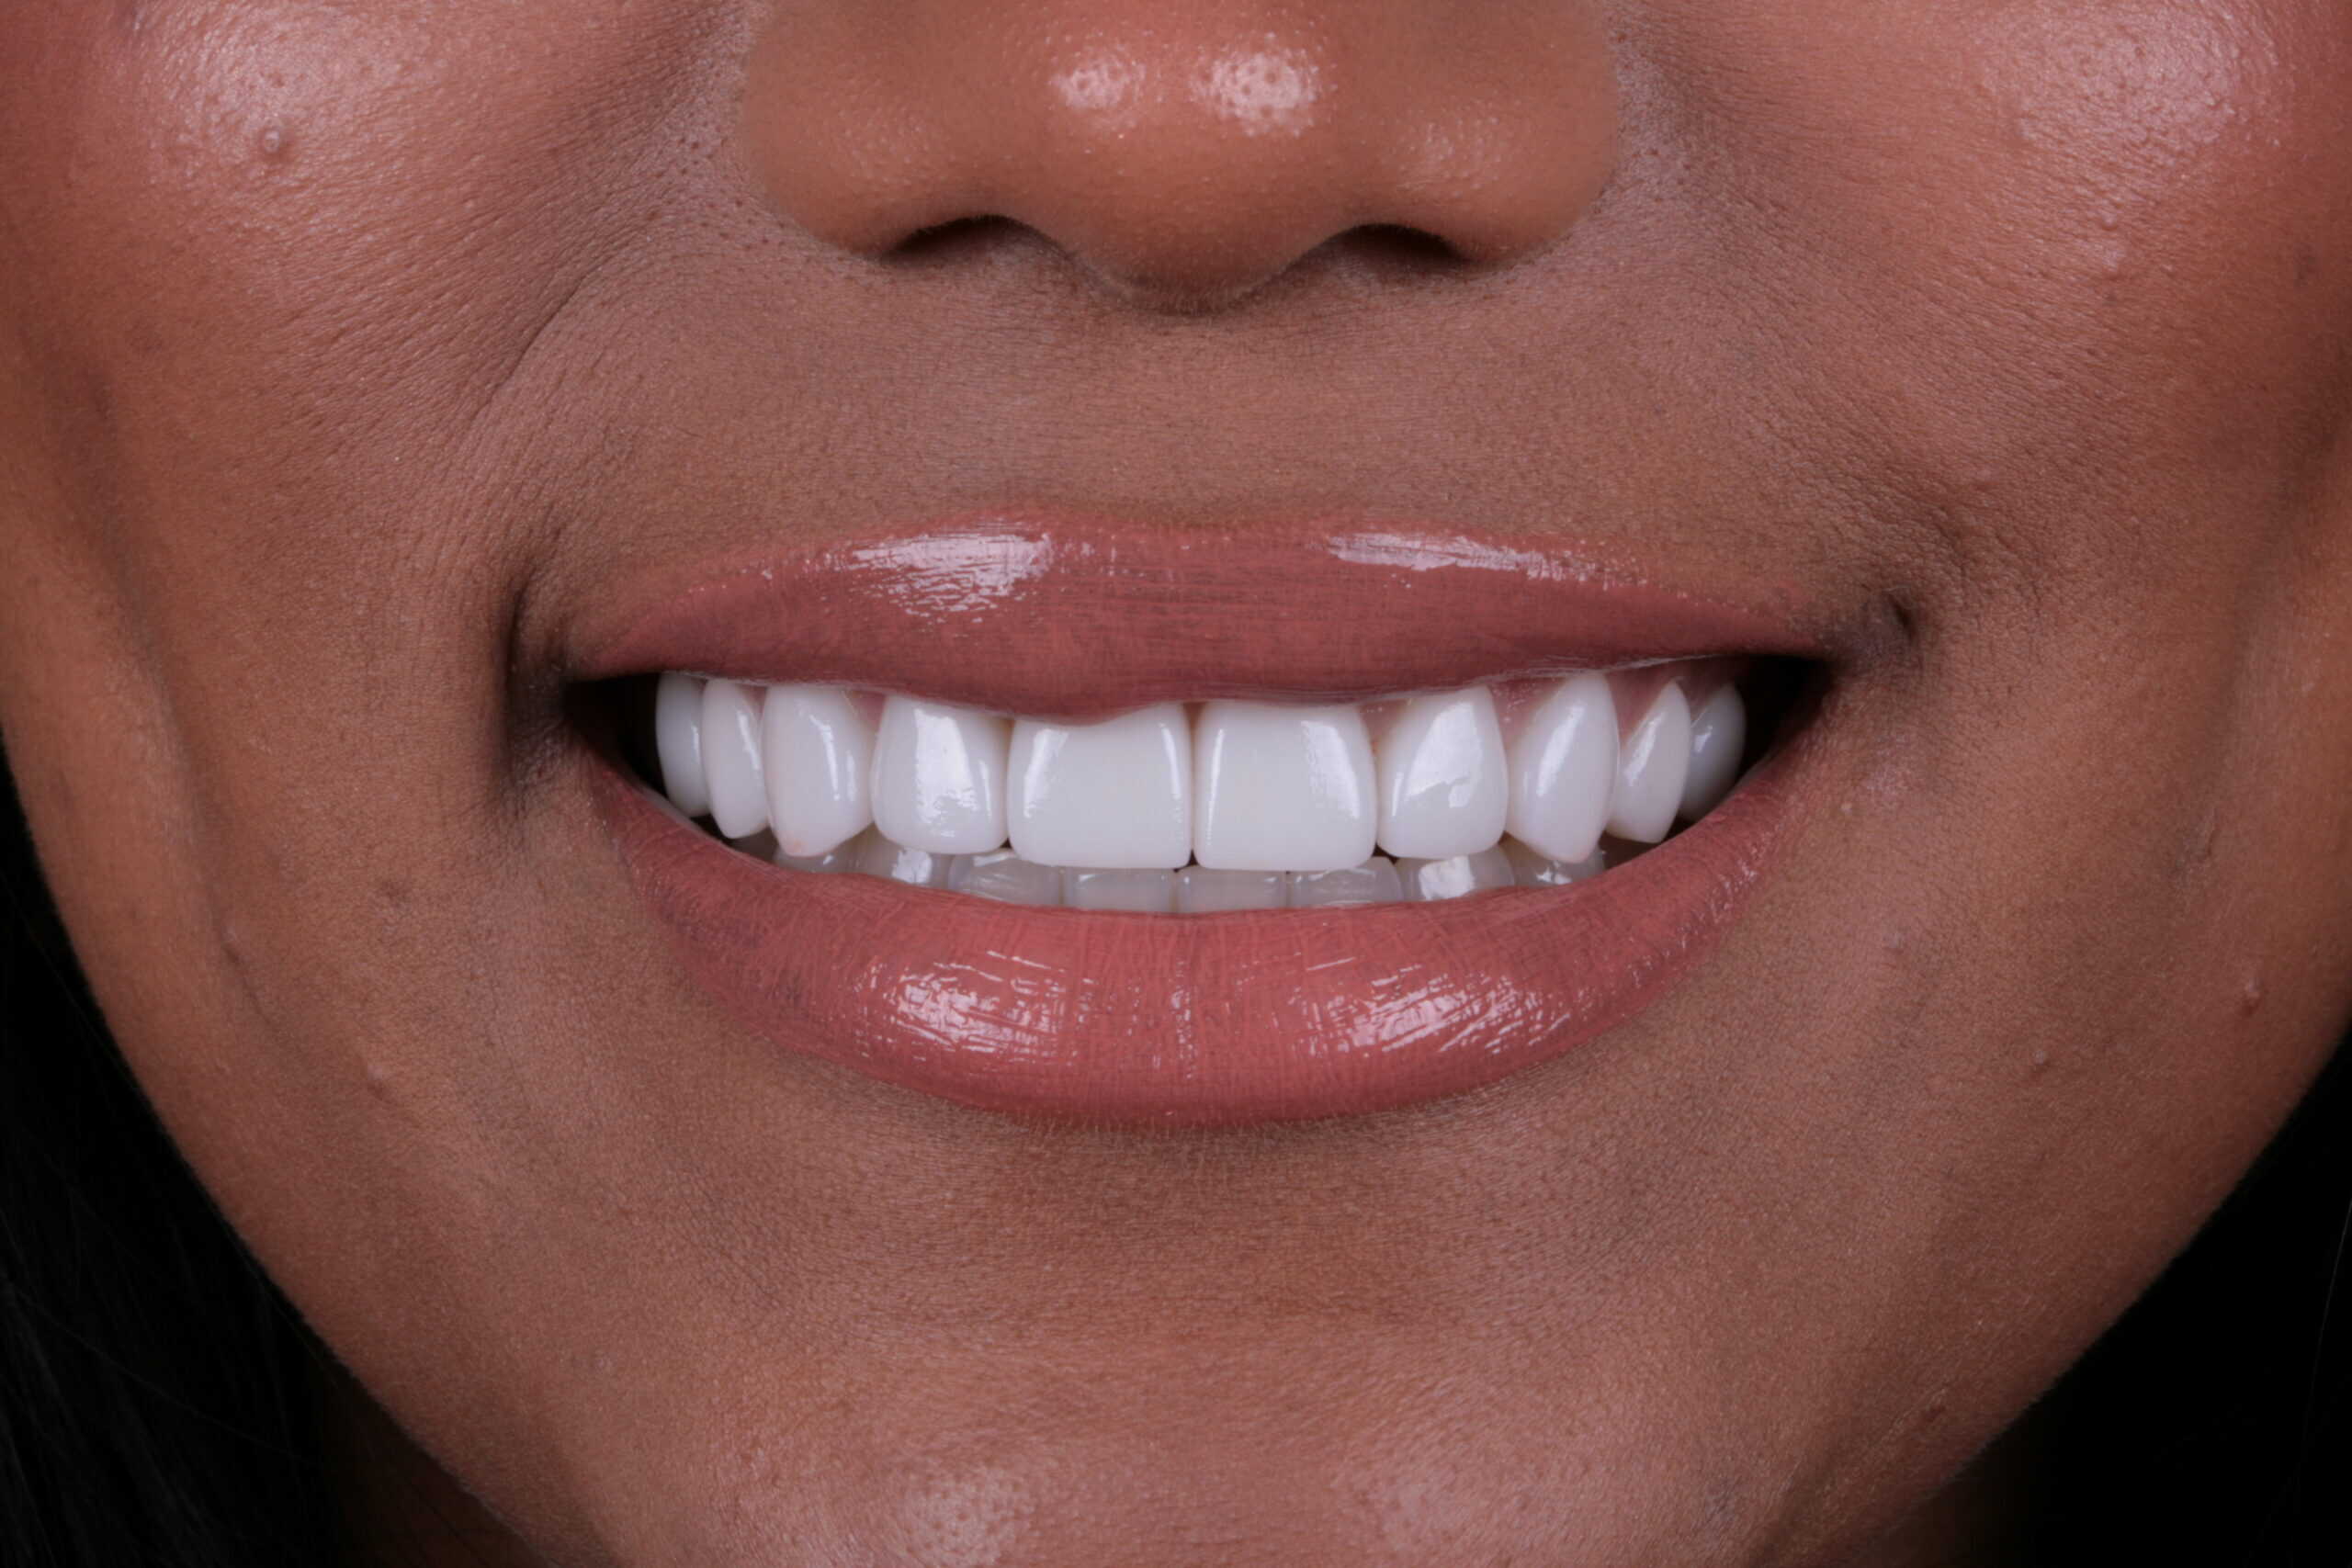
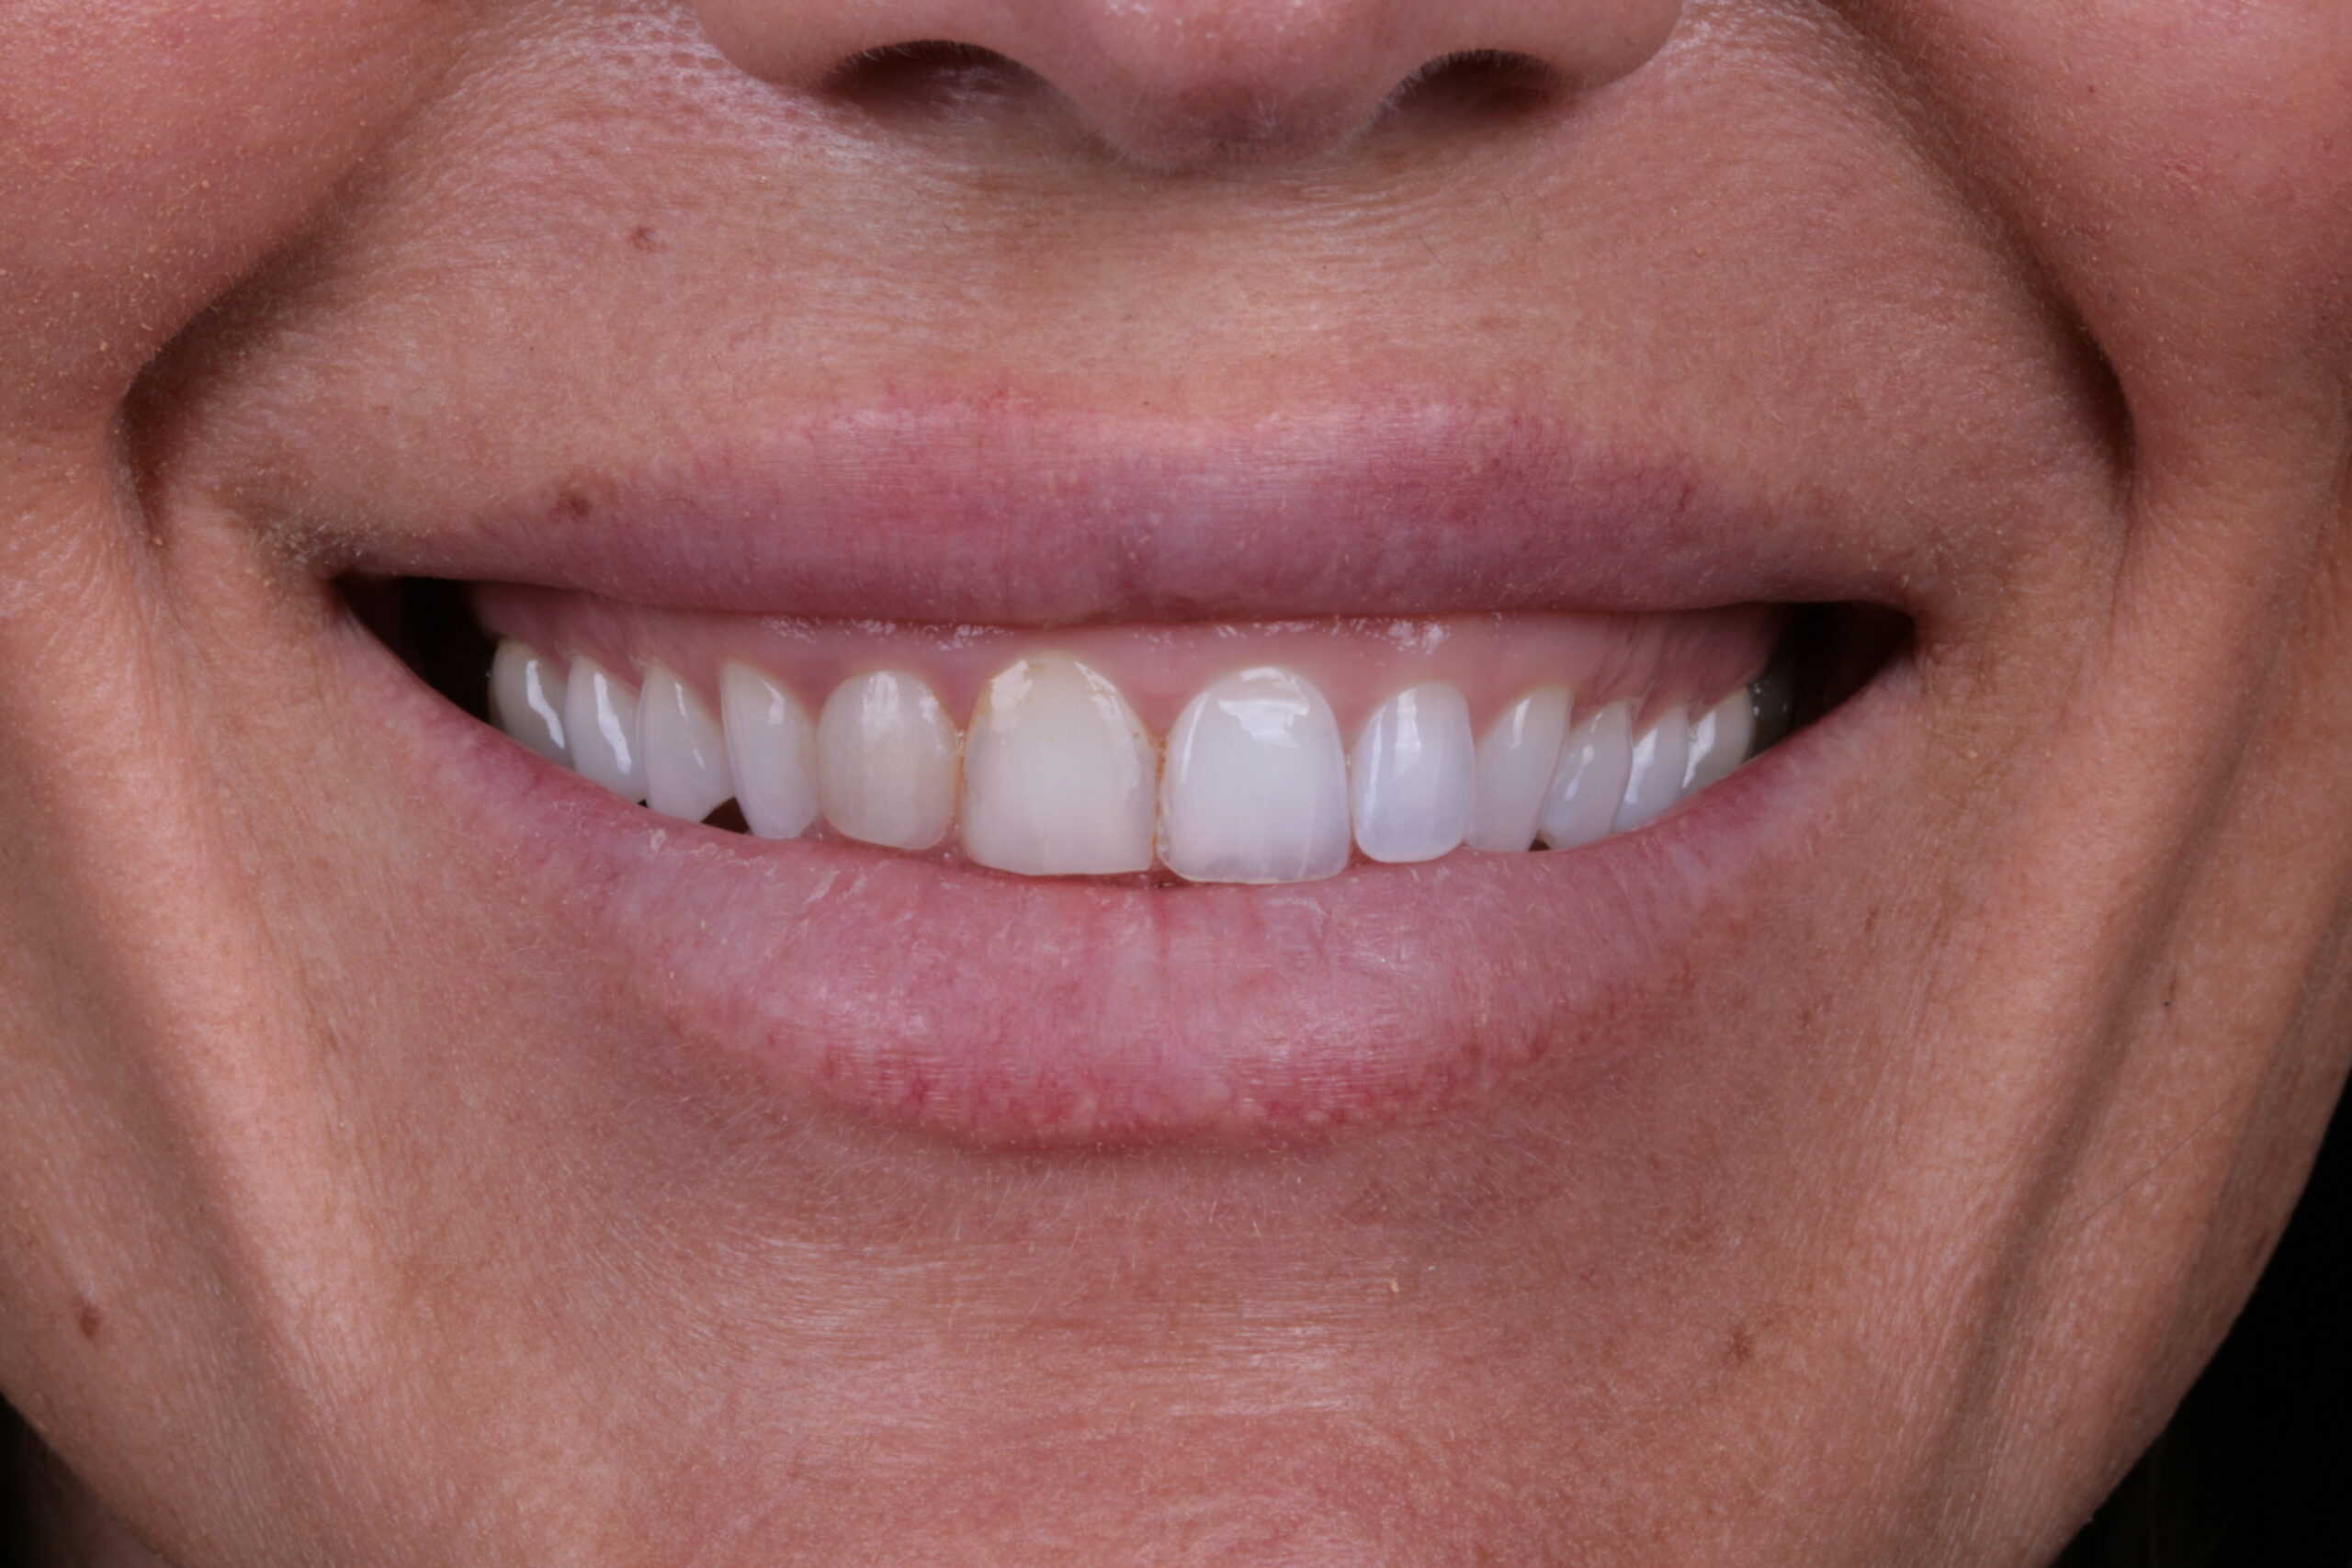
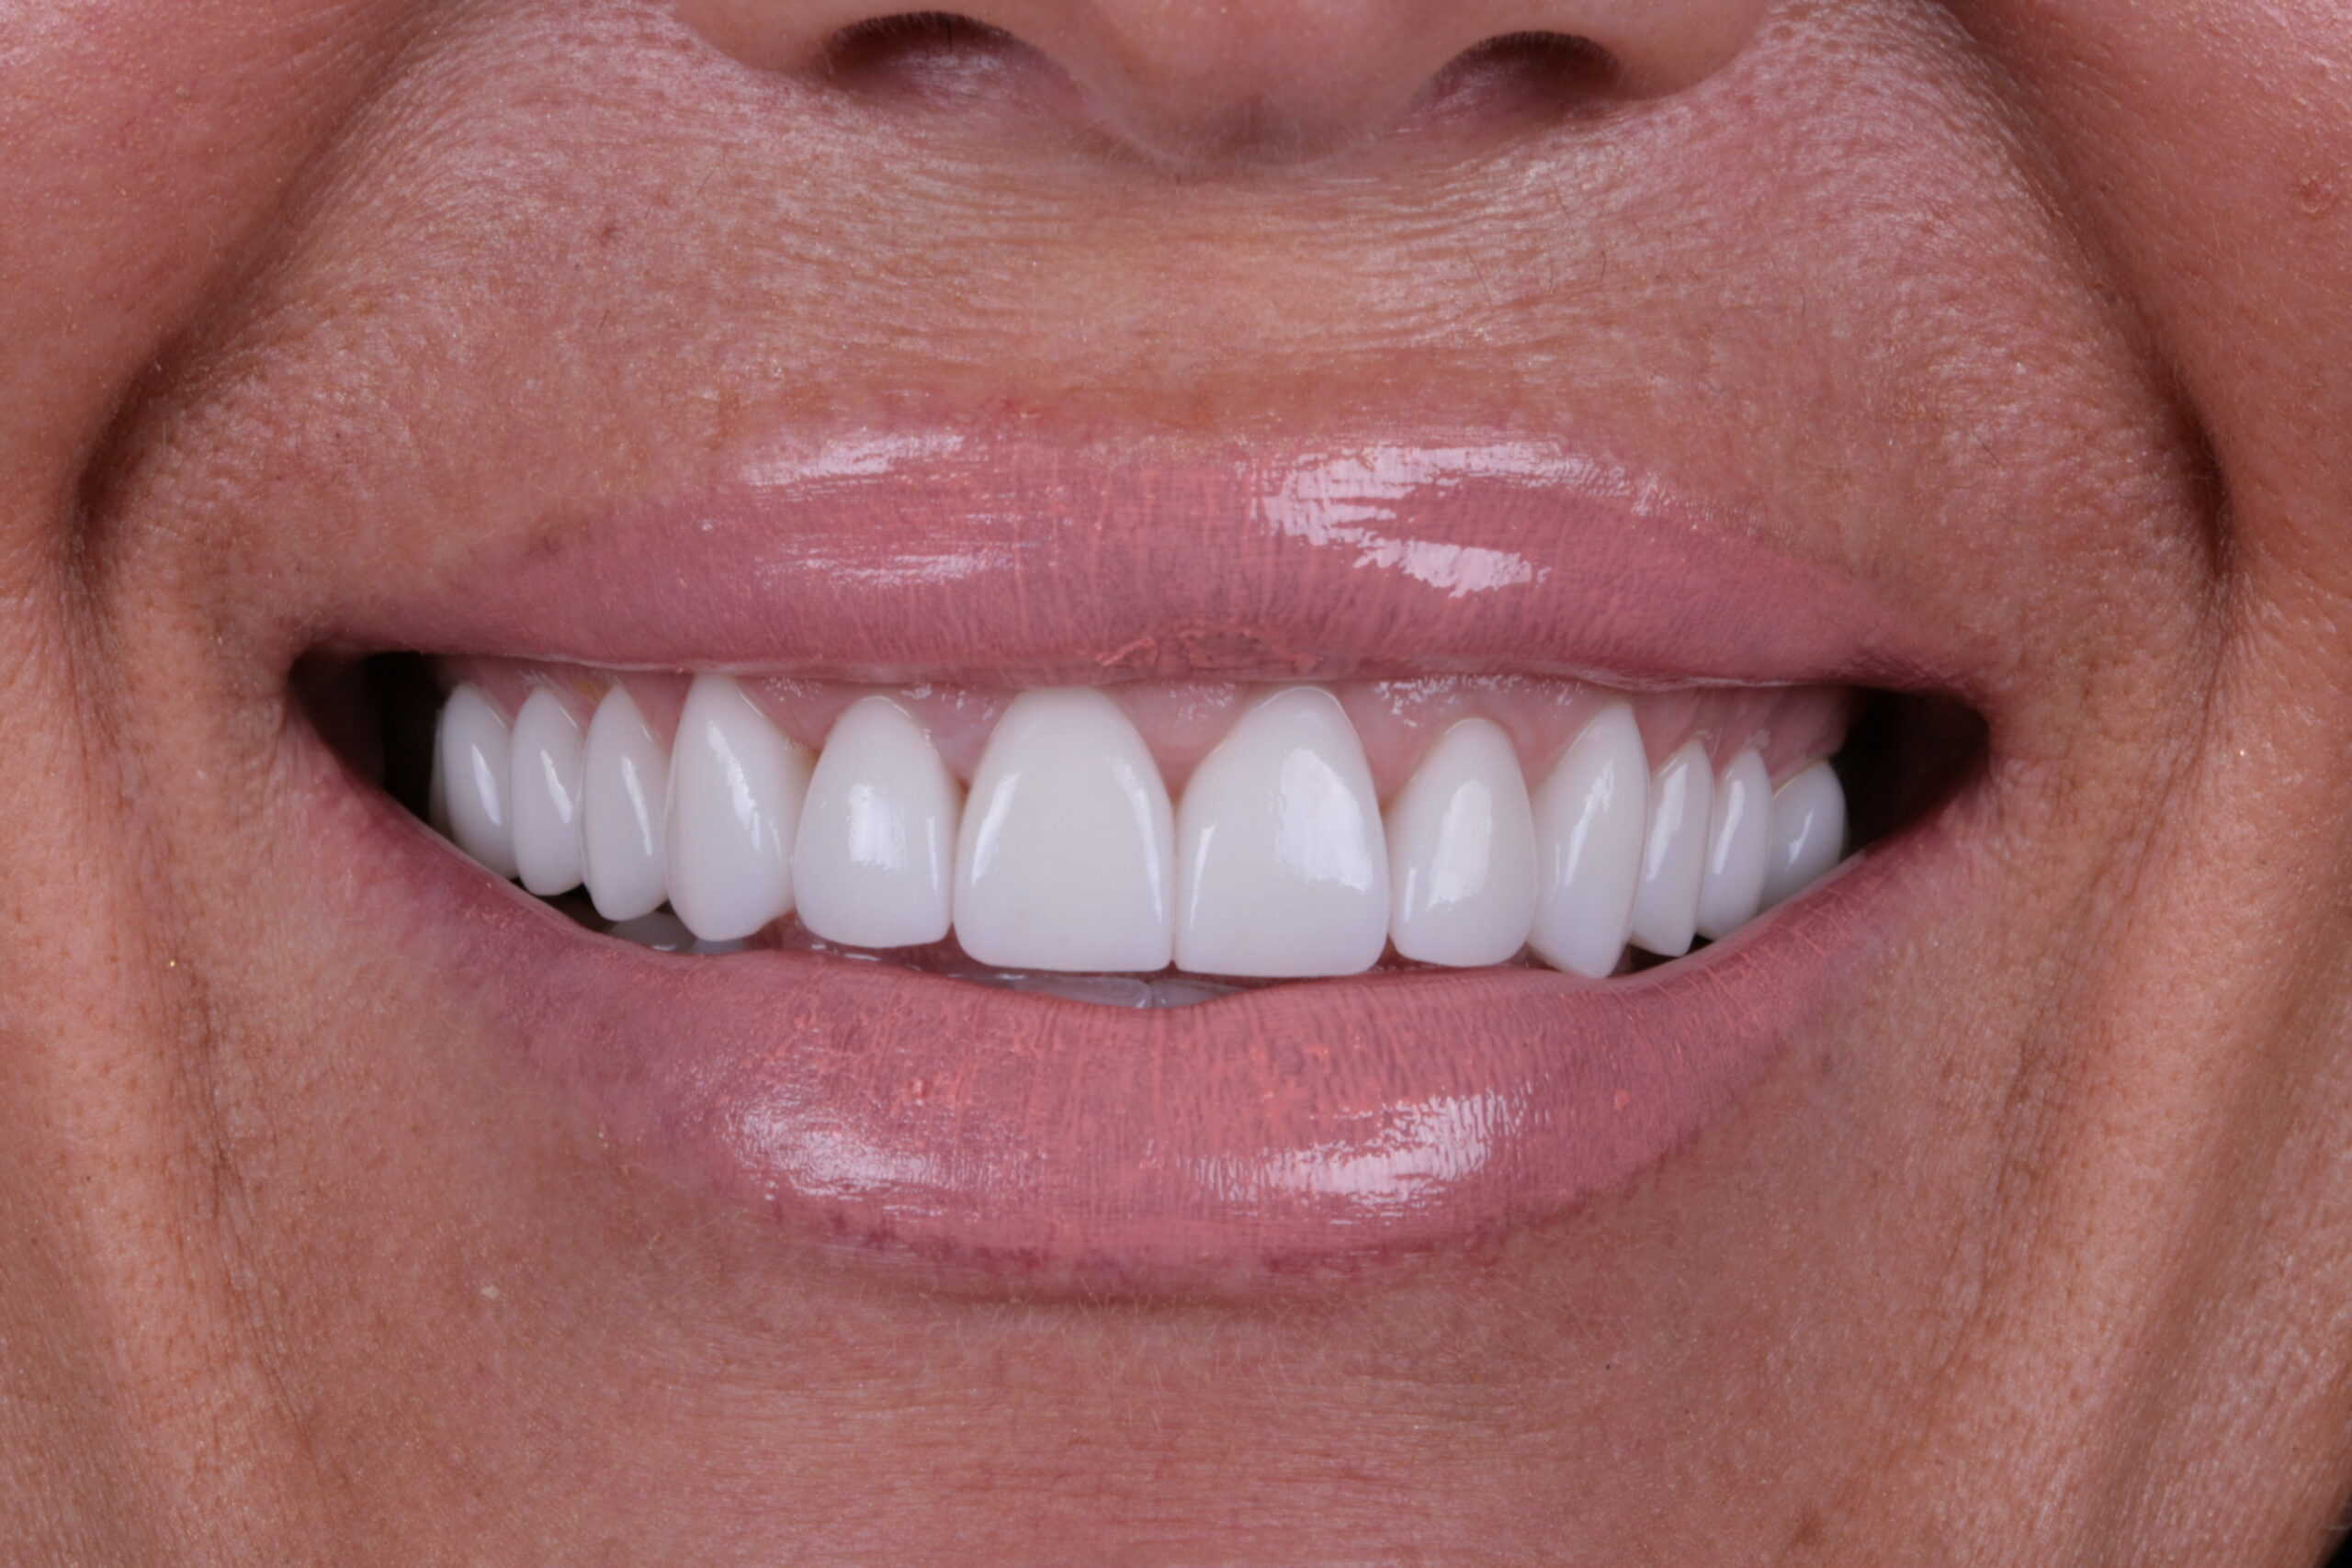
Have you ever taken a photo, and the result came out looking warm and yellow instead of the white and bright teeth you just worked so hard on achieving? It happens. The light that our camera pulls in can affect the tone in the photos that we see.
You can use Lightroom CC on Apple & Android smartphones to edit your photos, and it is one of the best ways to get your photos to look beautiful and professional.
This app doesn’t change your photo’s integrity, but instead, you can balance the tones and colors to show the true picture. Once you start editing with Lightroom, you’ll start to see your image quality improvement, and you’ll develop a style that is unique to you!
Showcasing your work is the easiest and best way to bring new patients into your practice and increasing your business. You’ll begin to notice that your photos will look so much more professional if you follow these simple and easy tips!