Featuring Dr. Brian Harris, Dr. Marvin Berlin, and Bob Clark of Williams Dental Lab
Taking beautiful before and after photos of your cases is one of the most important and productive things you can be doing for your practice. These photos will allow you to attract and convert more of your ideal patients.
In our most recent webinar, Dr. Marvin Berlin walked through the process of taking amazing before and after photos that will help you increase your treatment acceptance rate.
Keep reading for the highlights, or click here for the re-play.
Why Dental Photography?
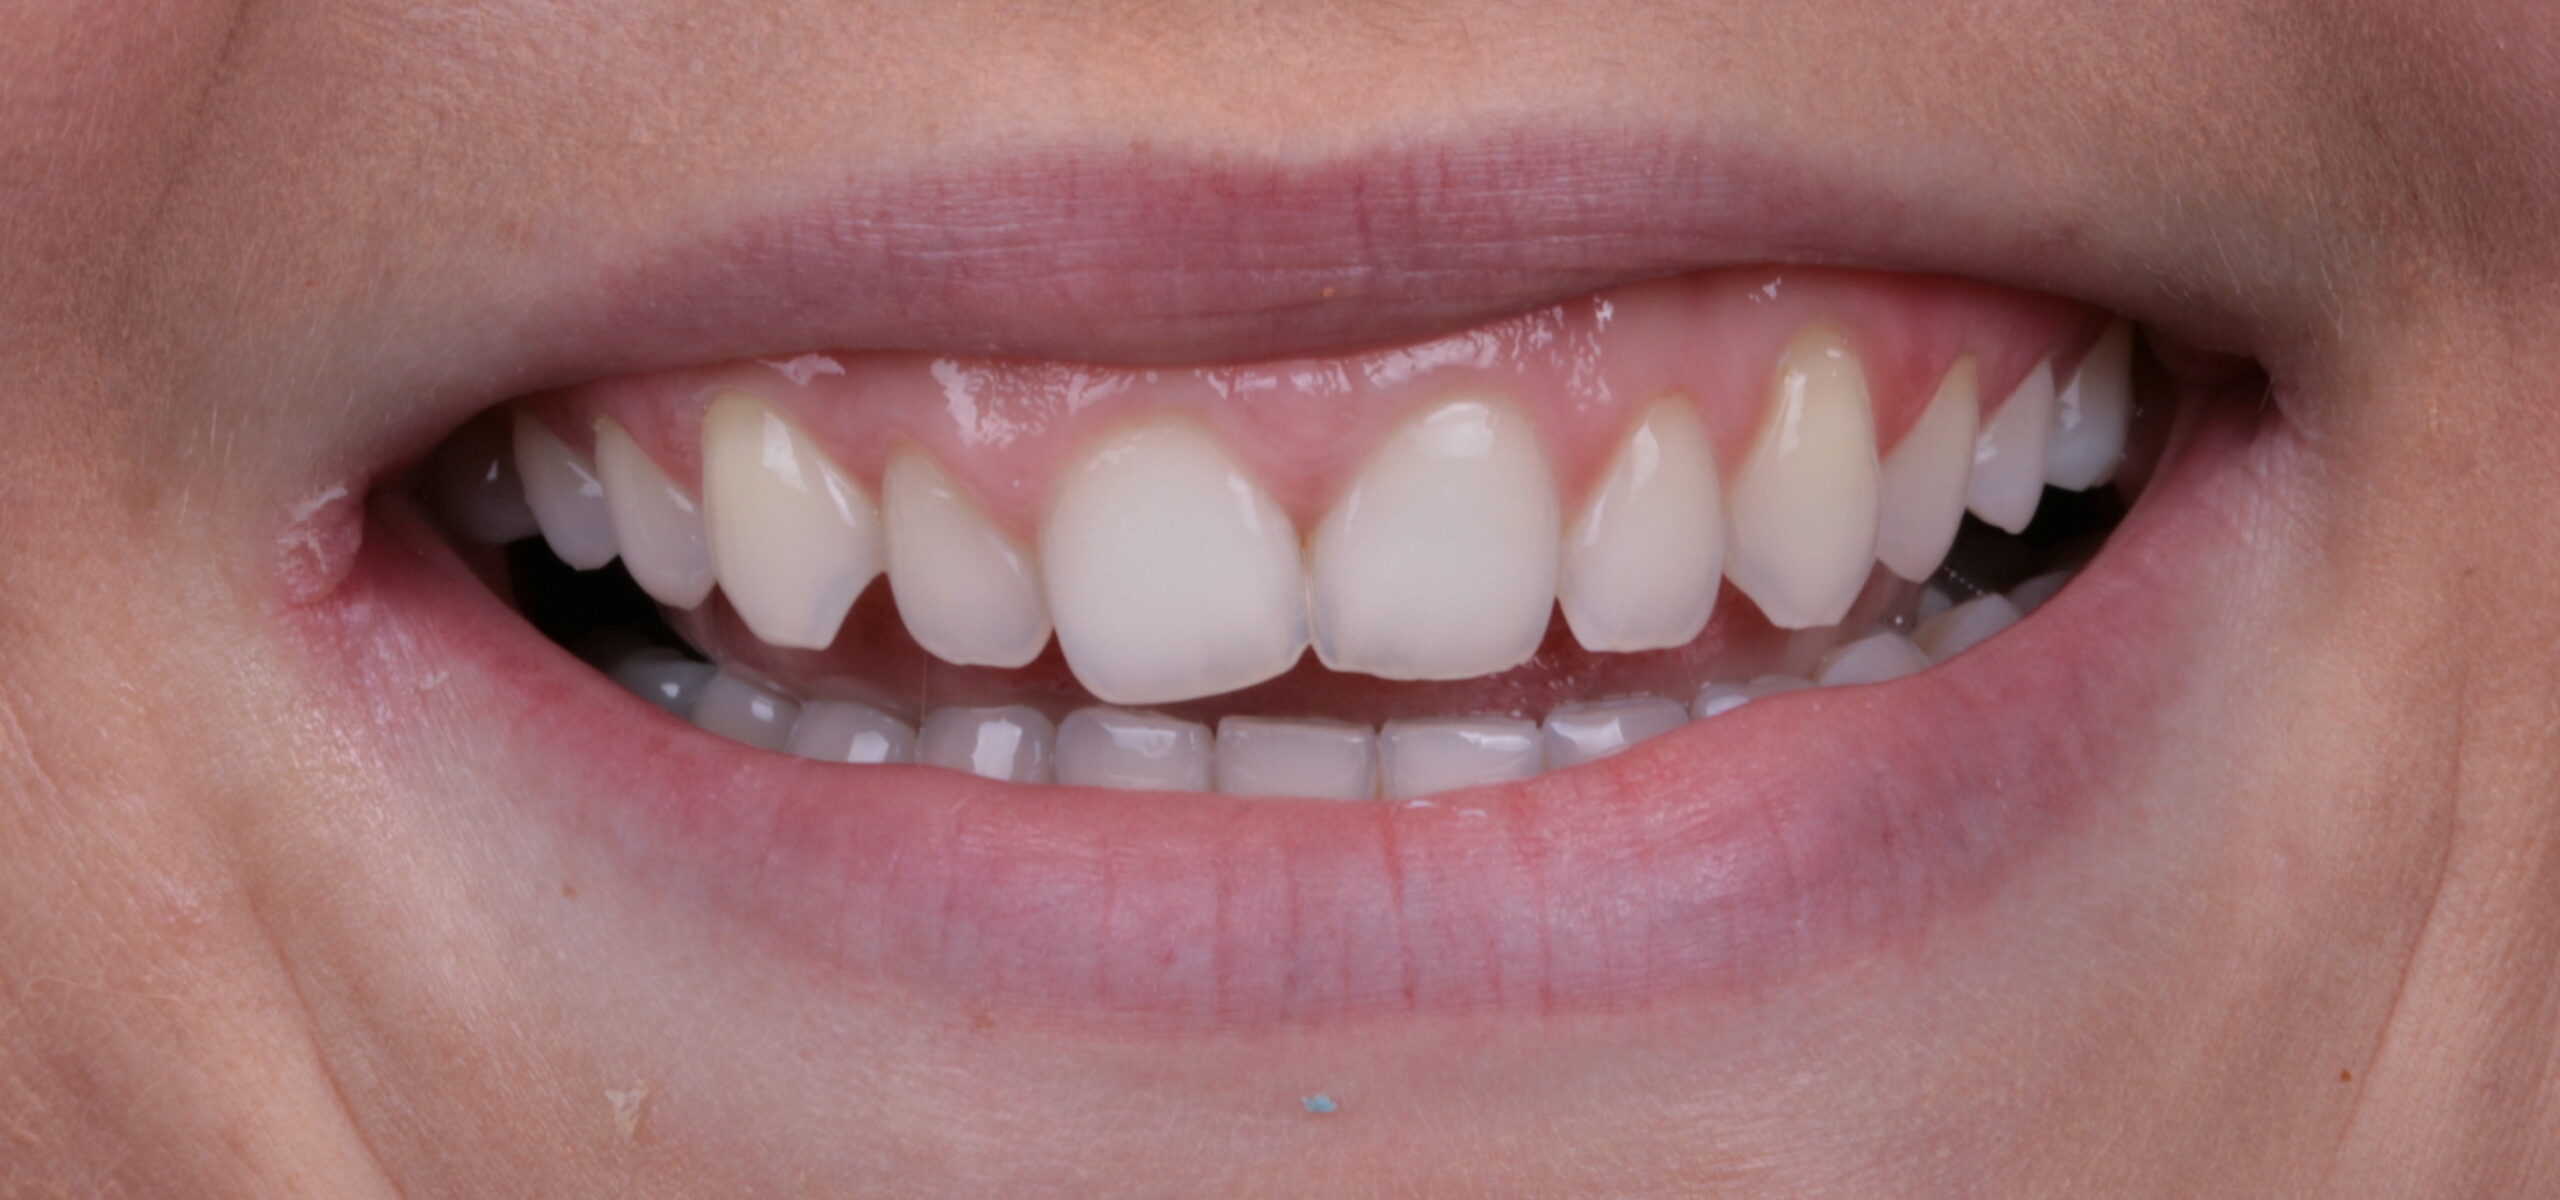
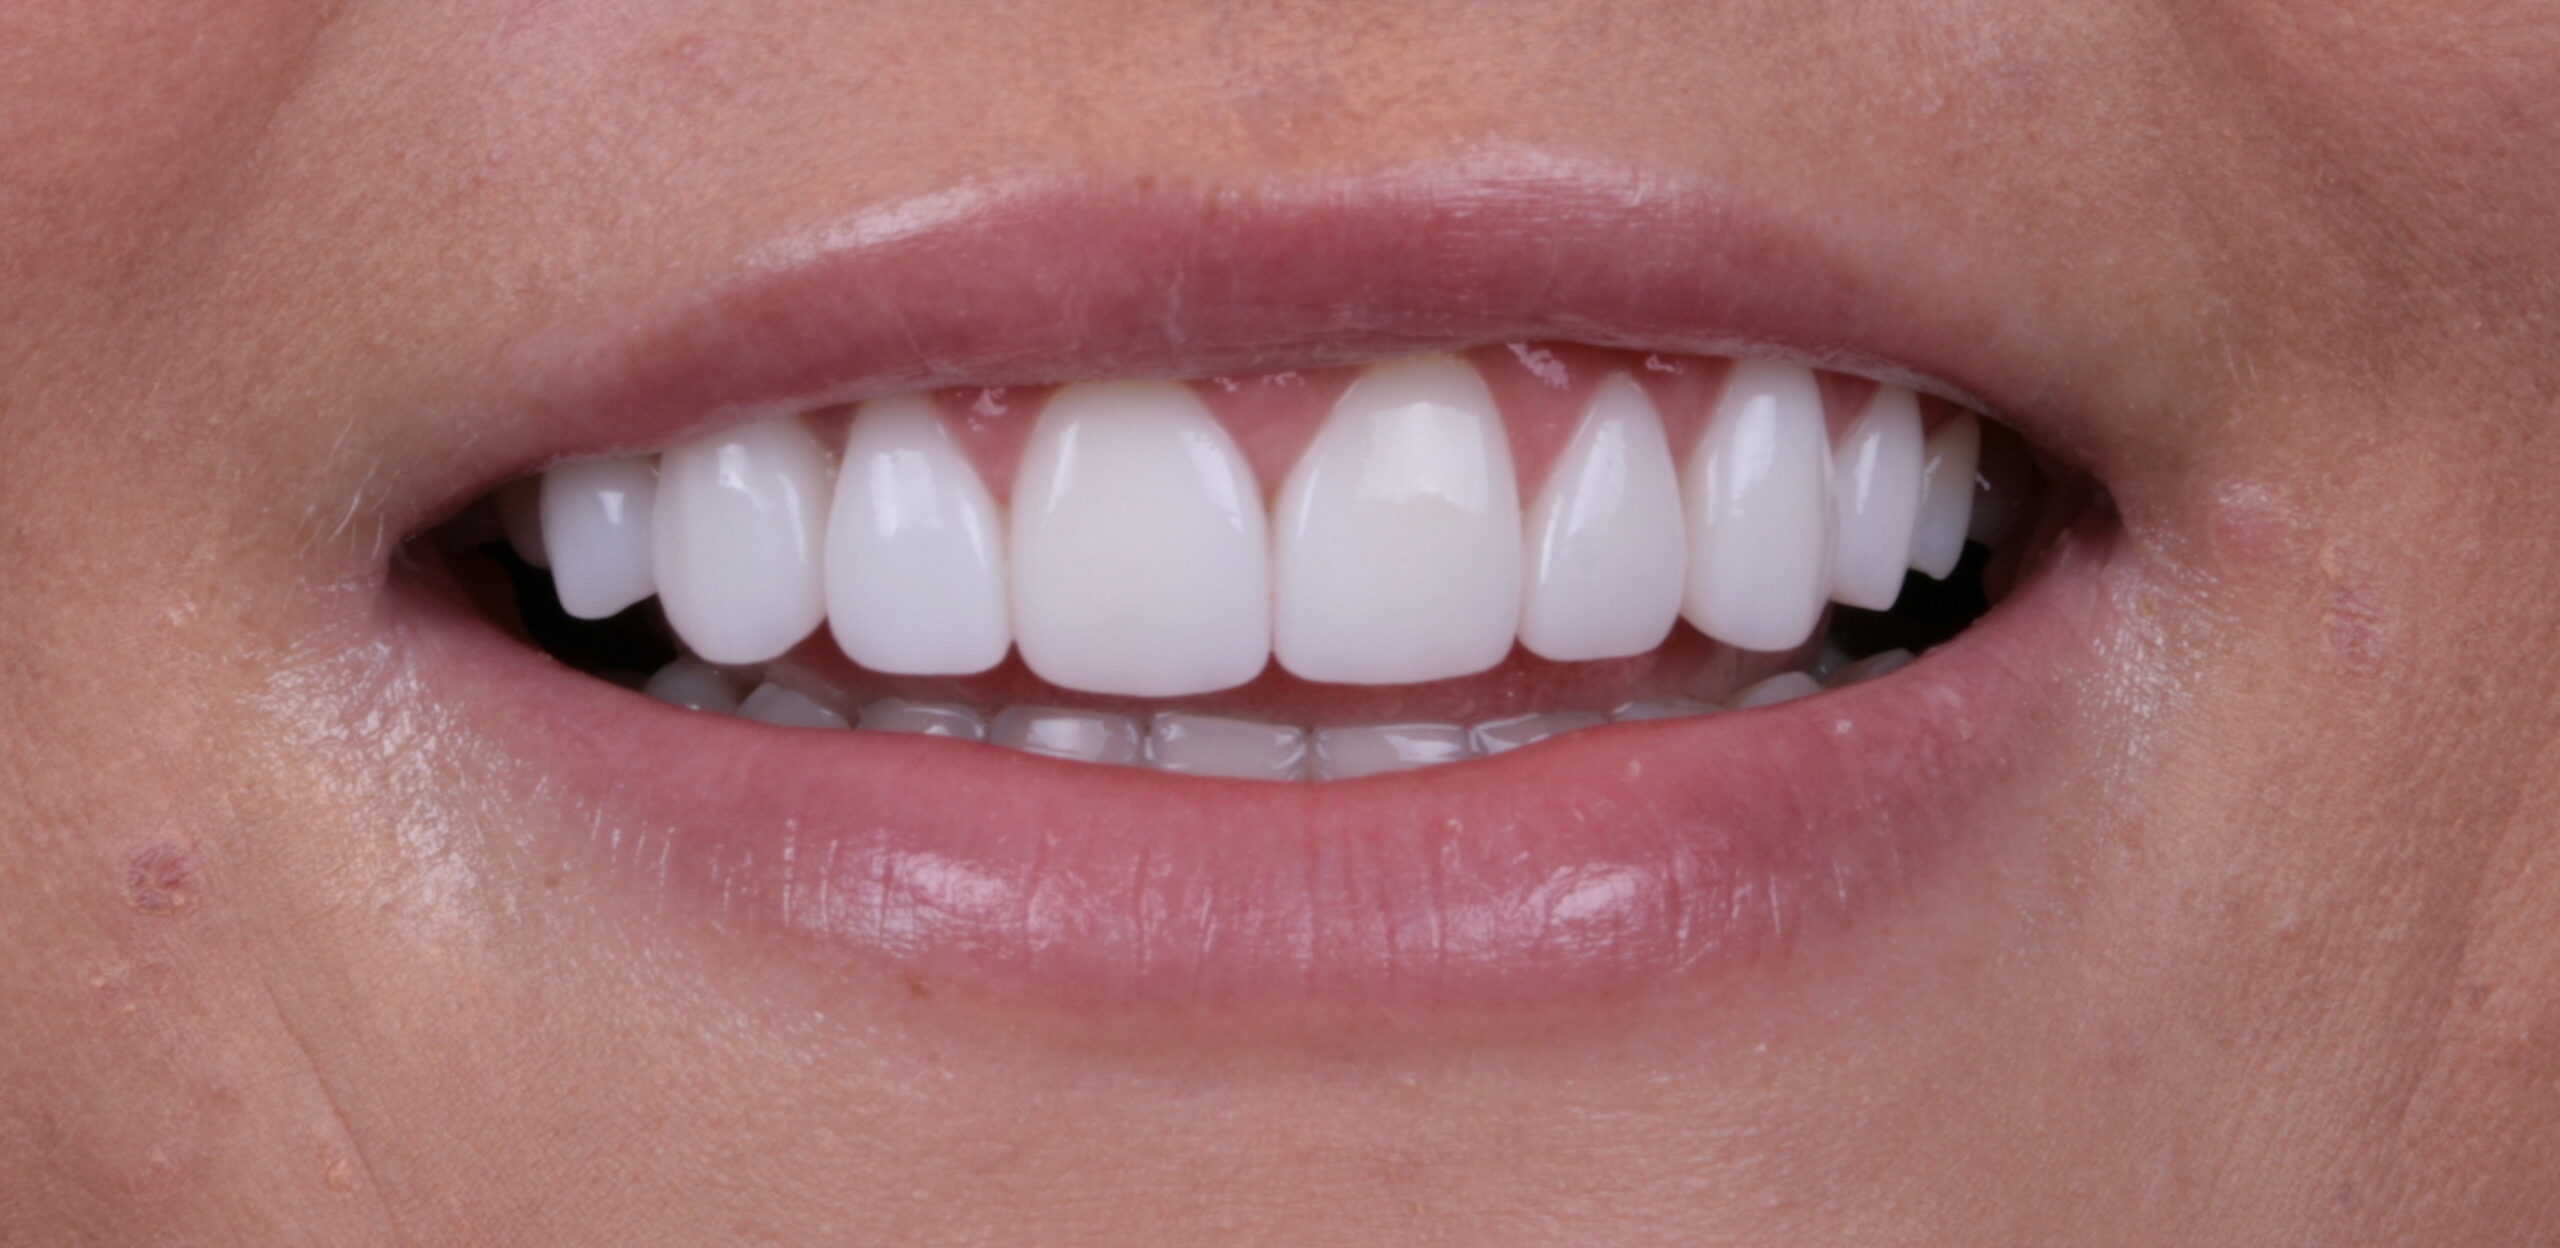
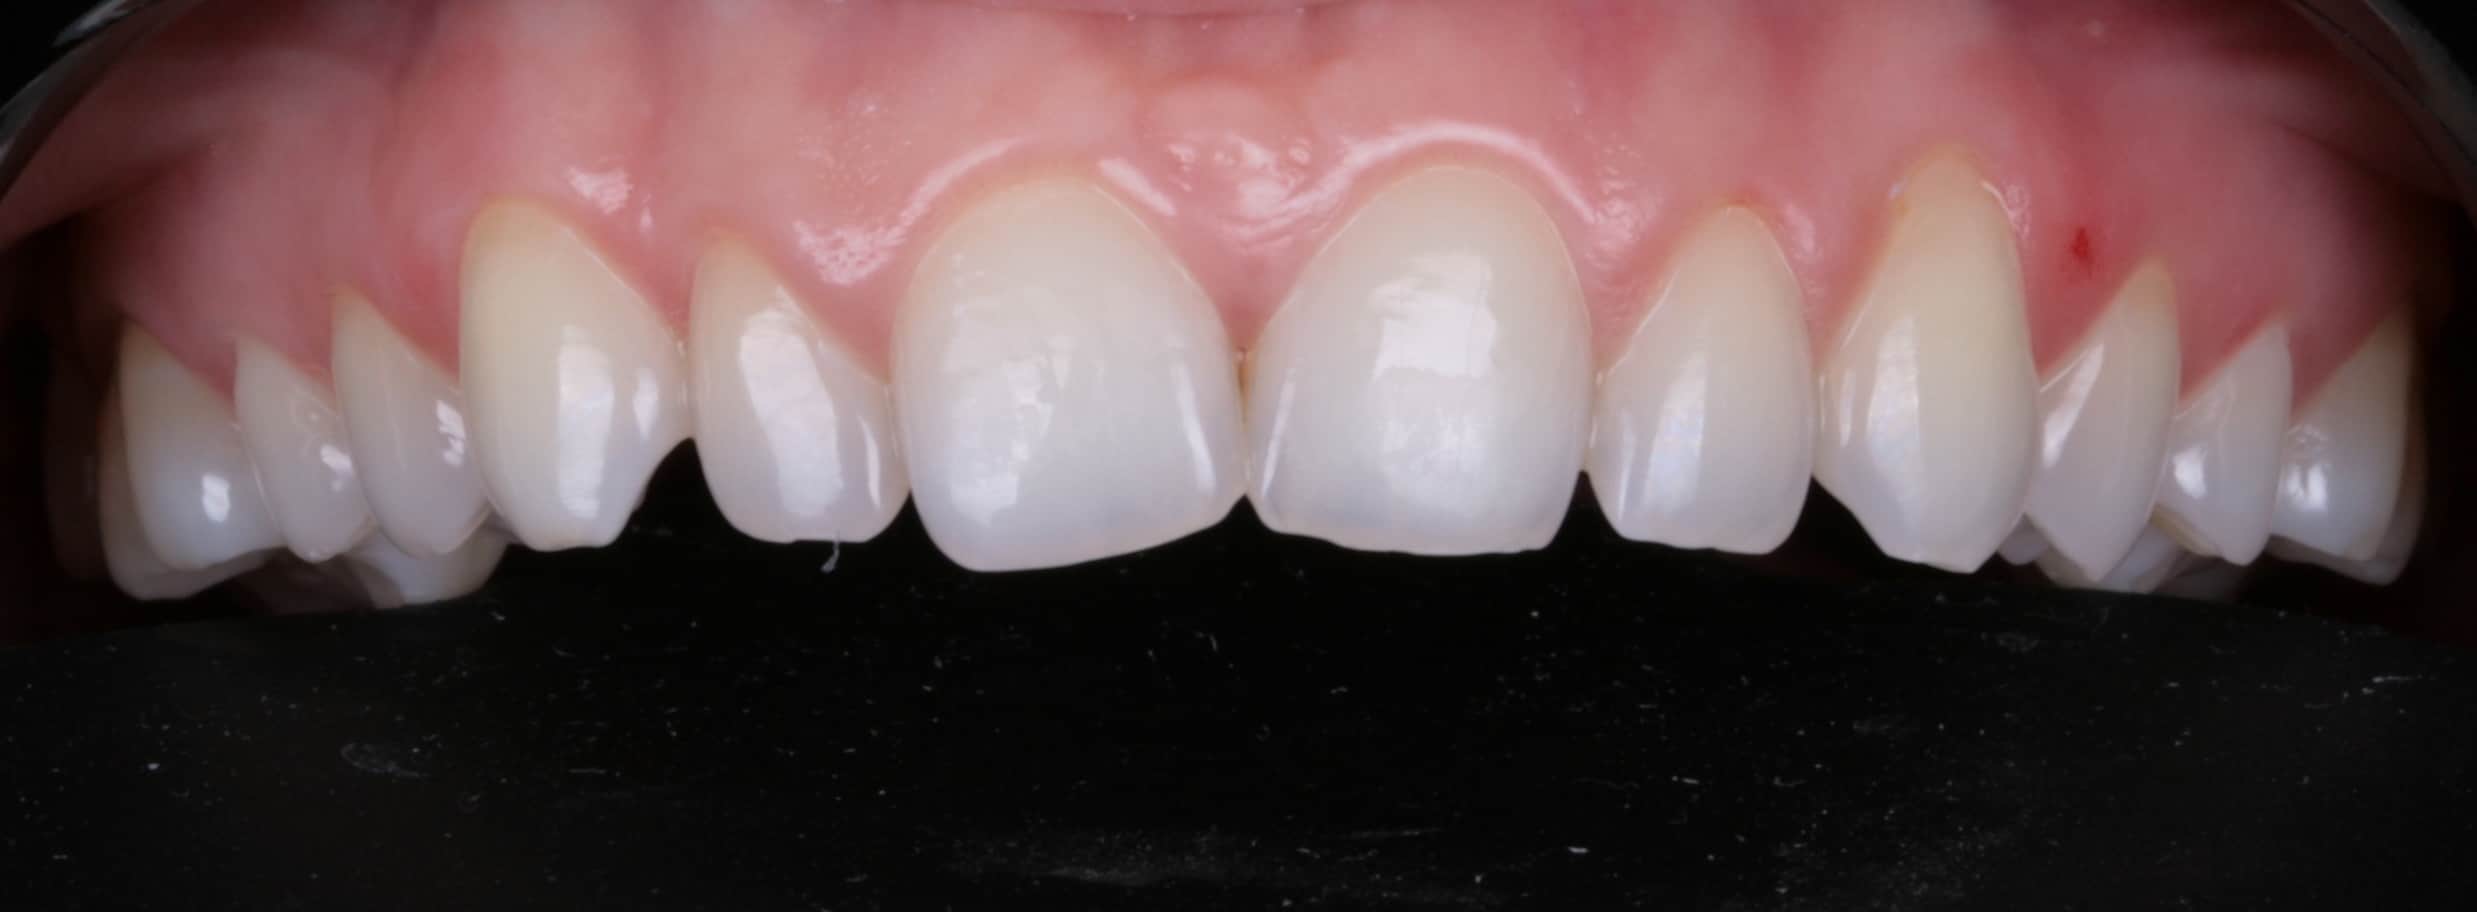
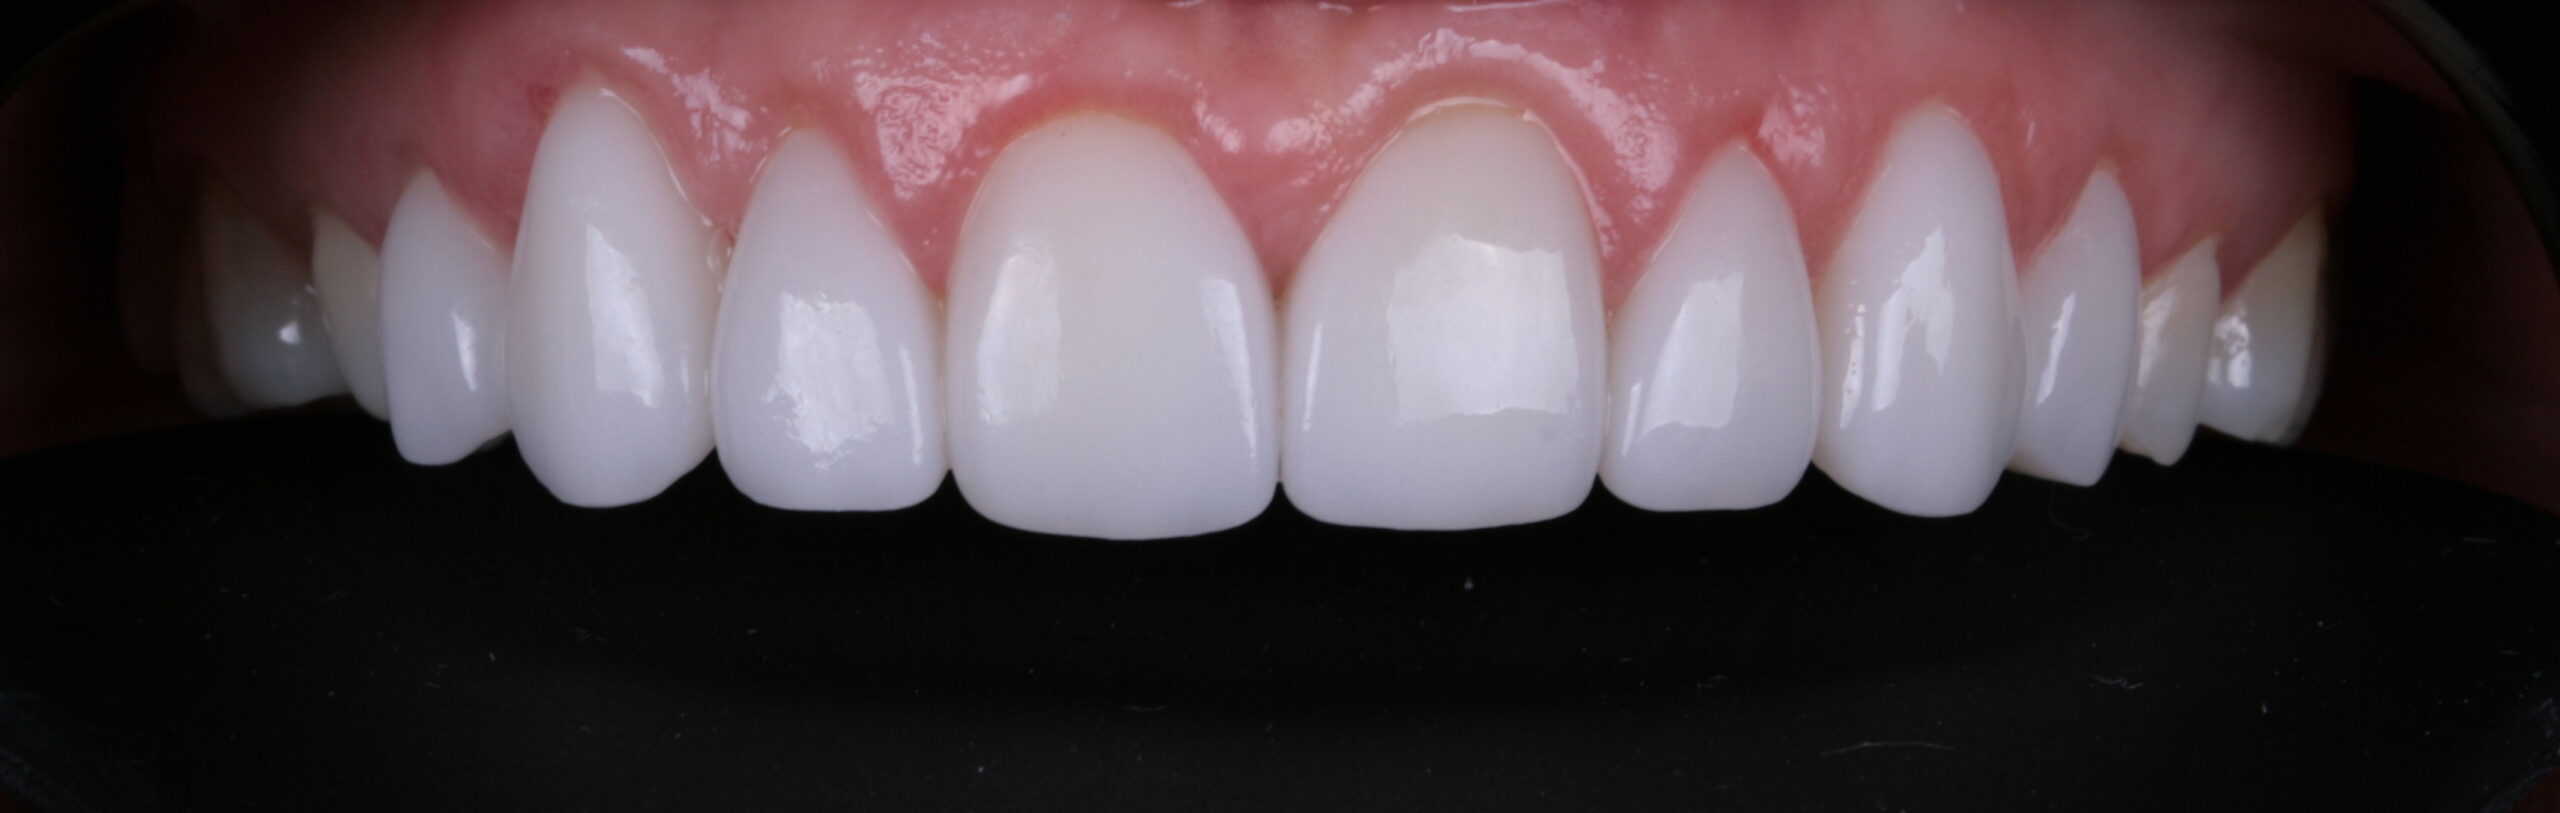
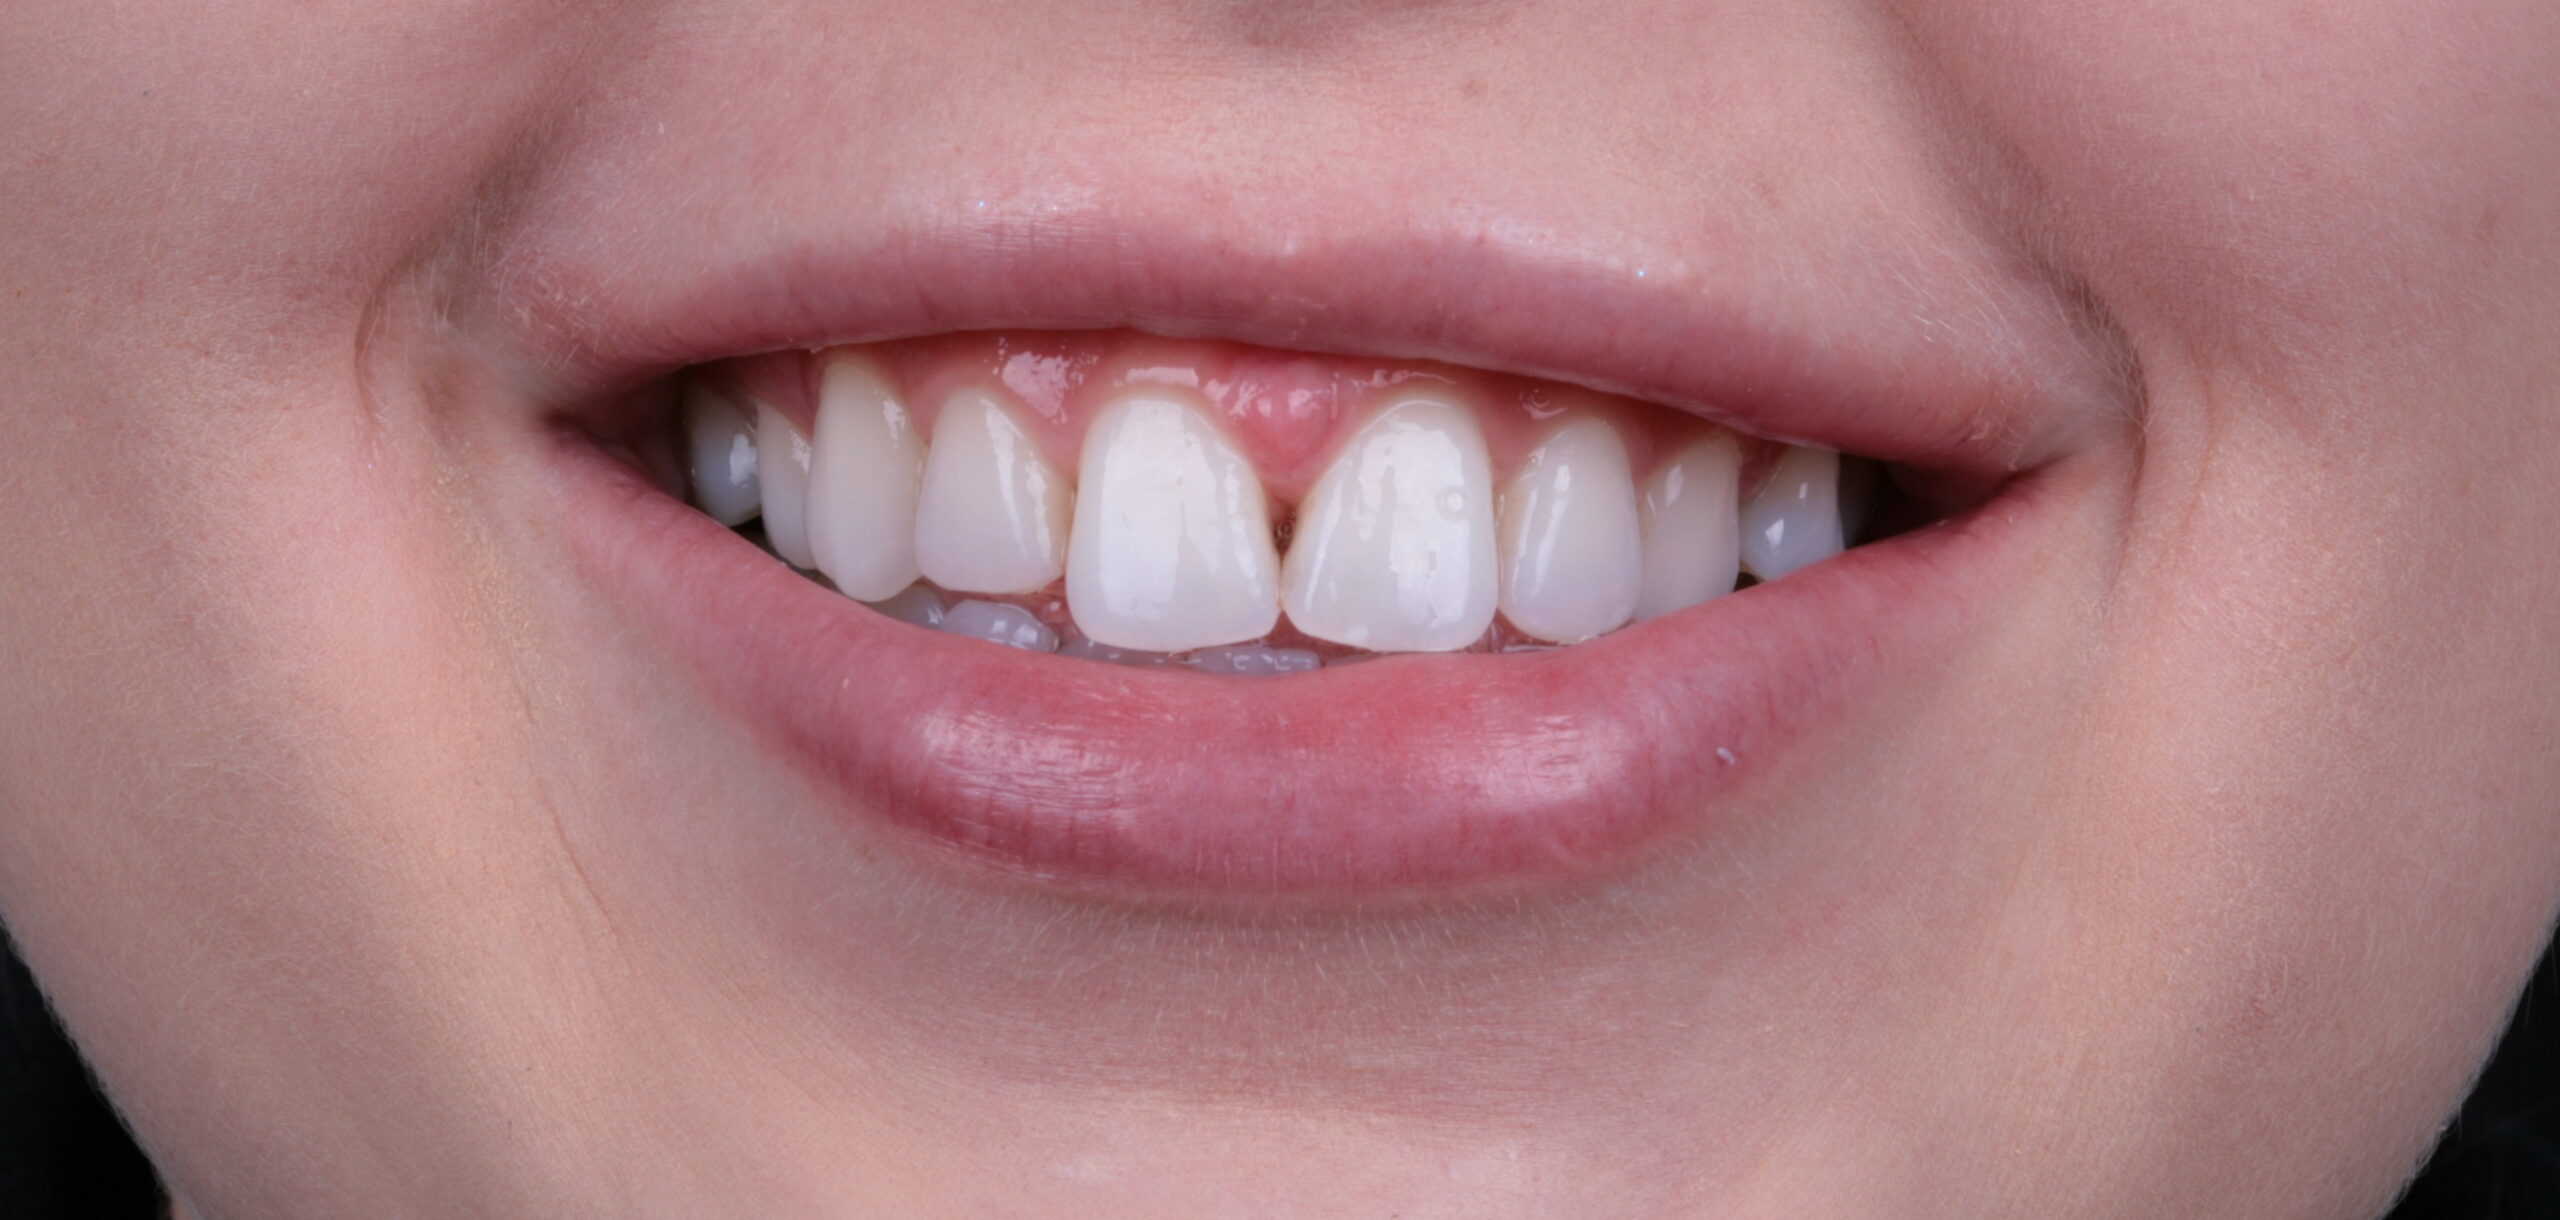
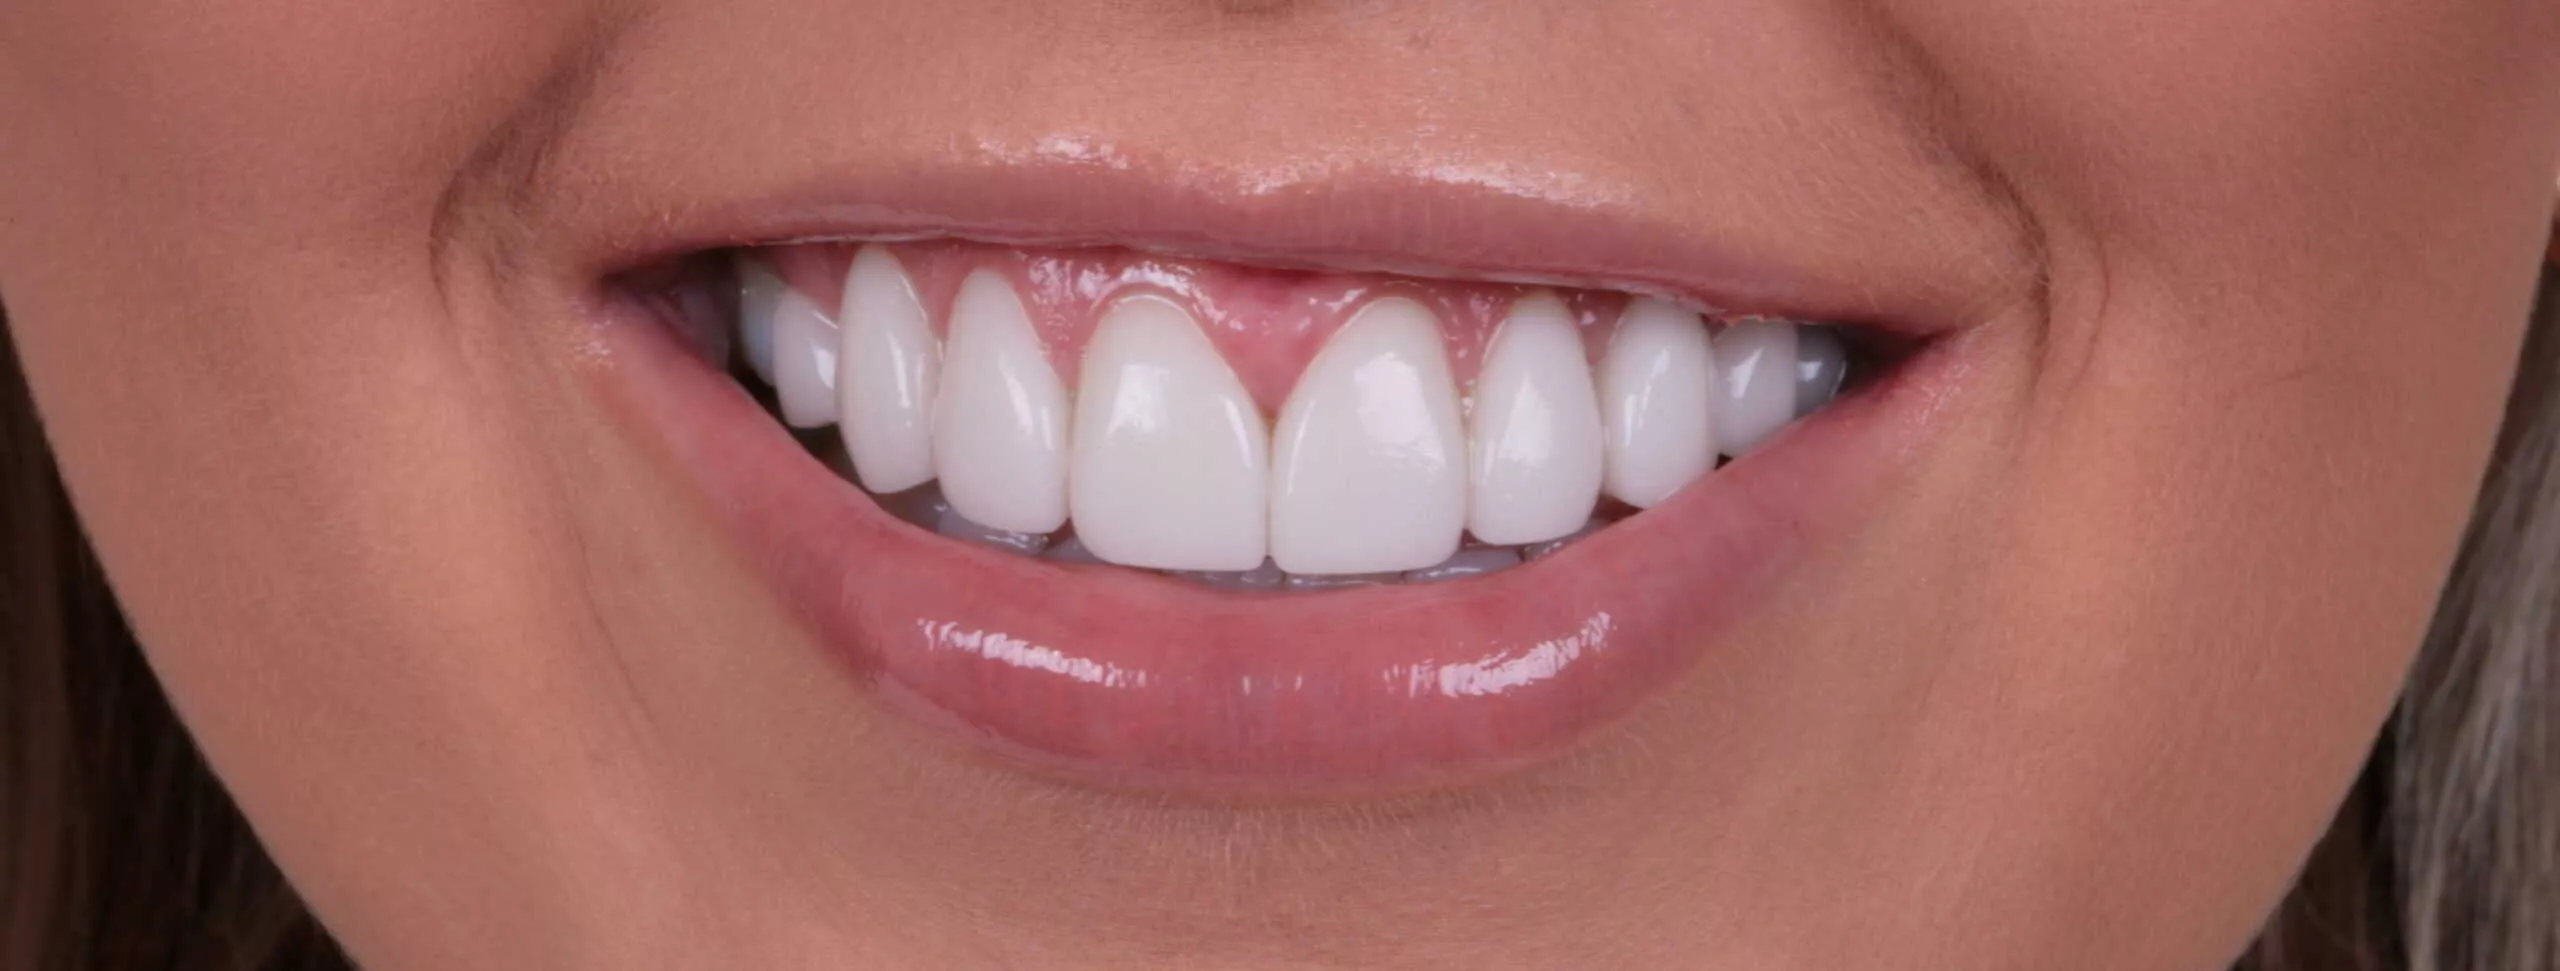
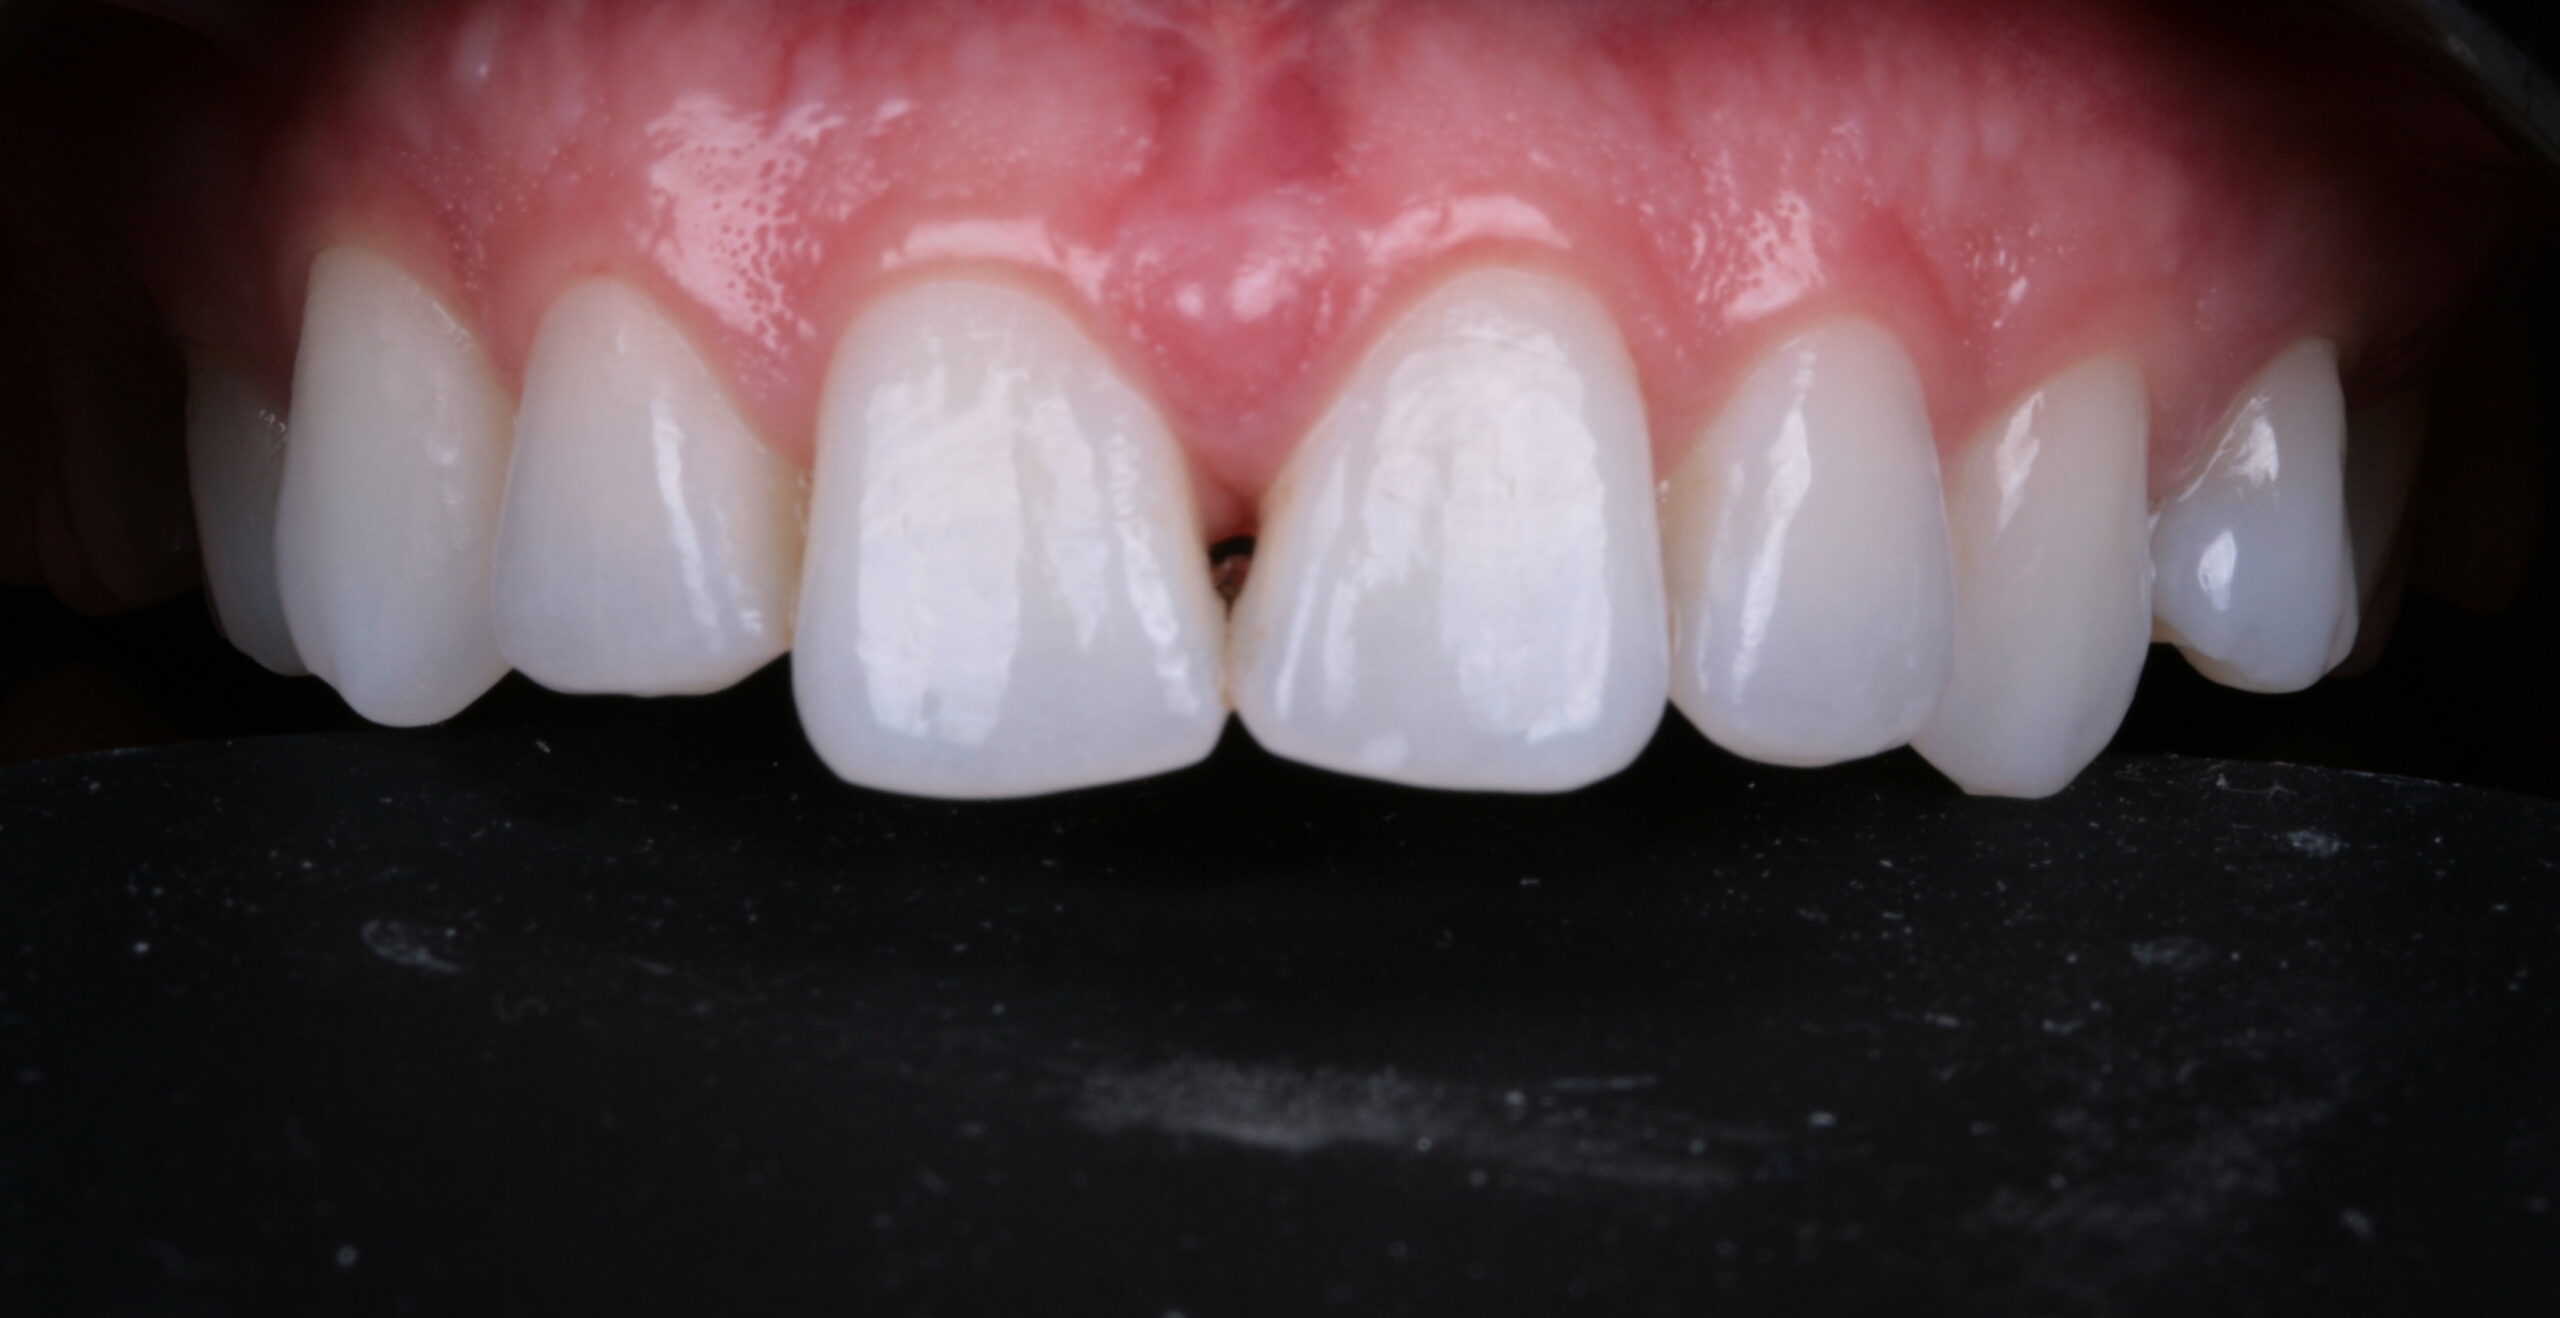
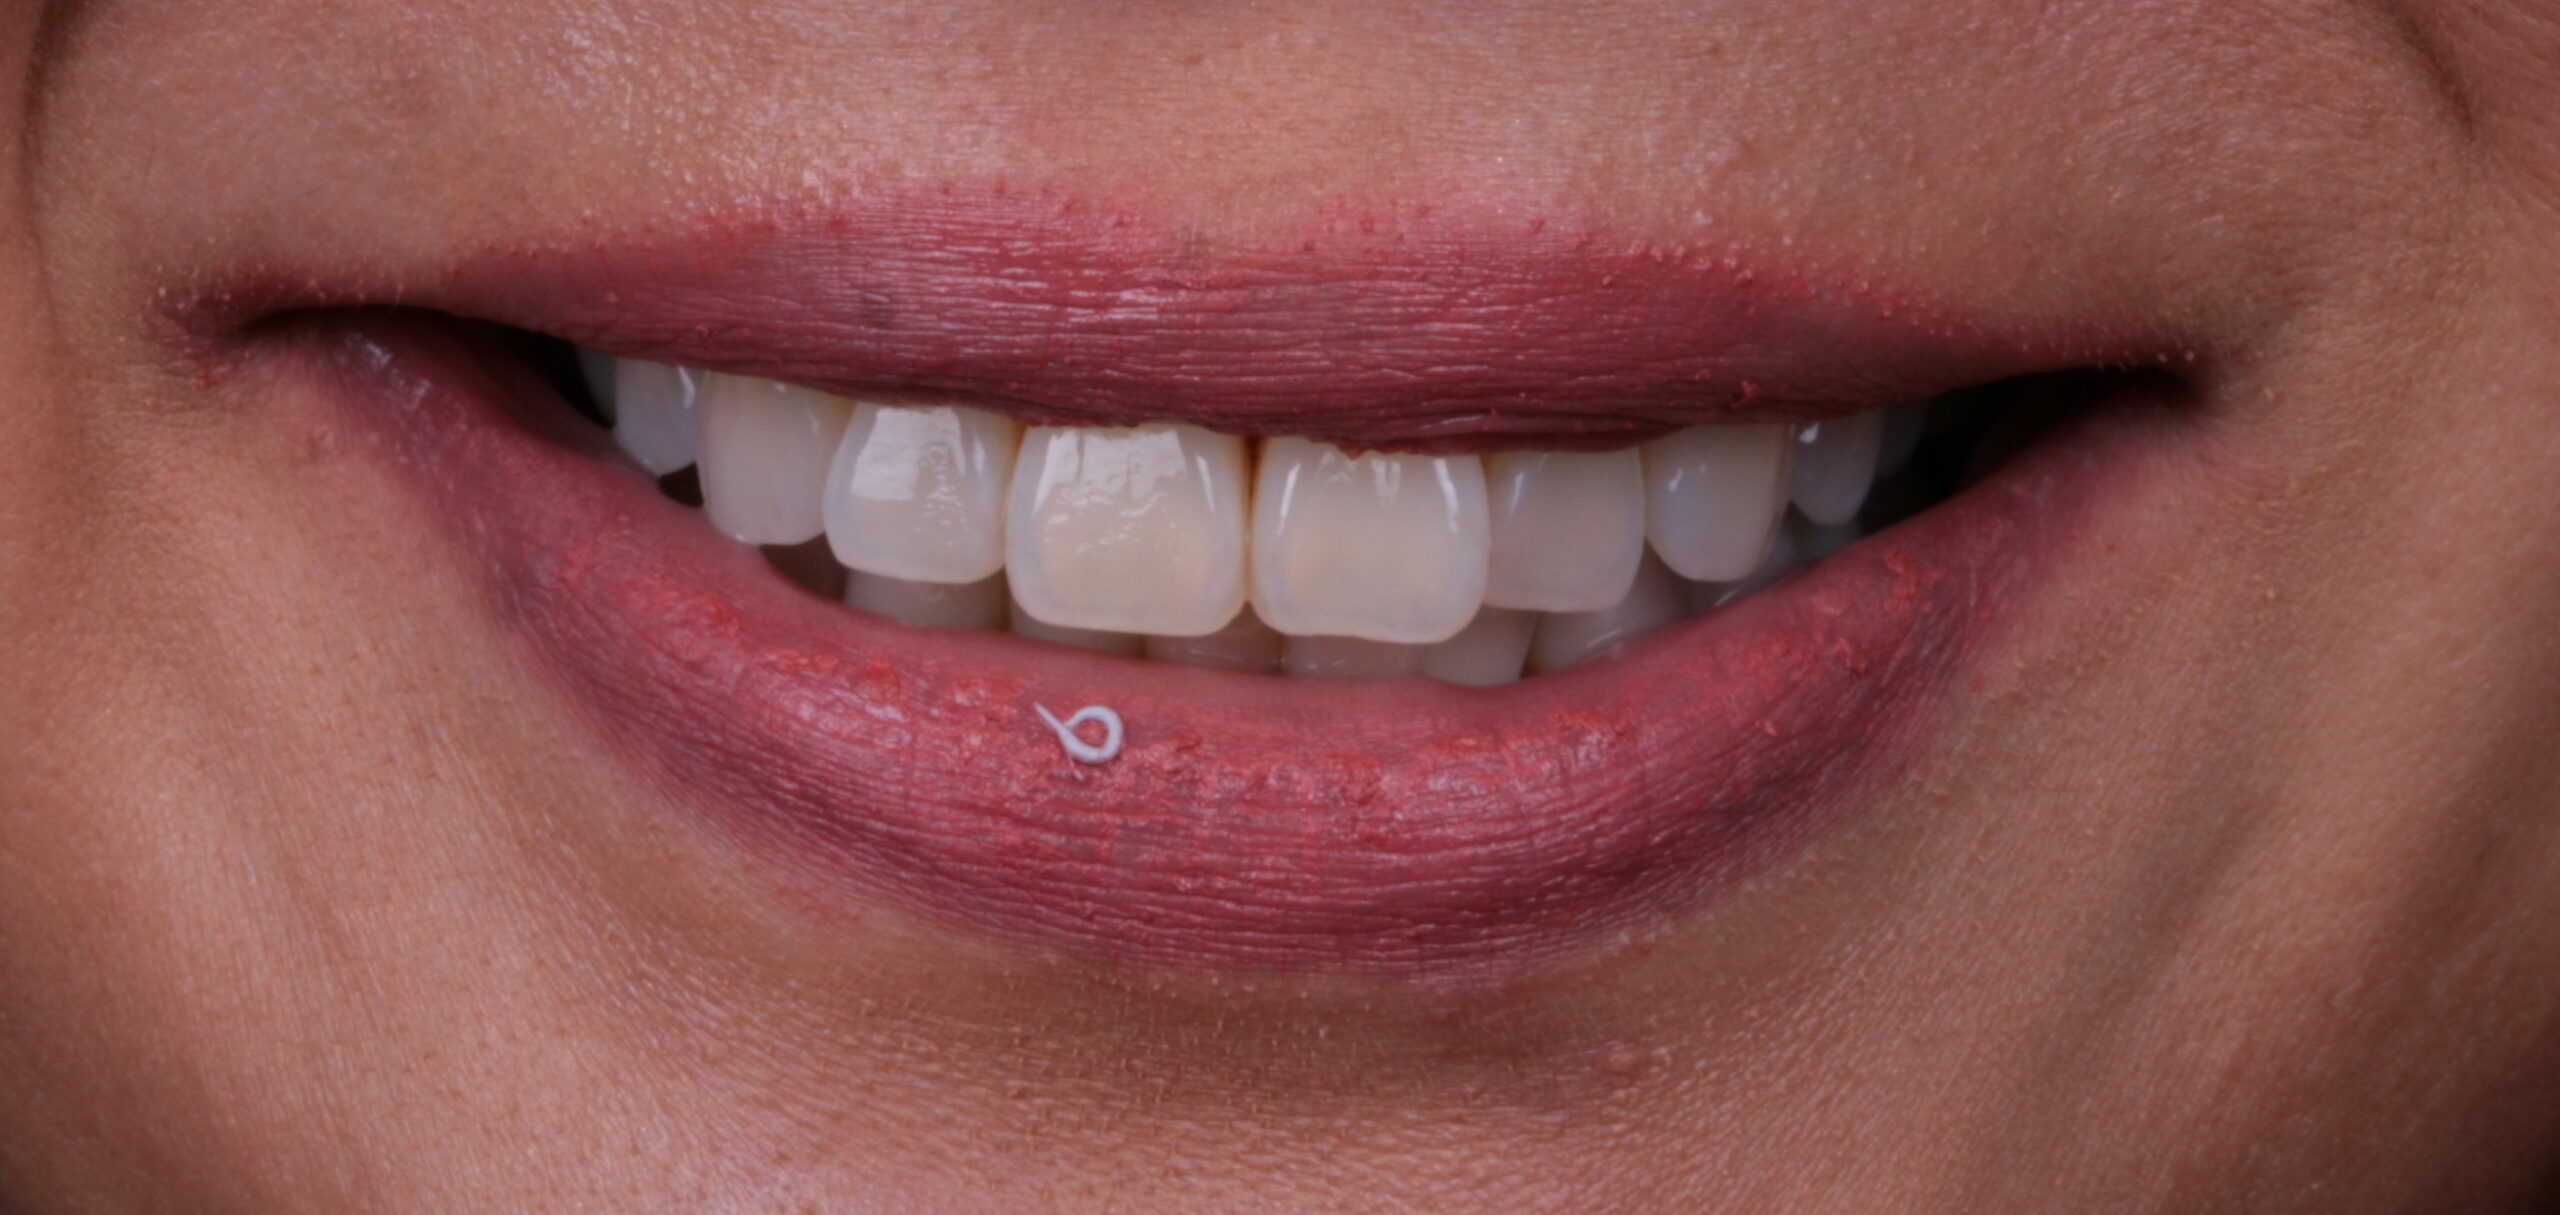
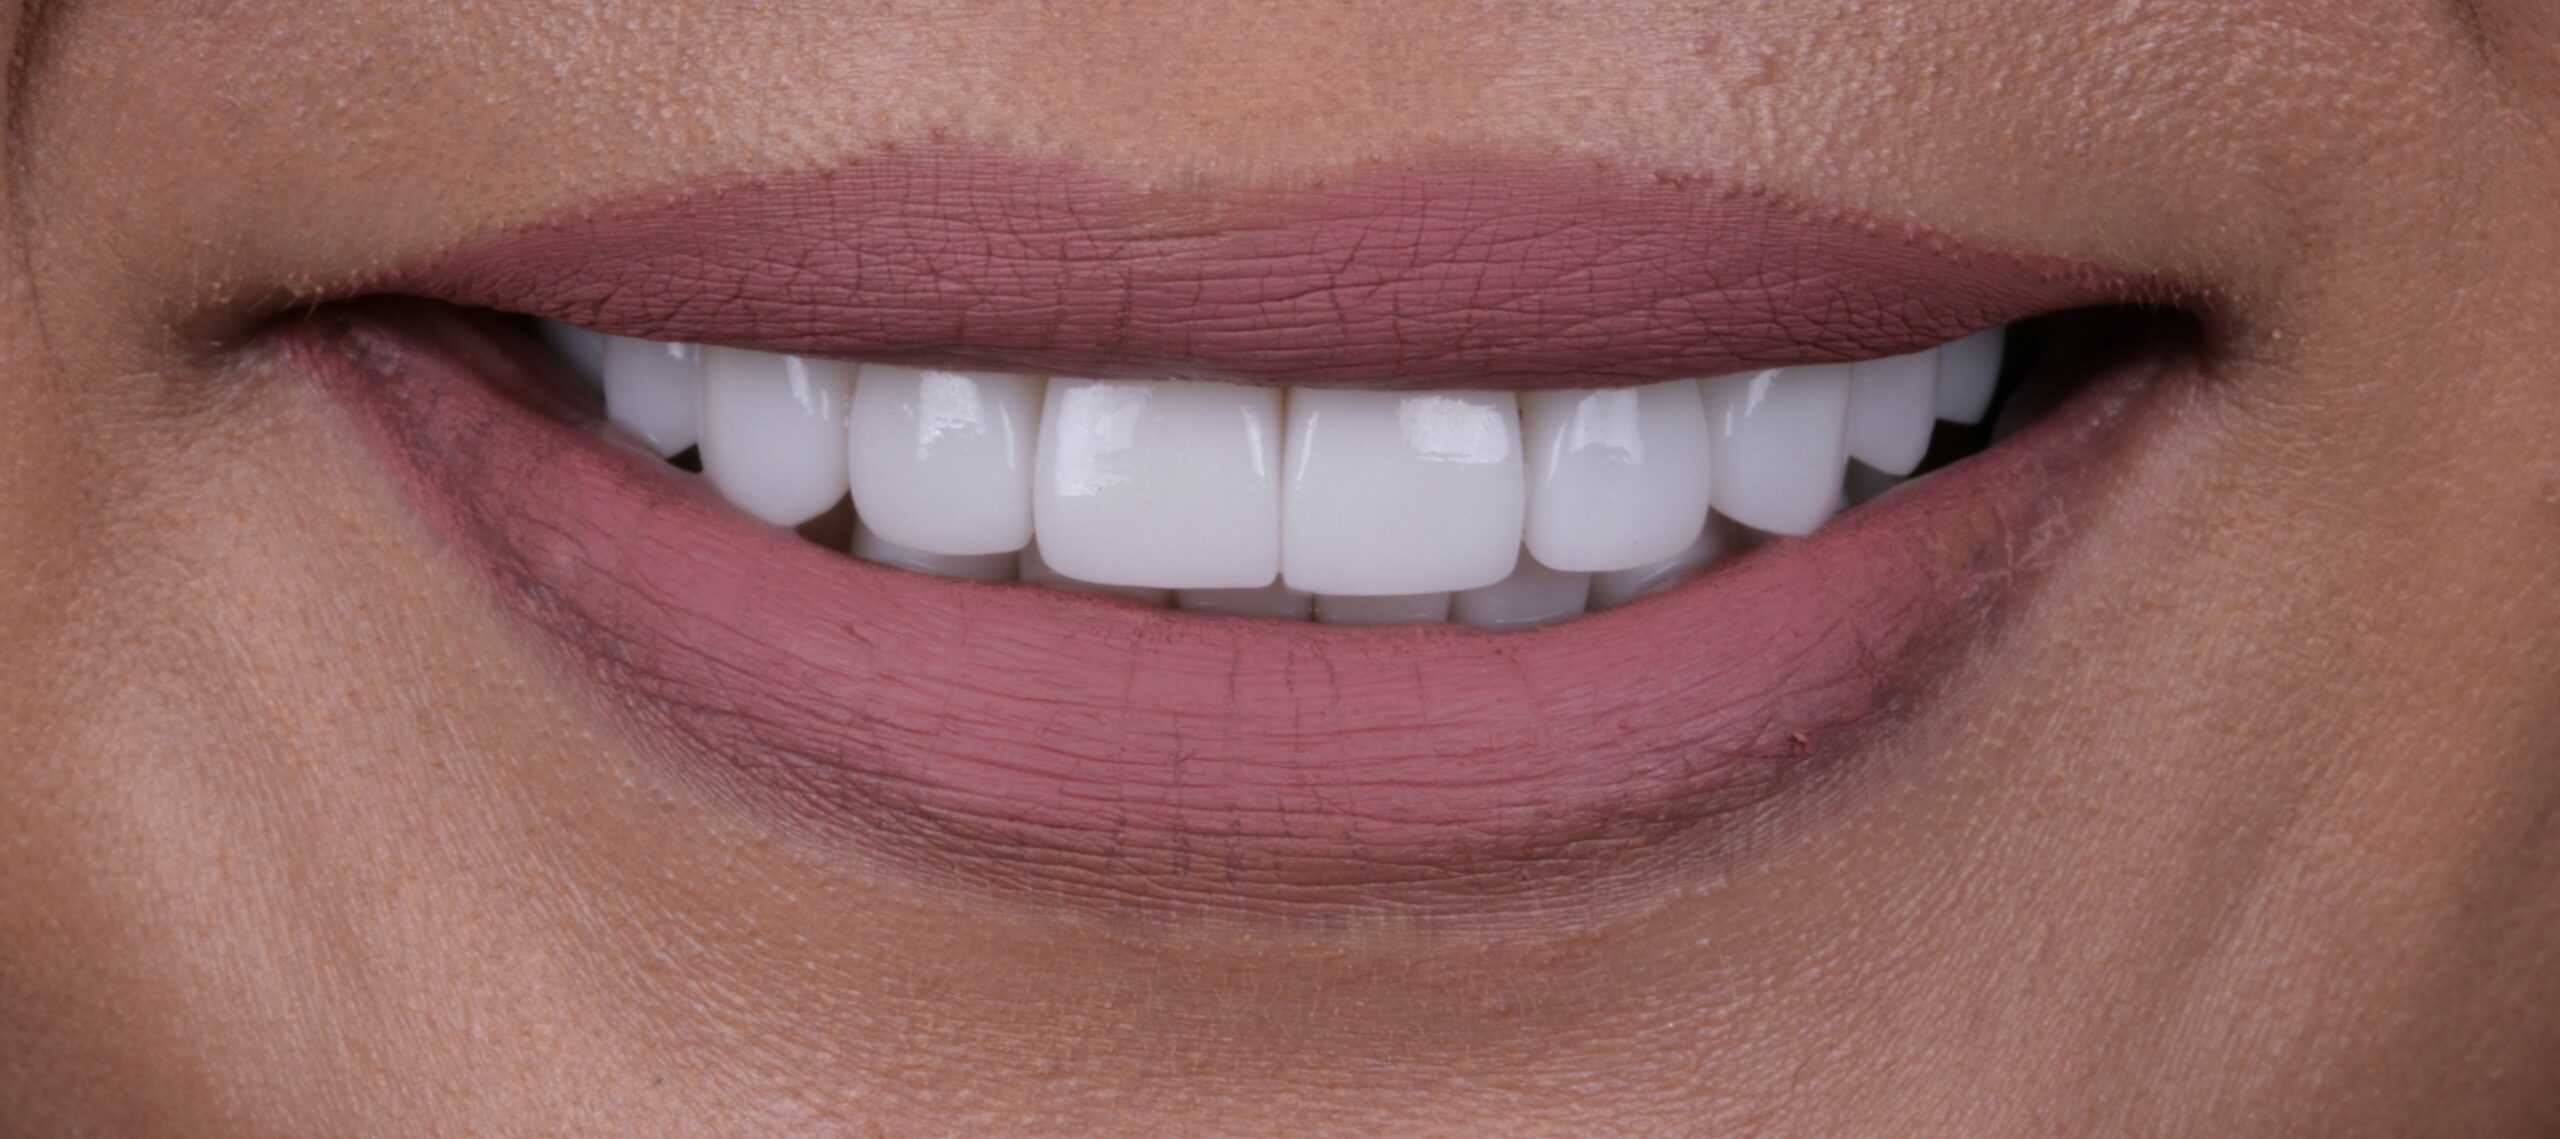
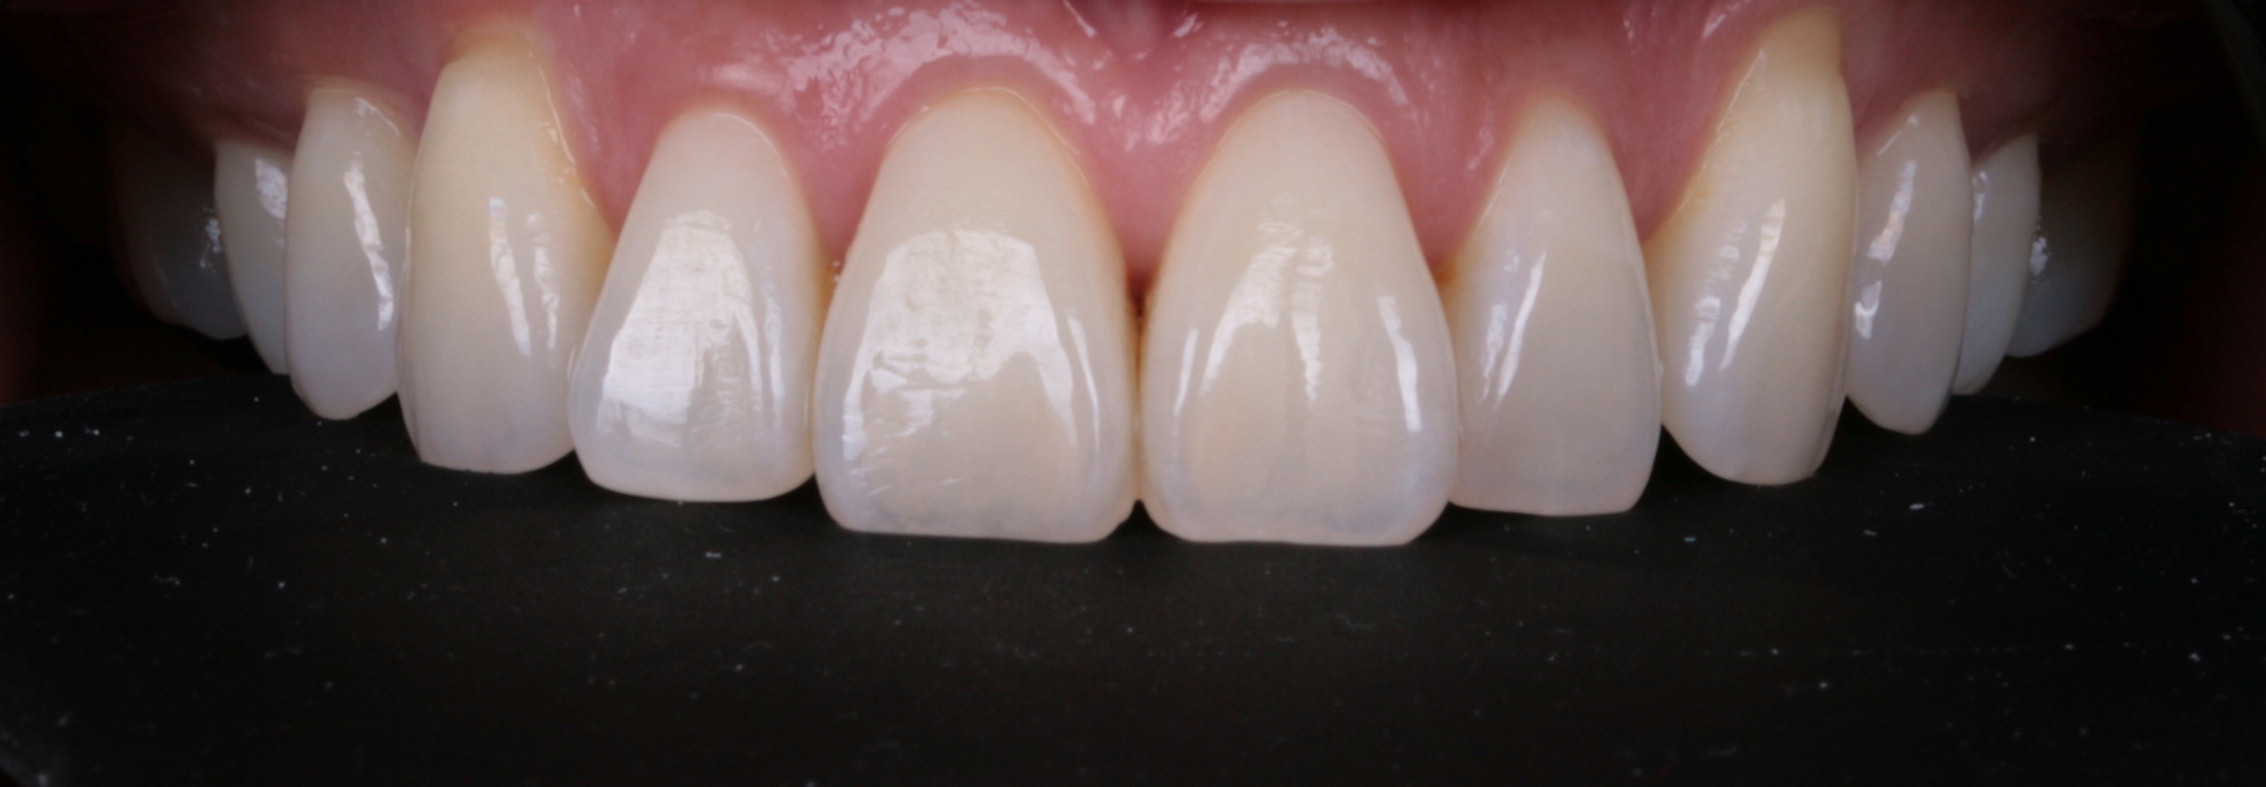
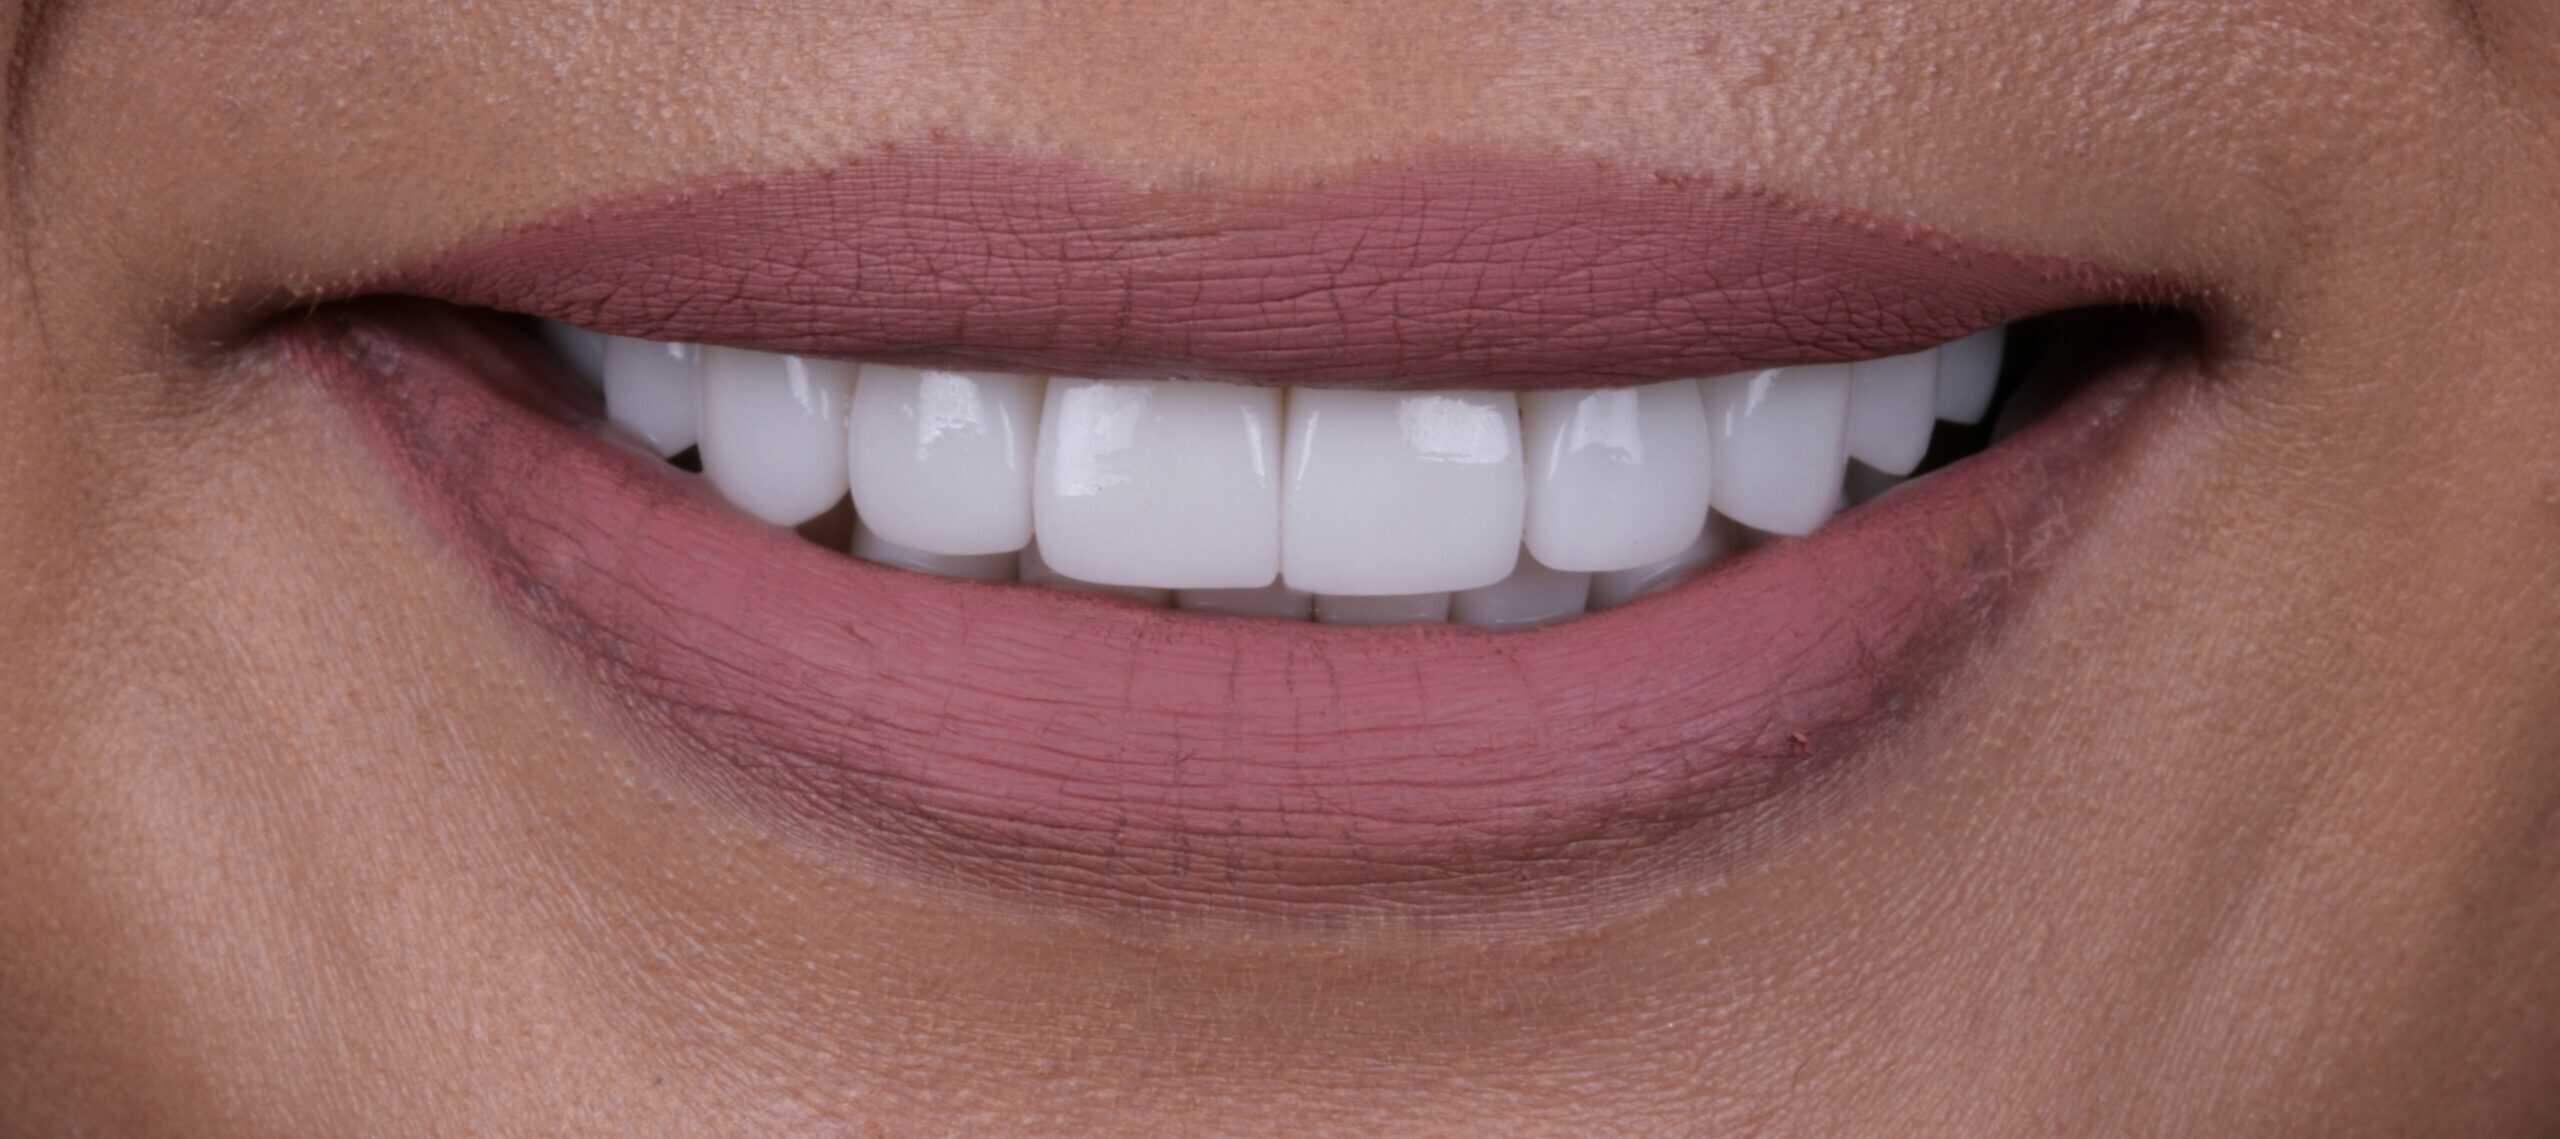
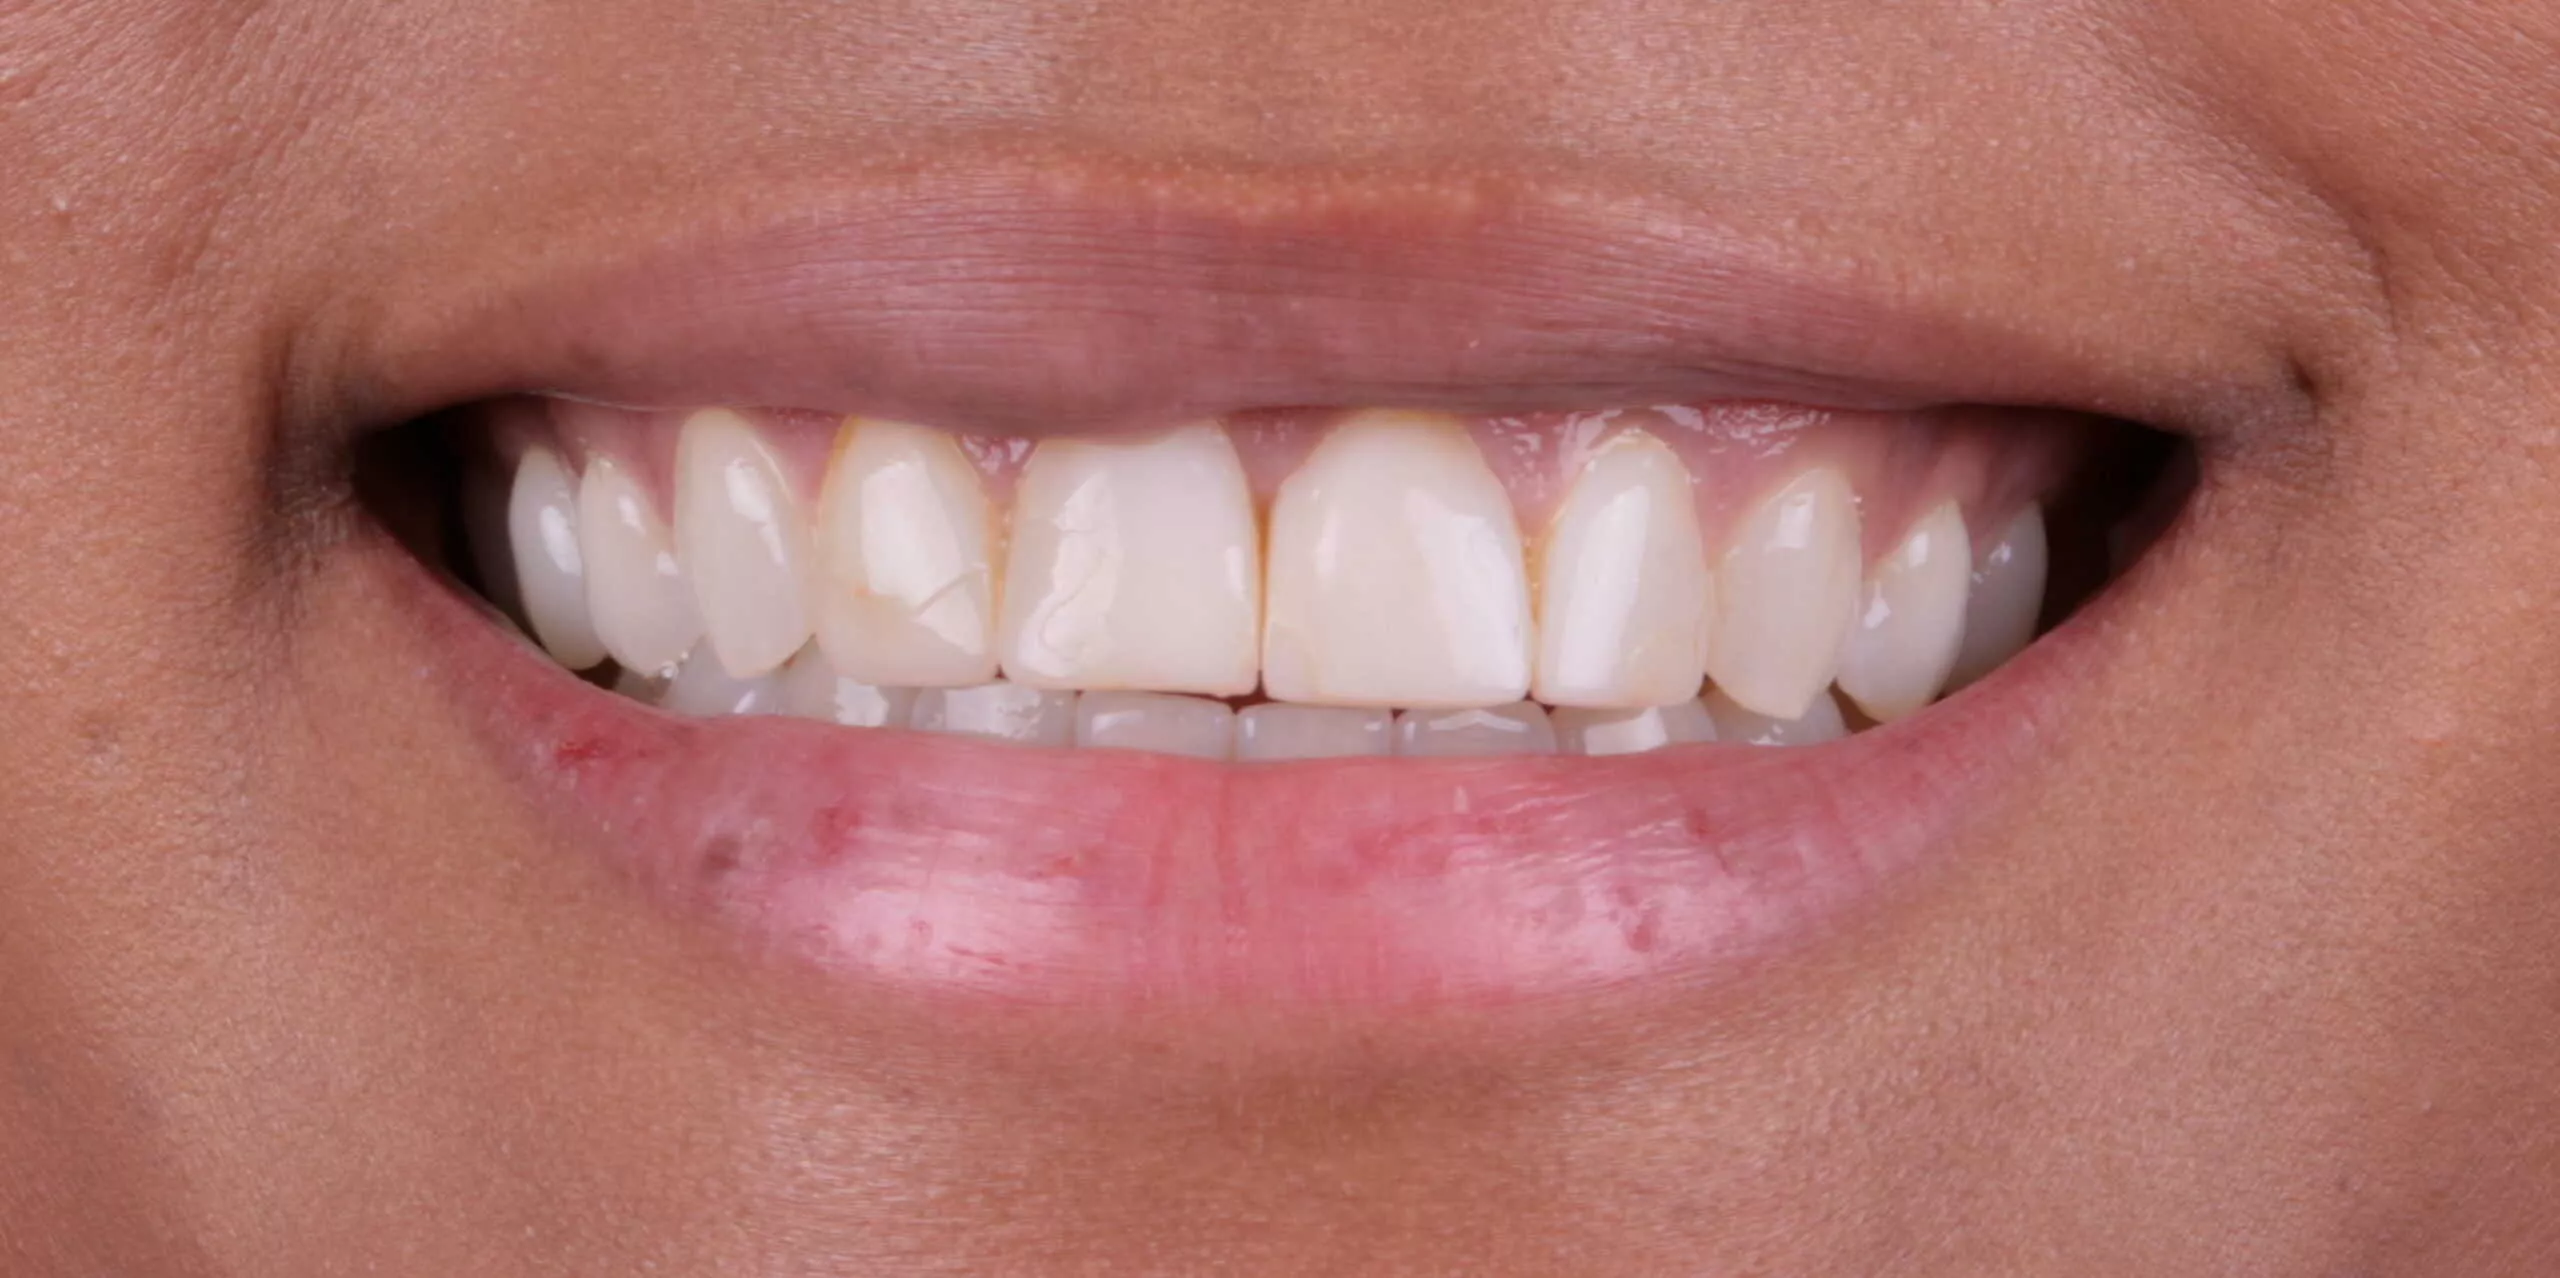
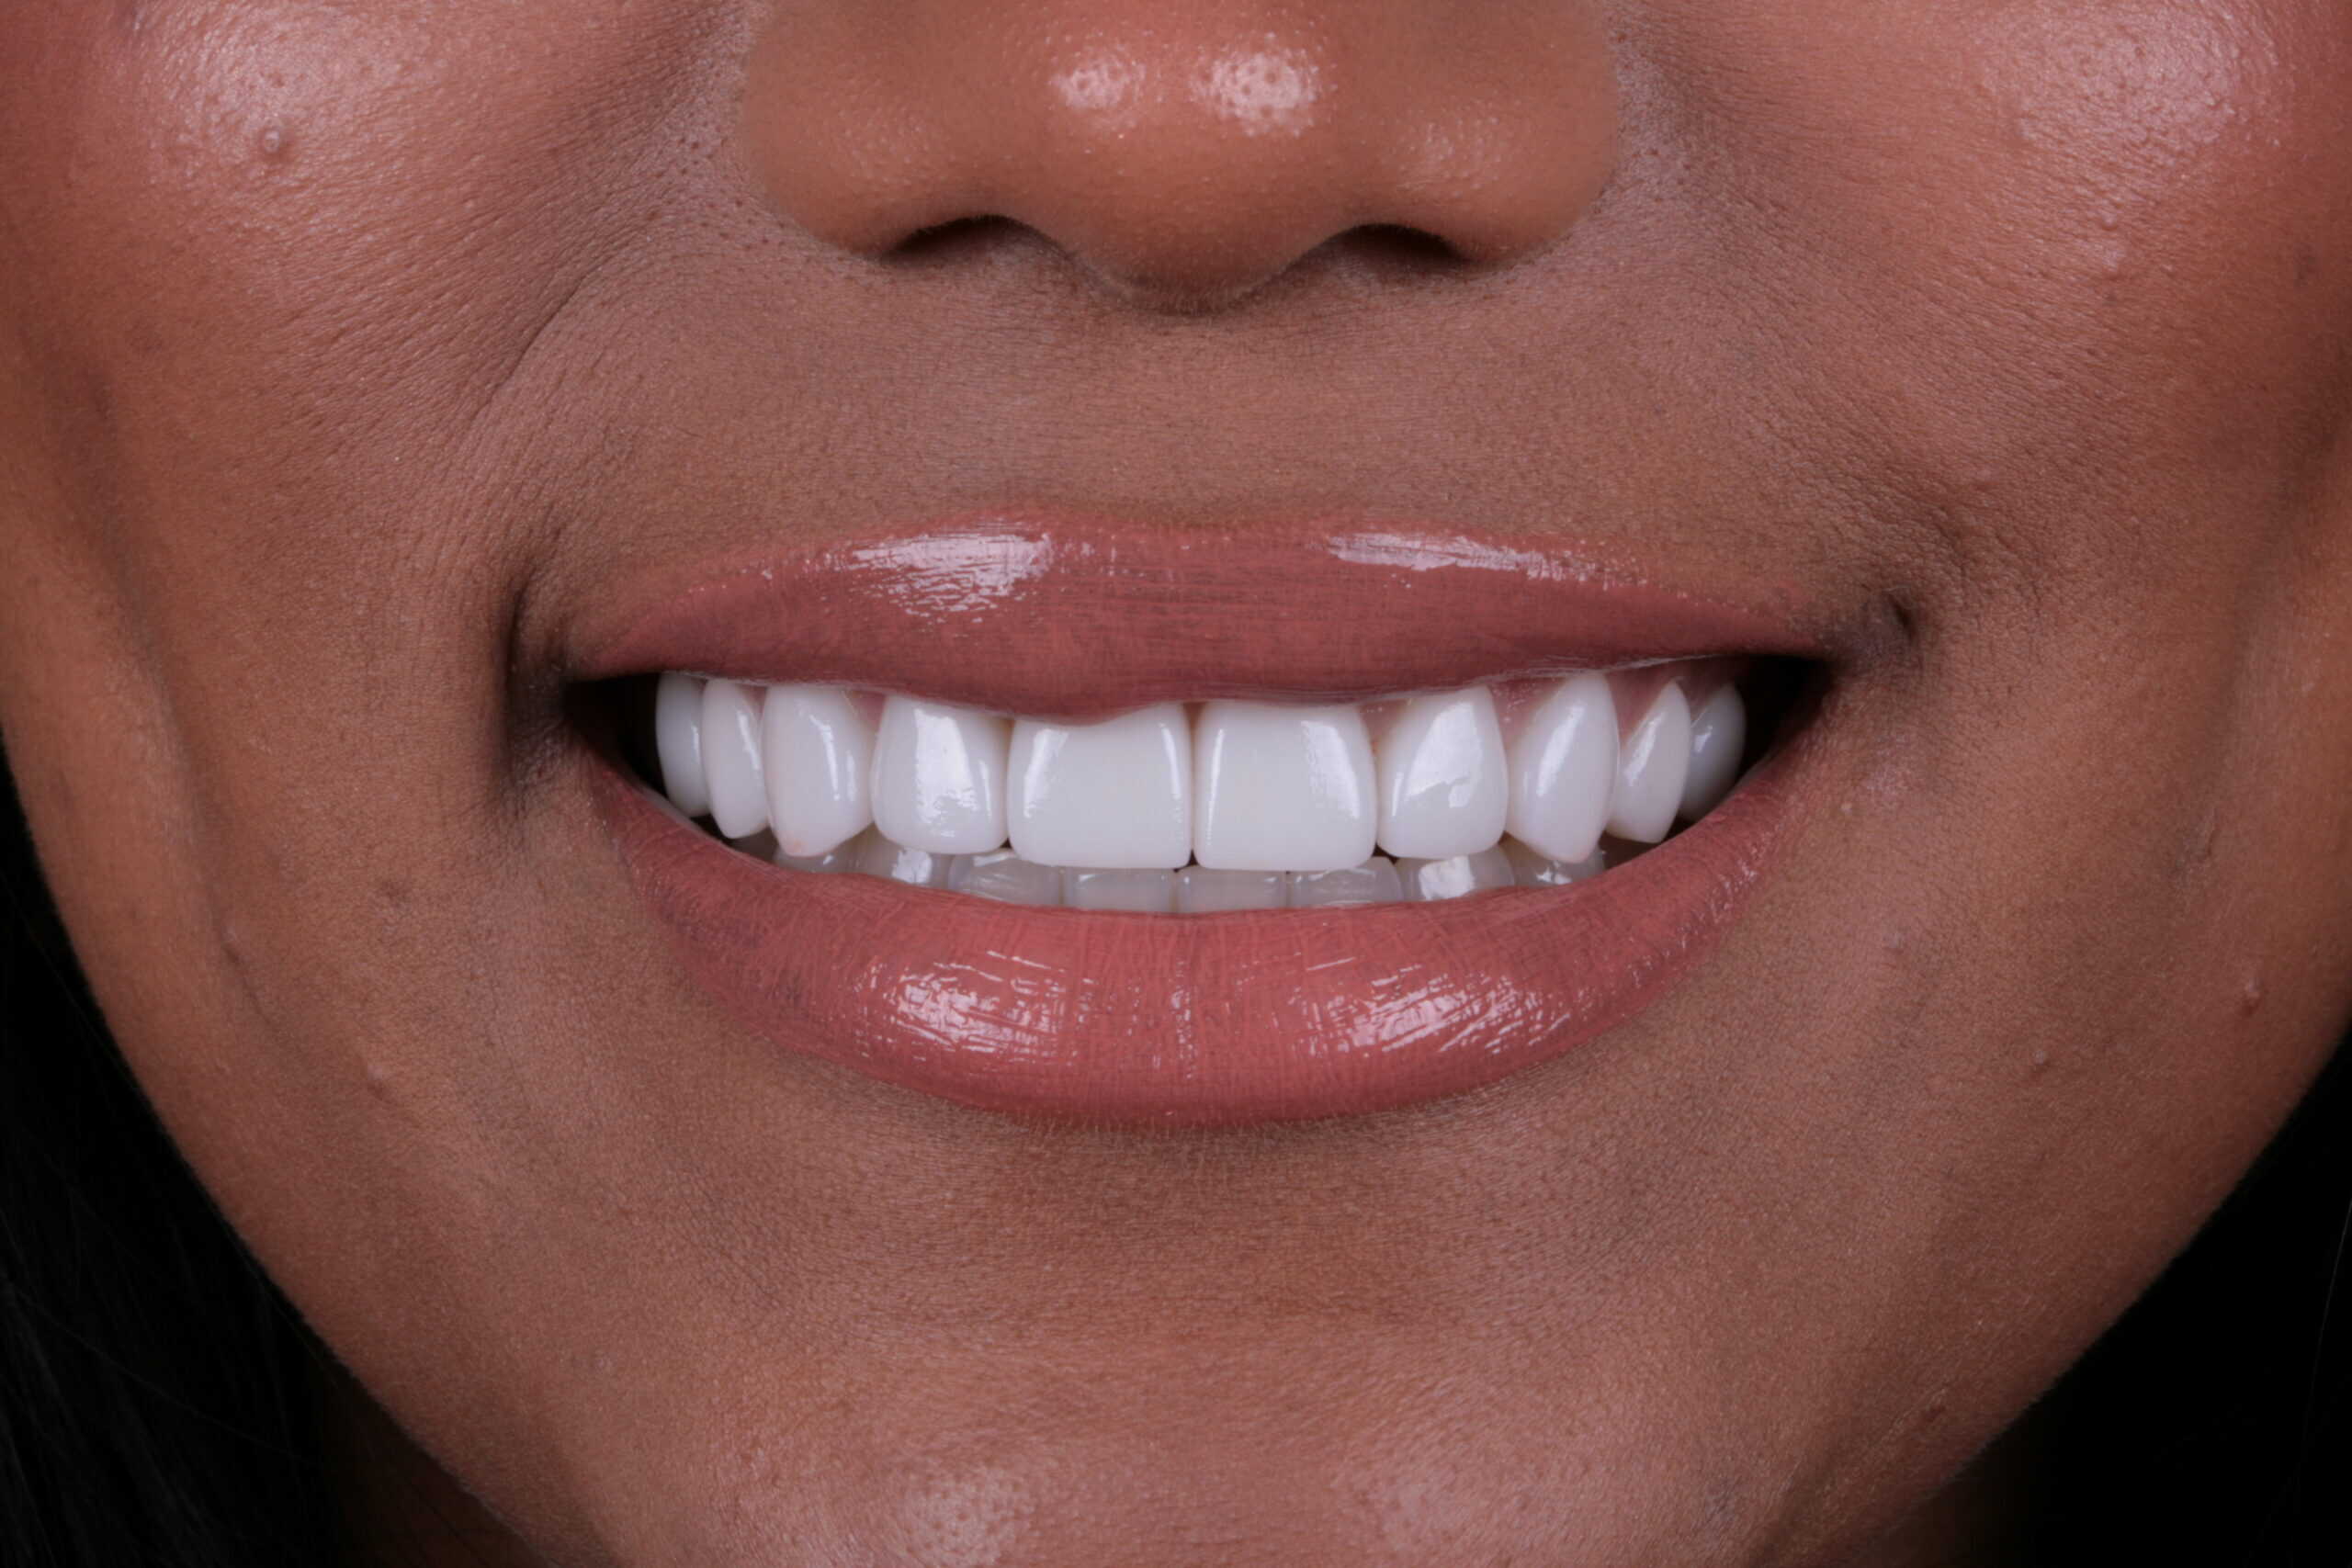
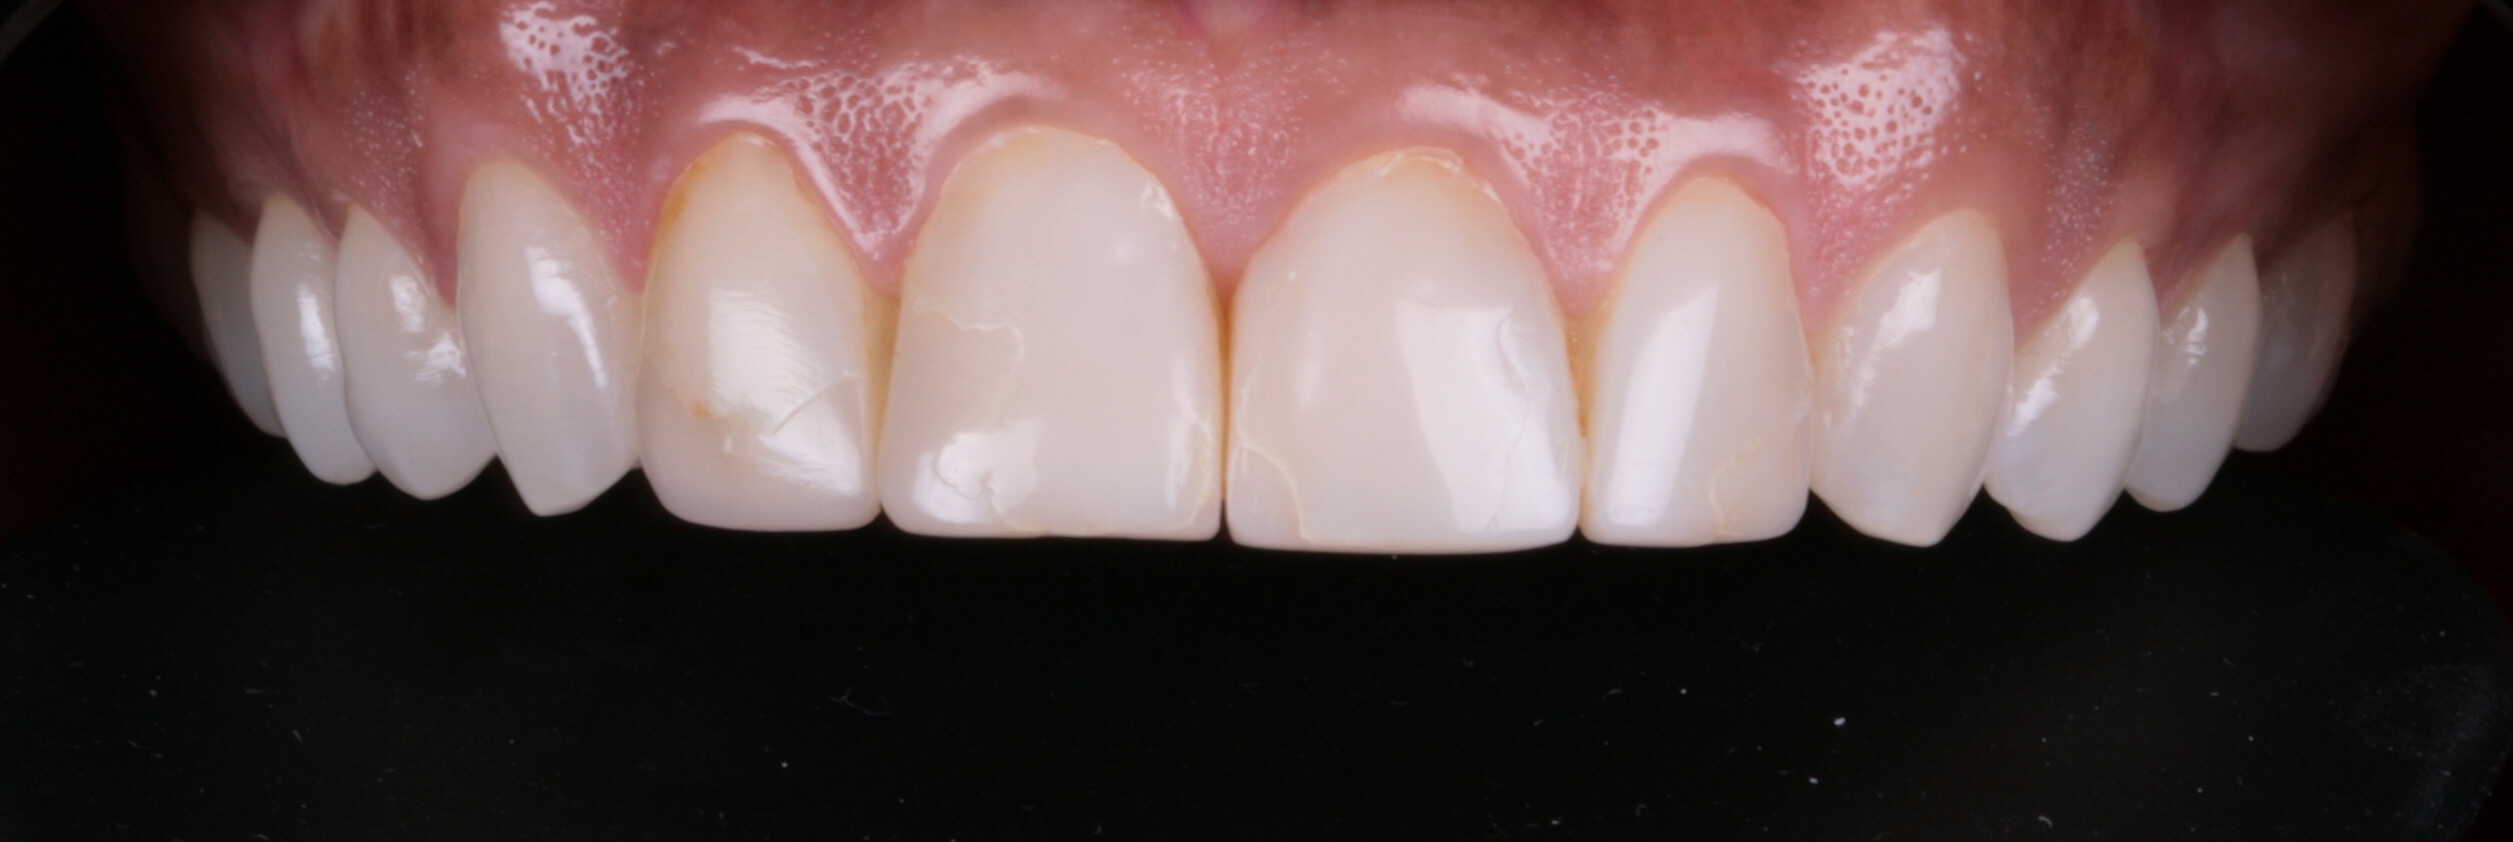
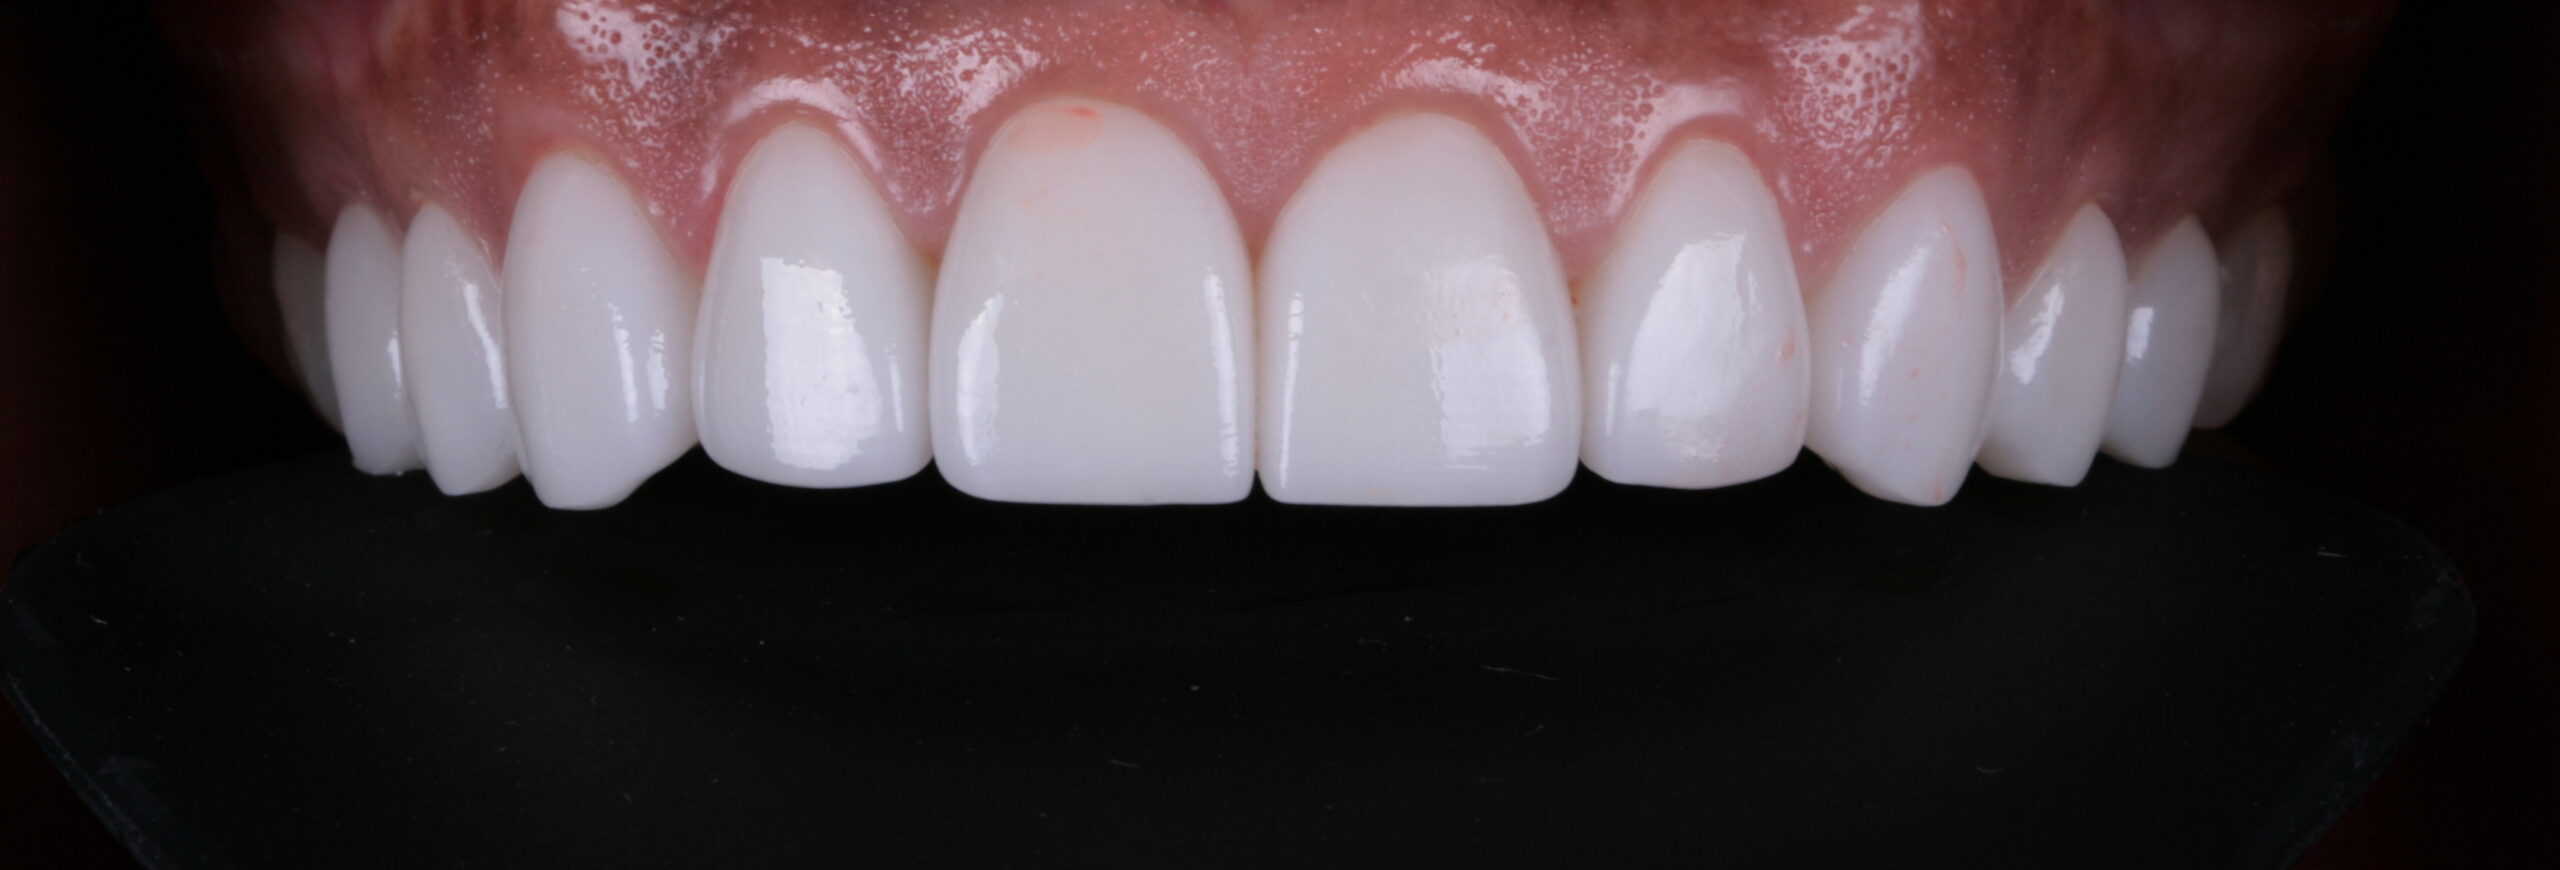
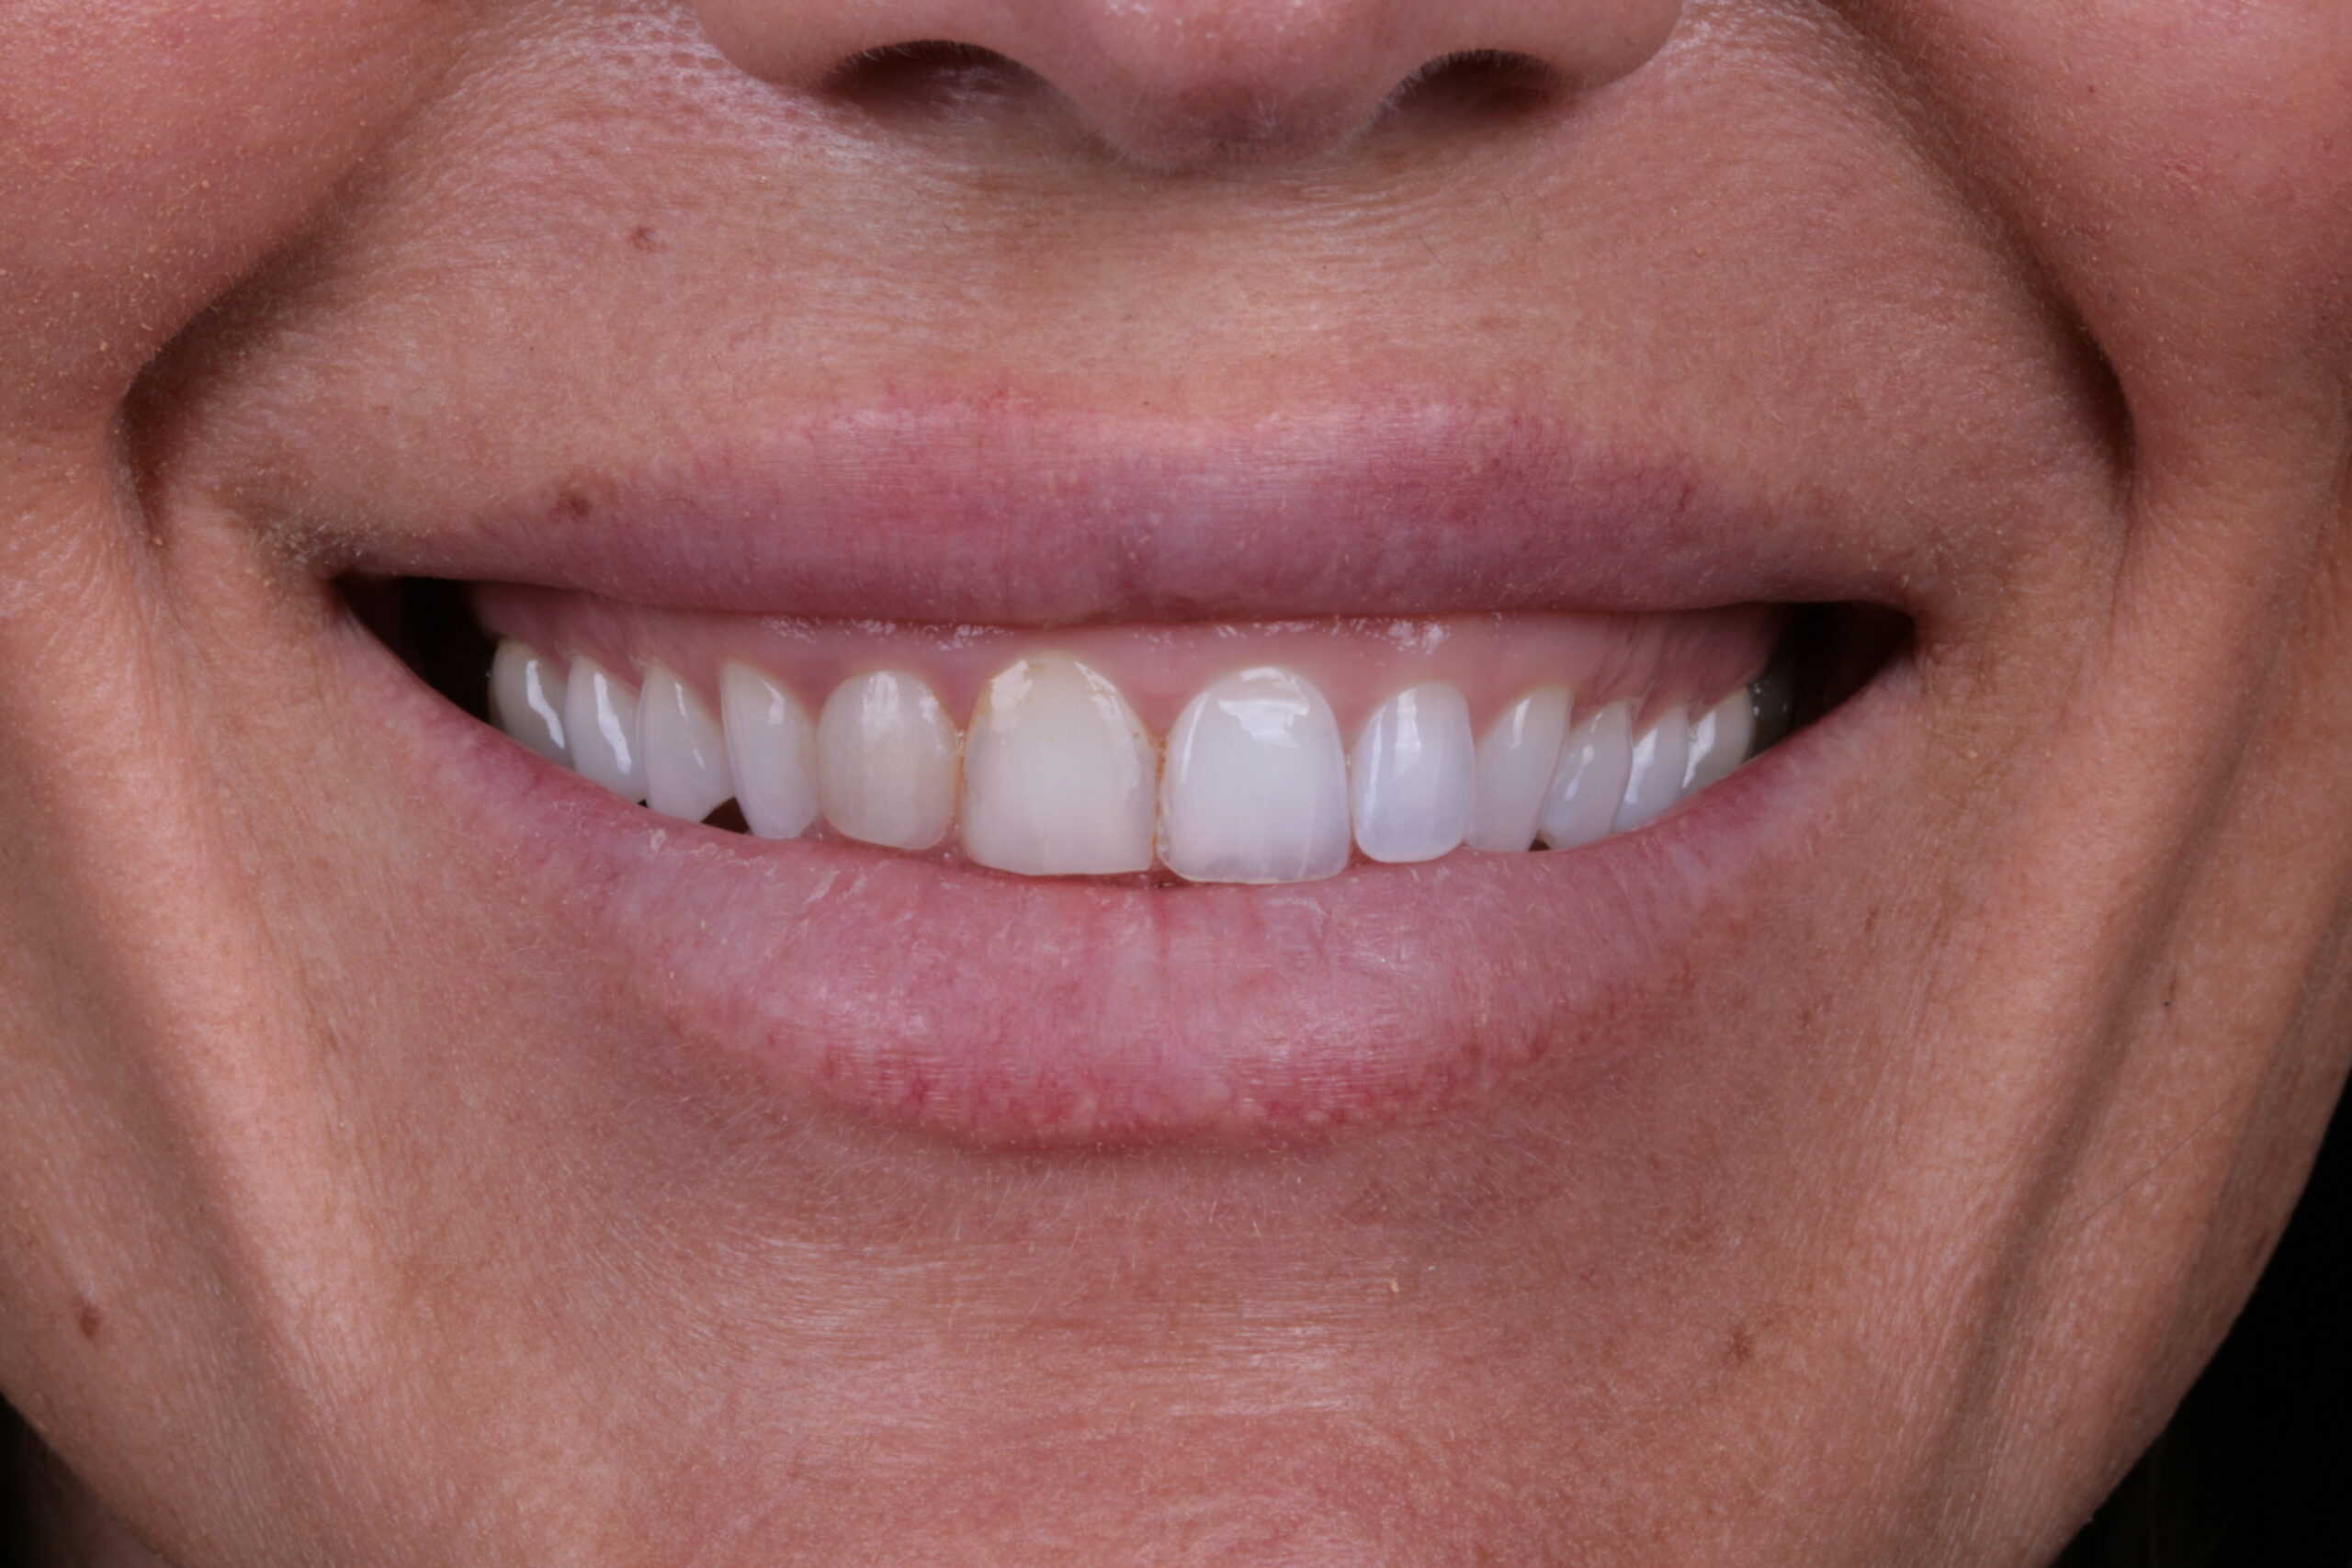
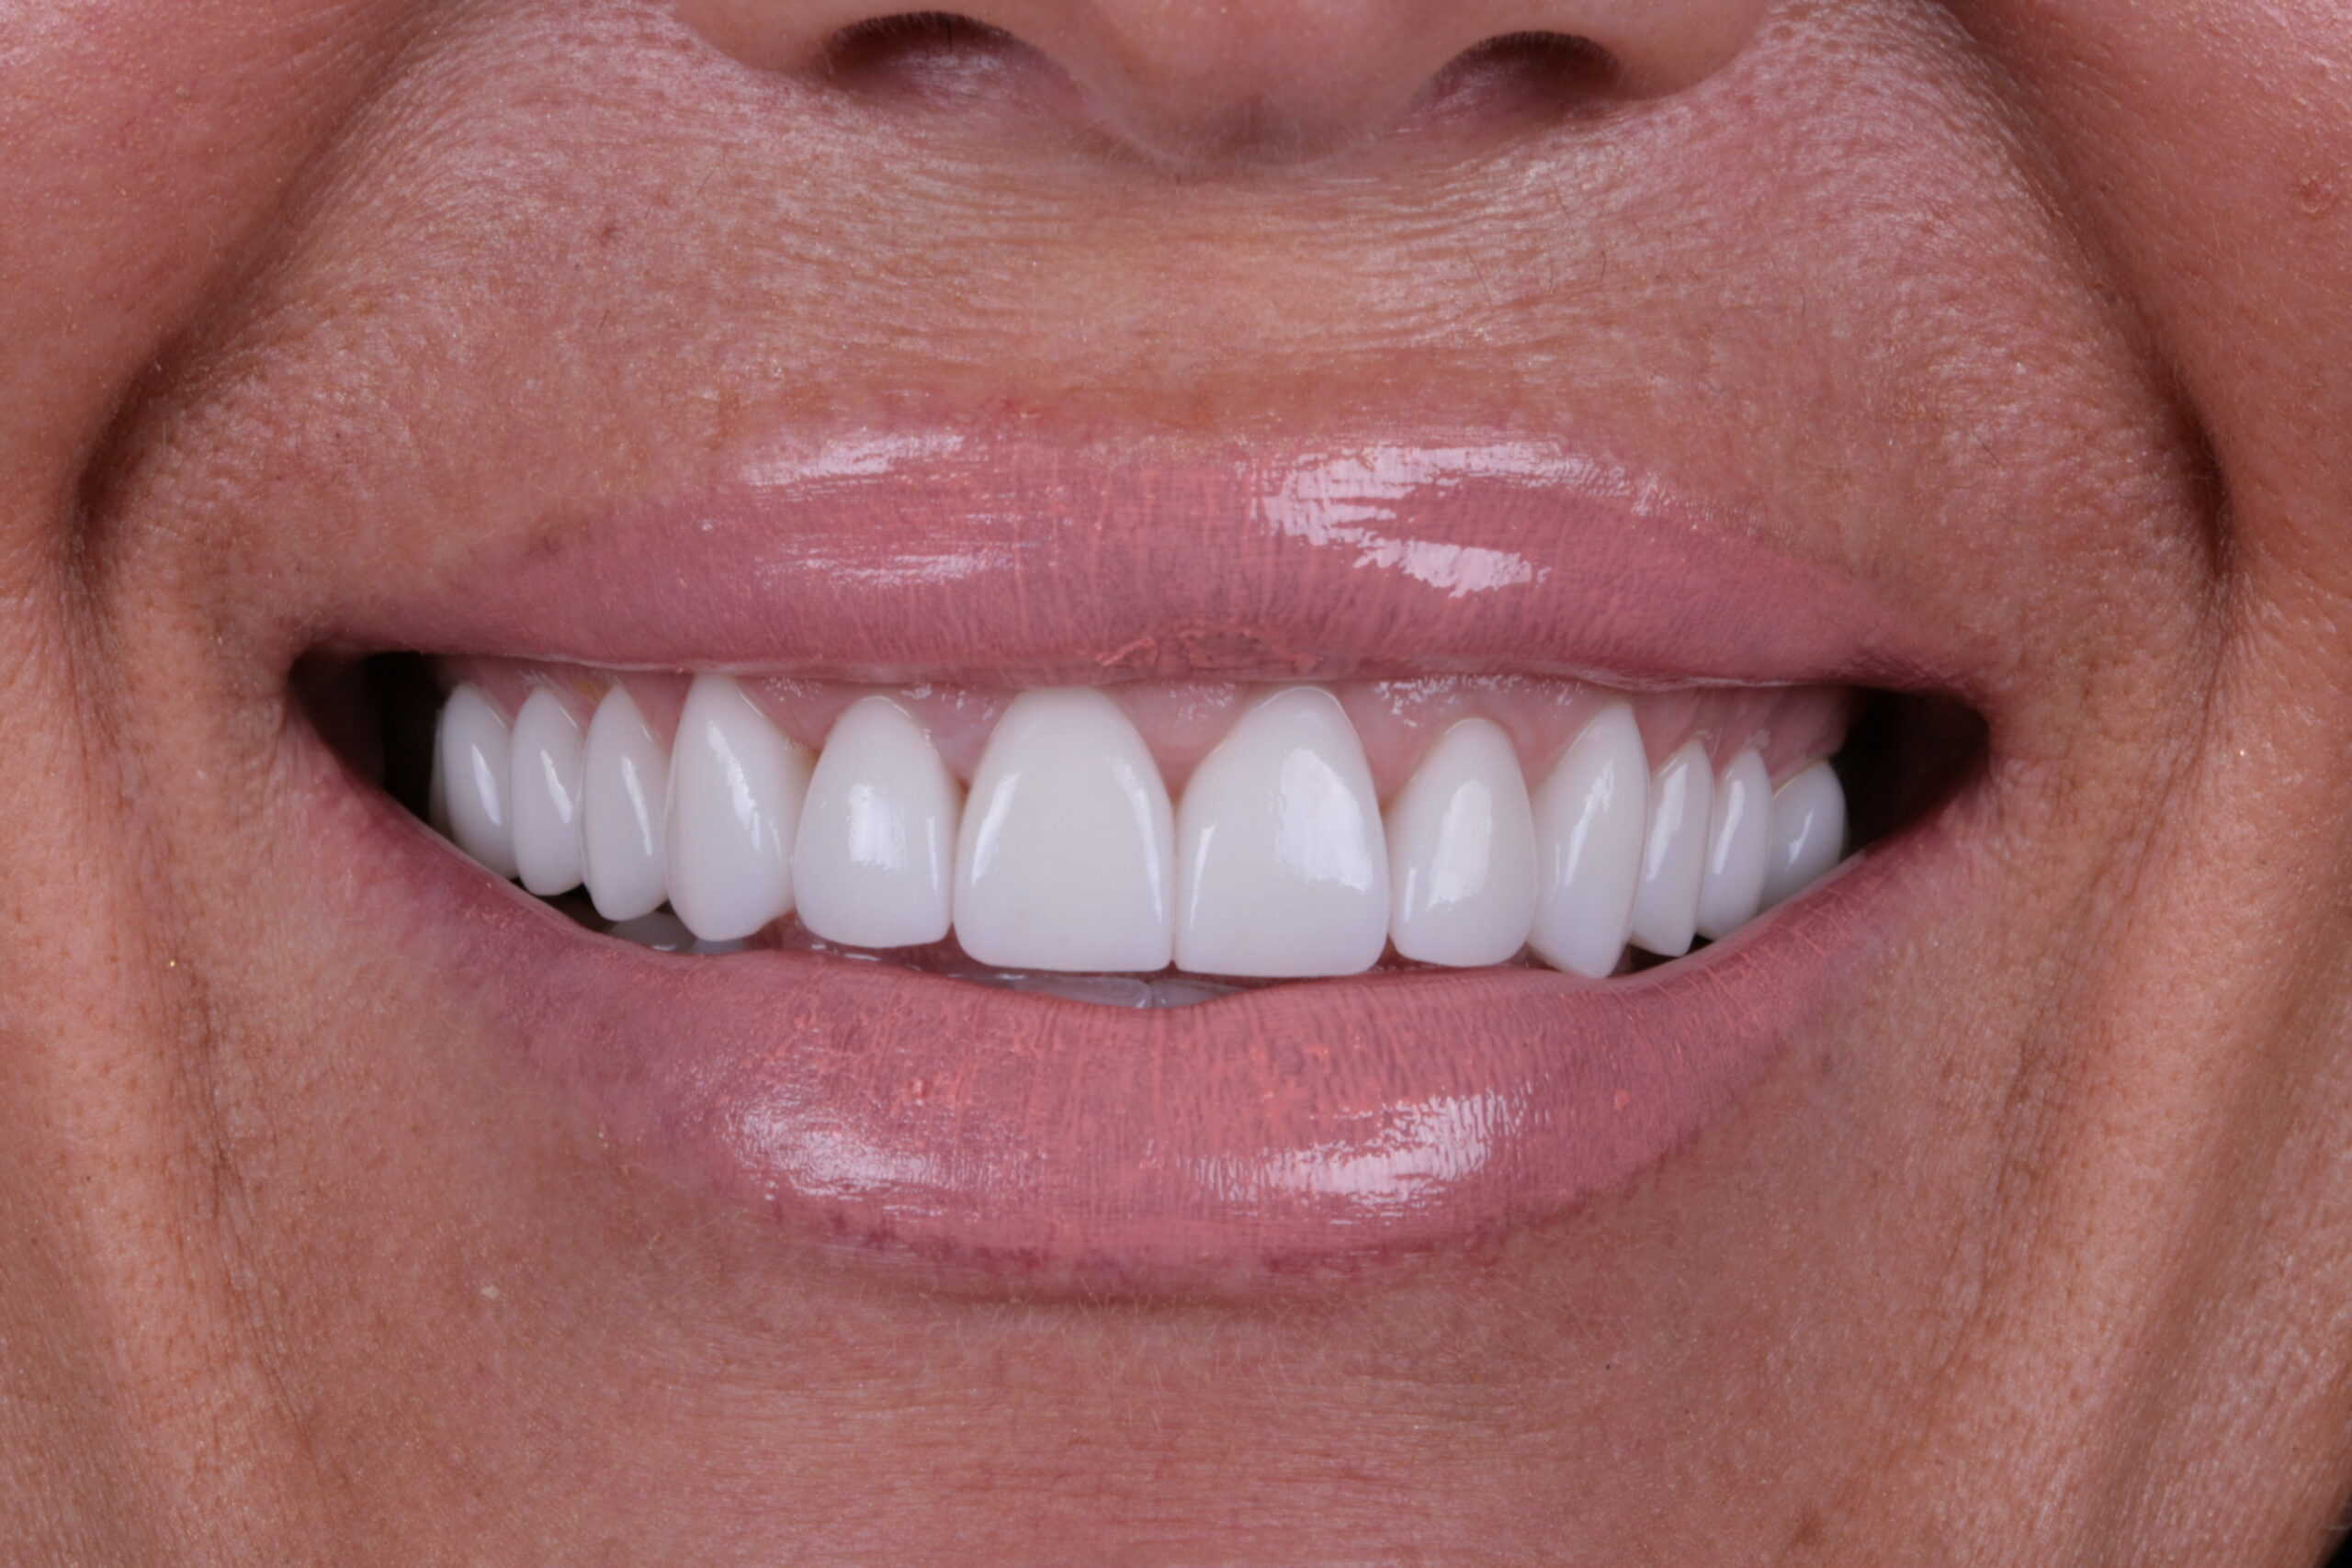
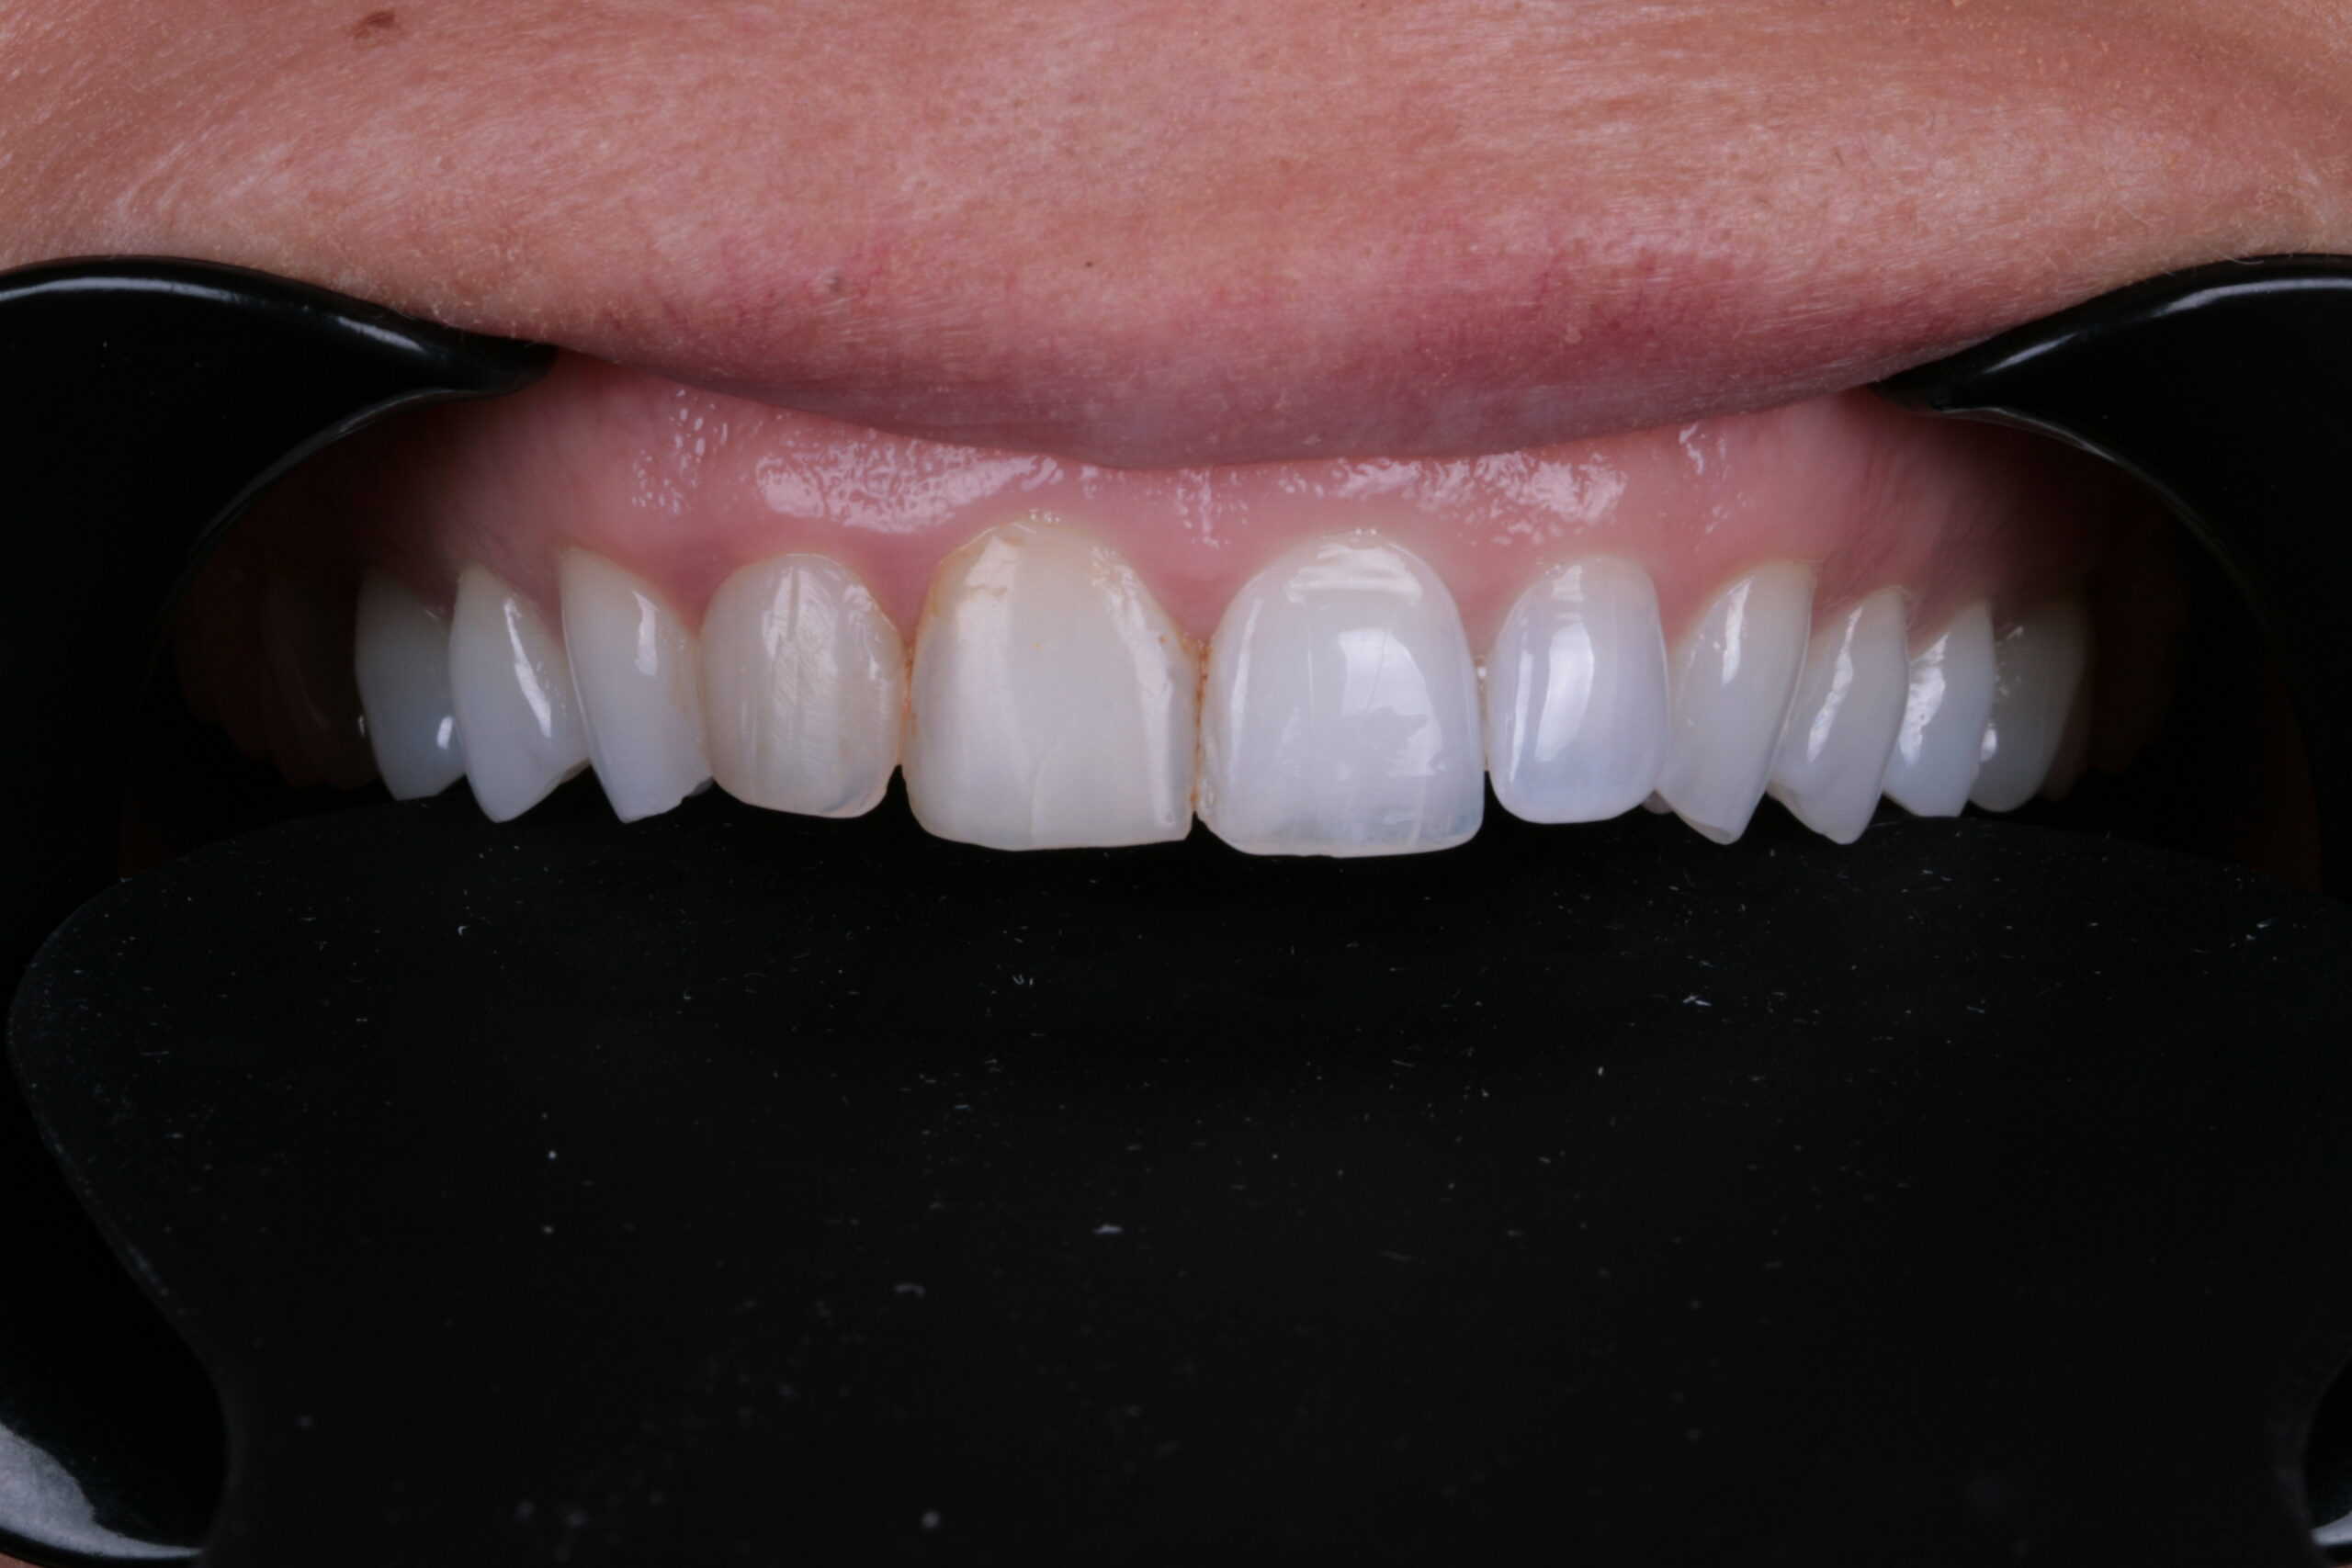
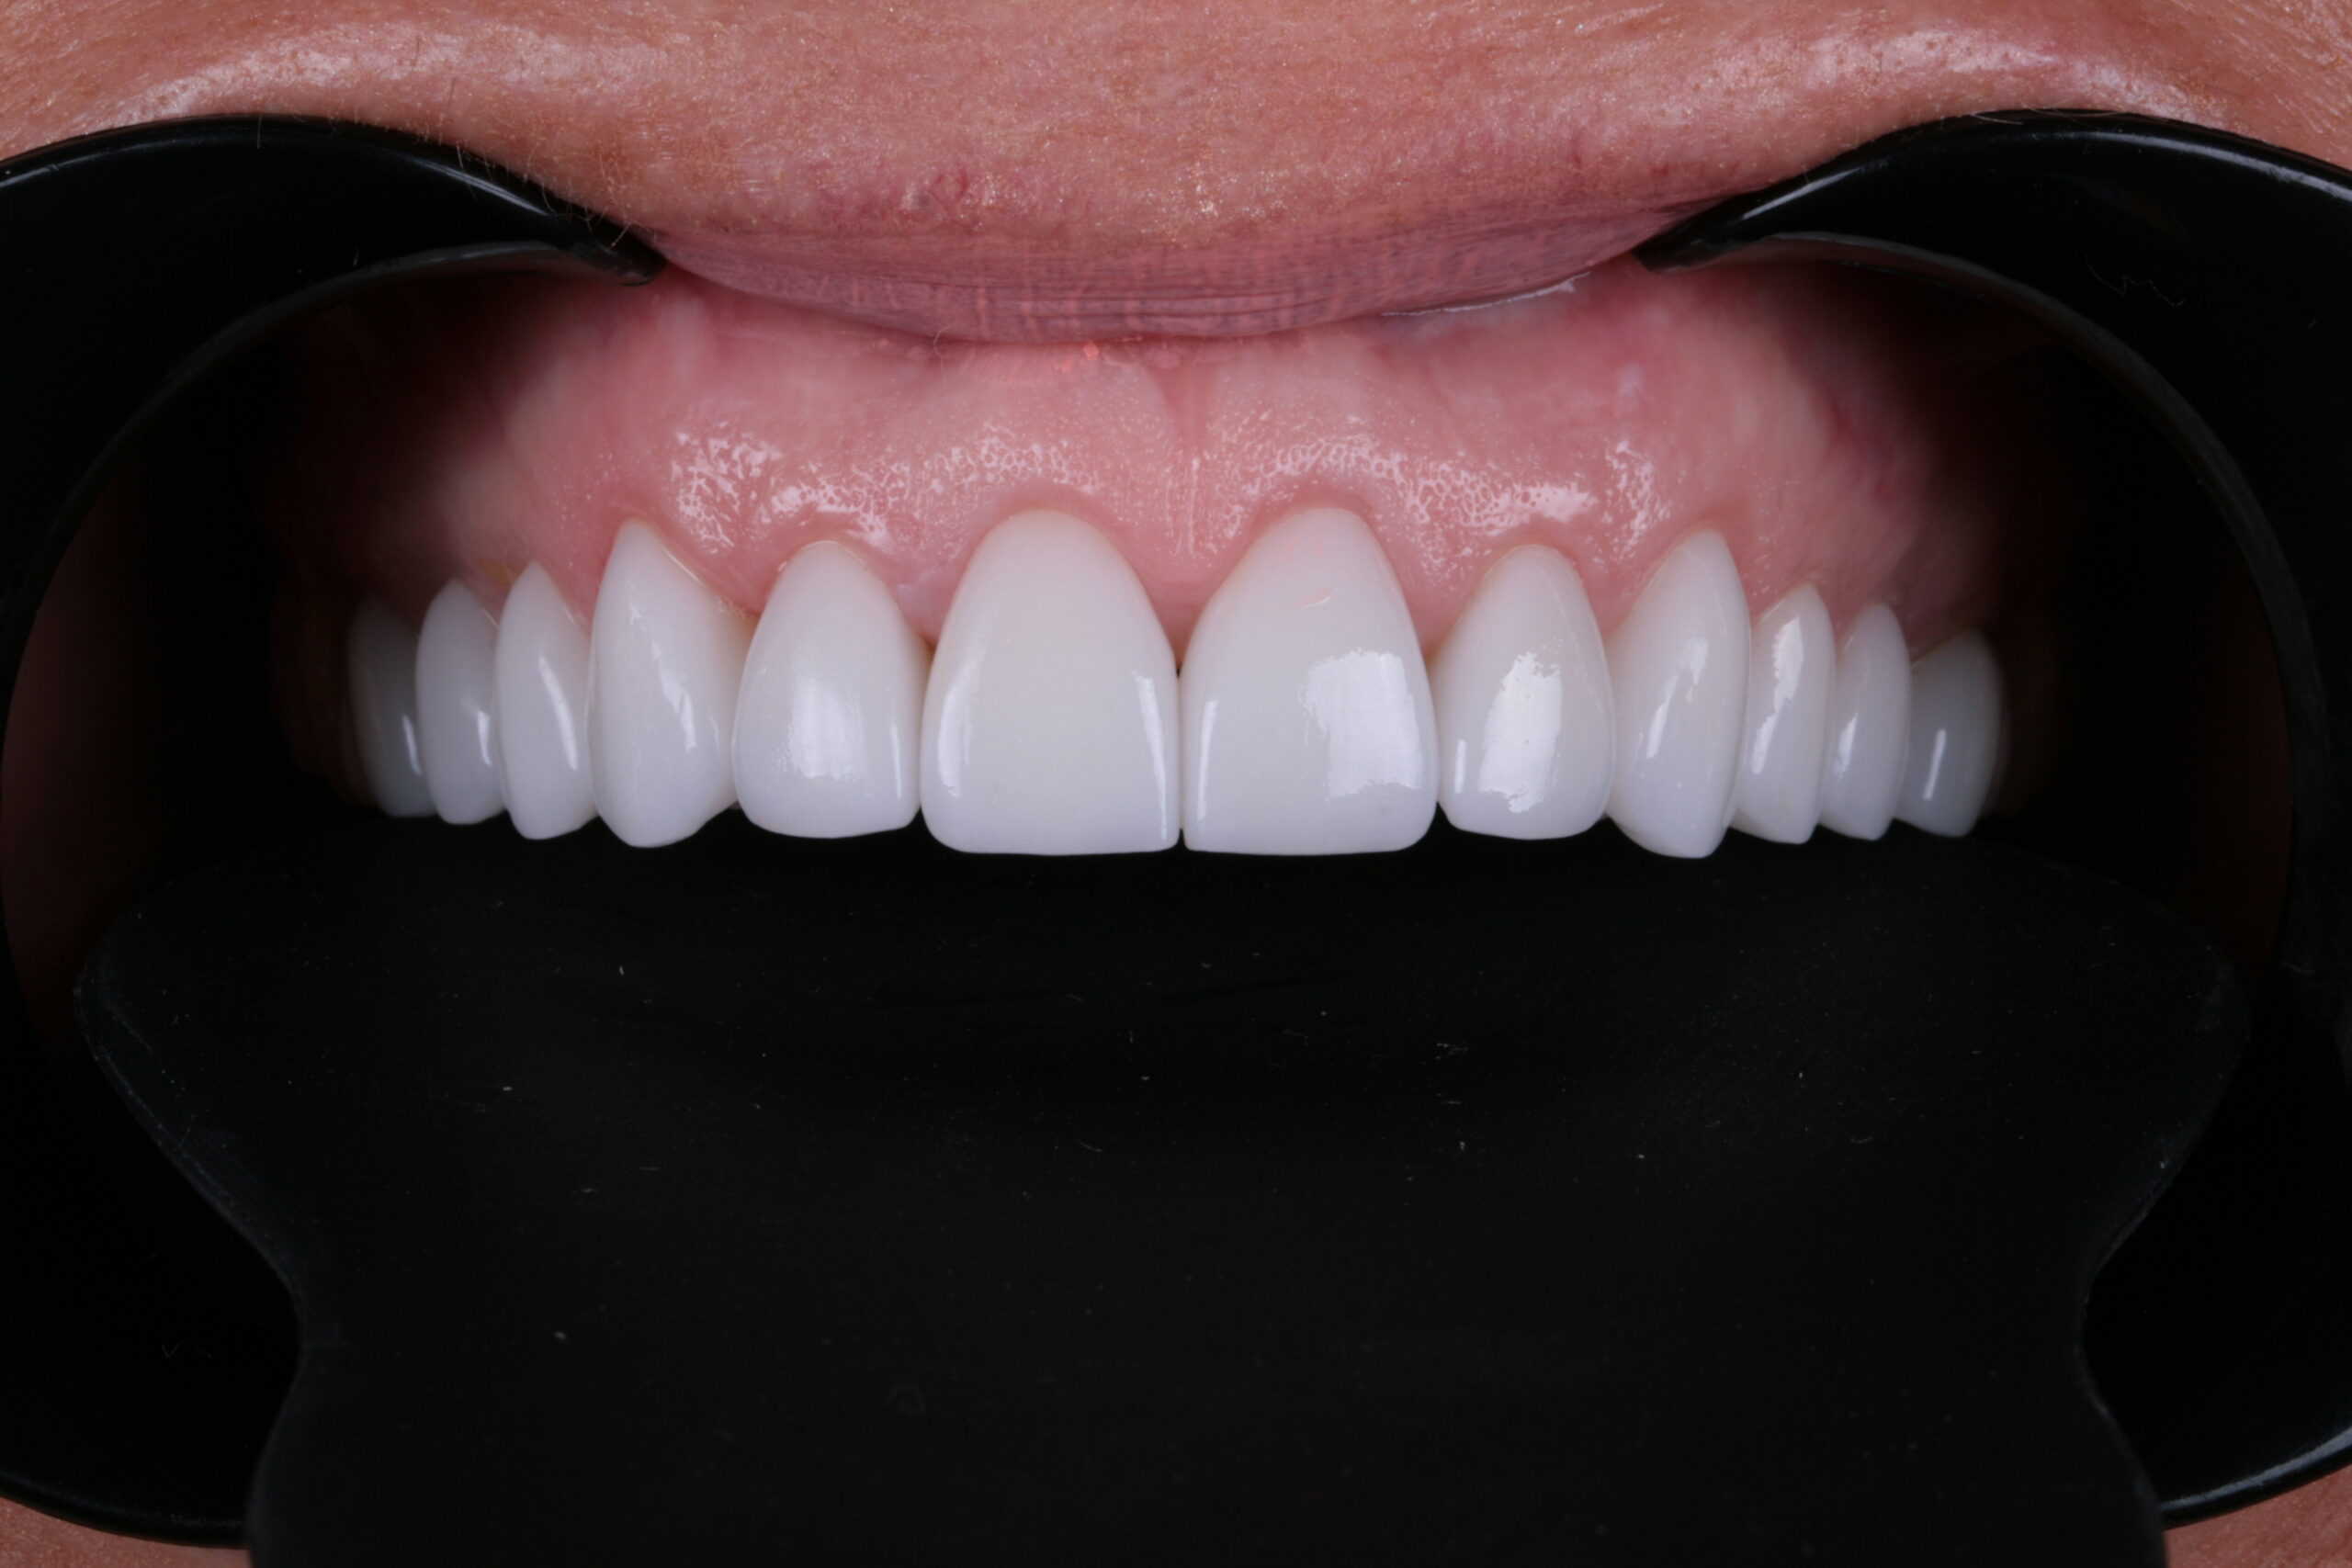
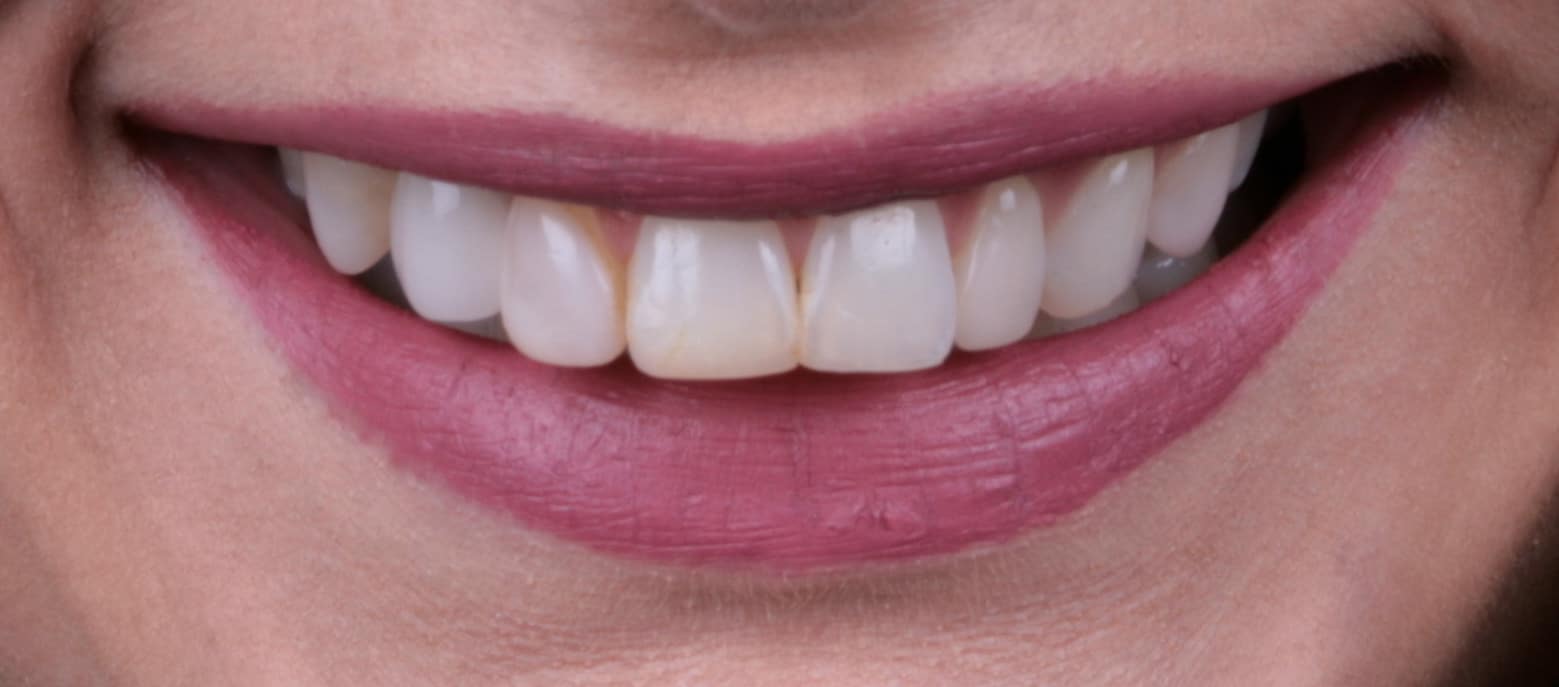
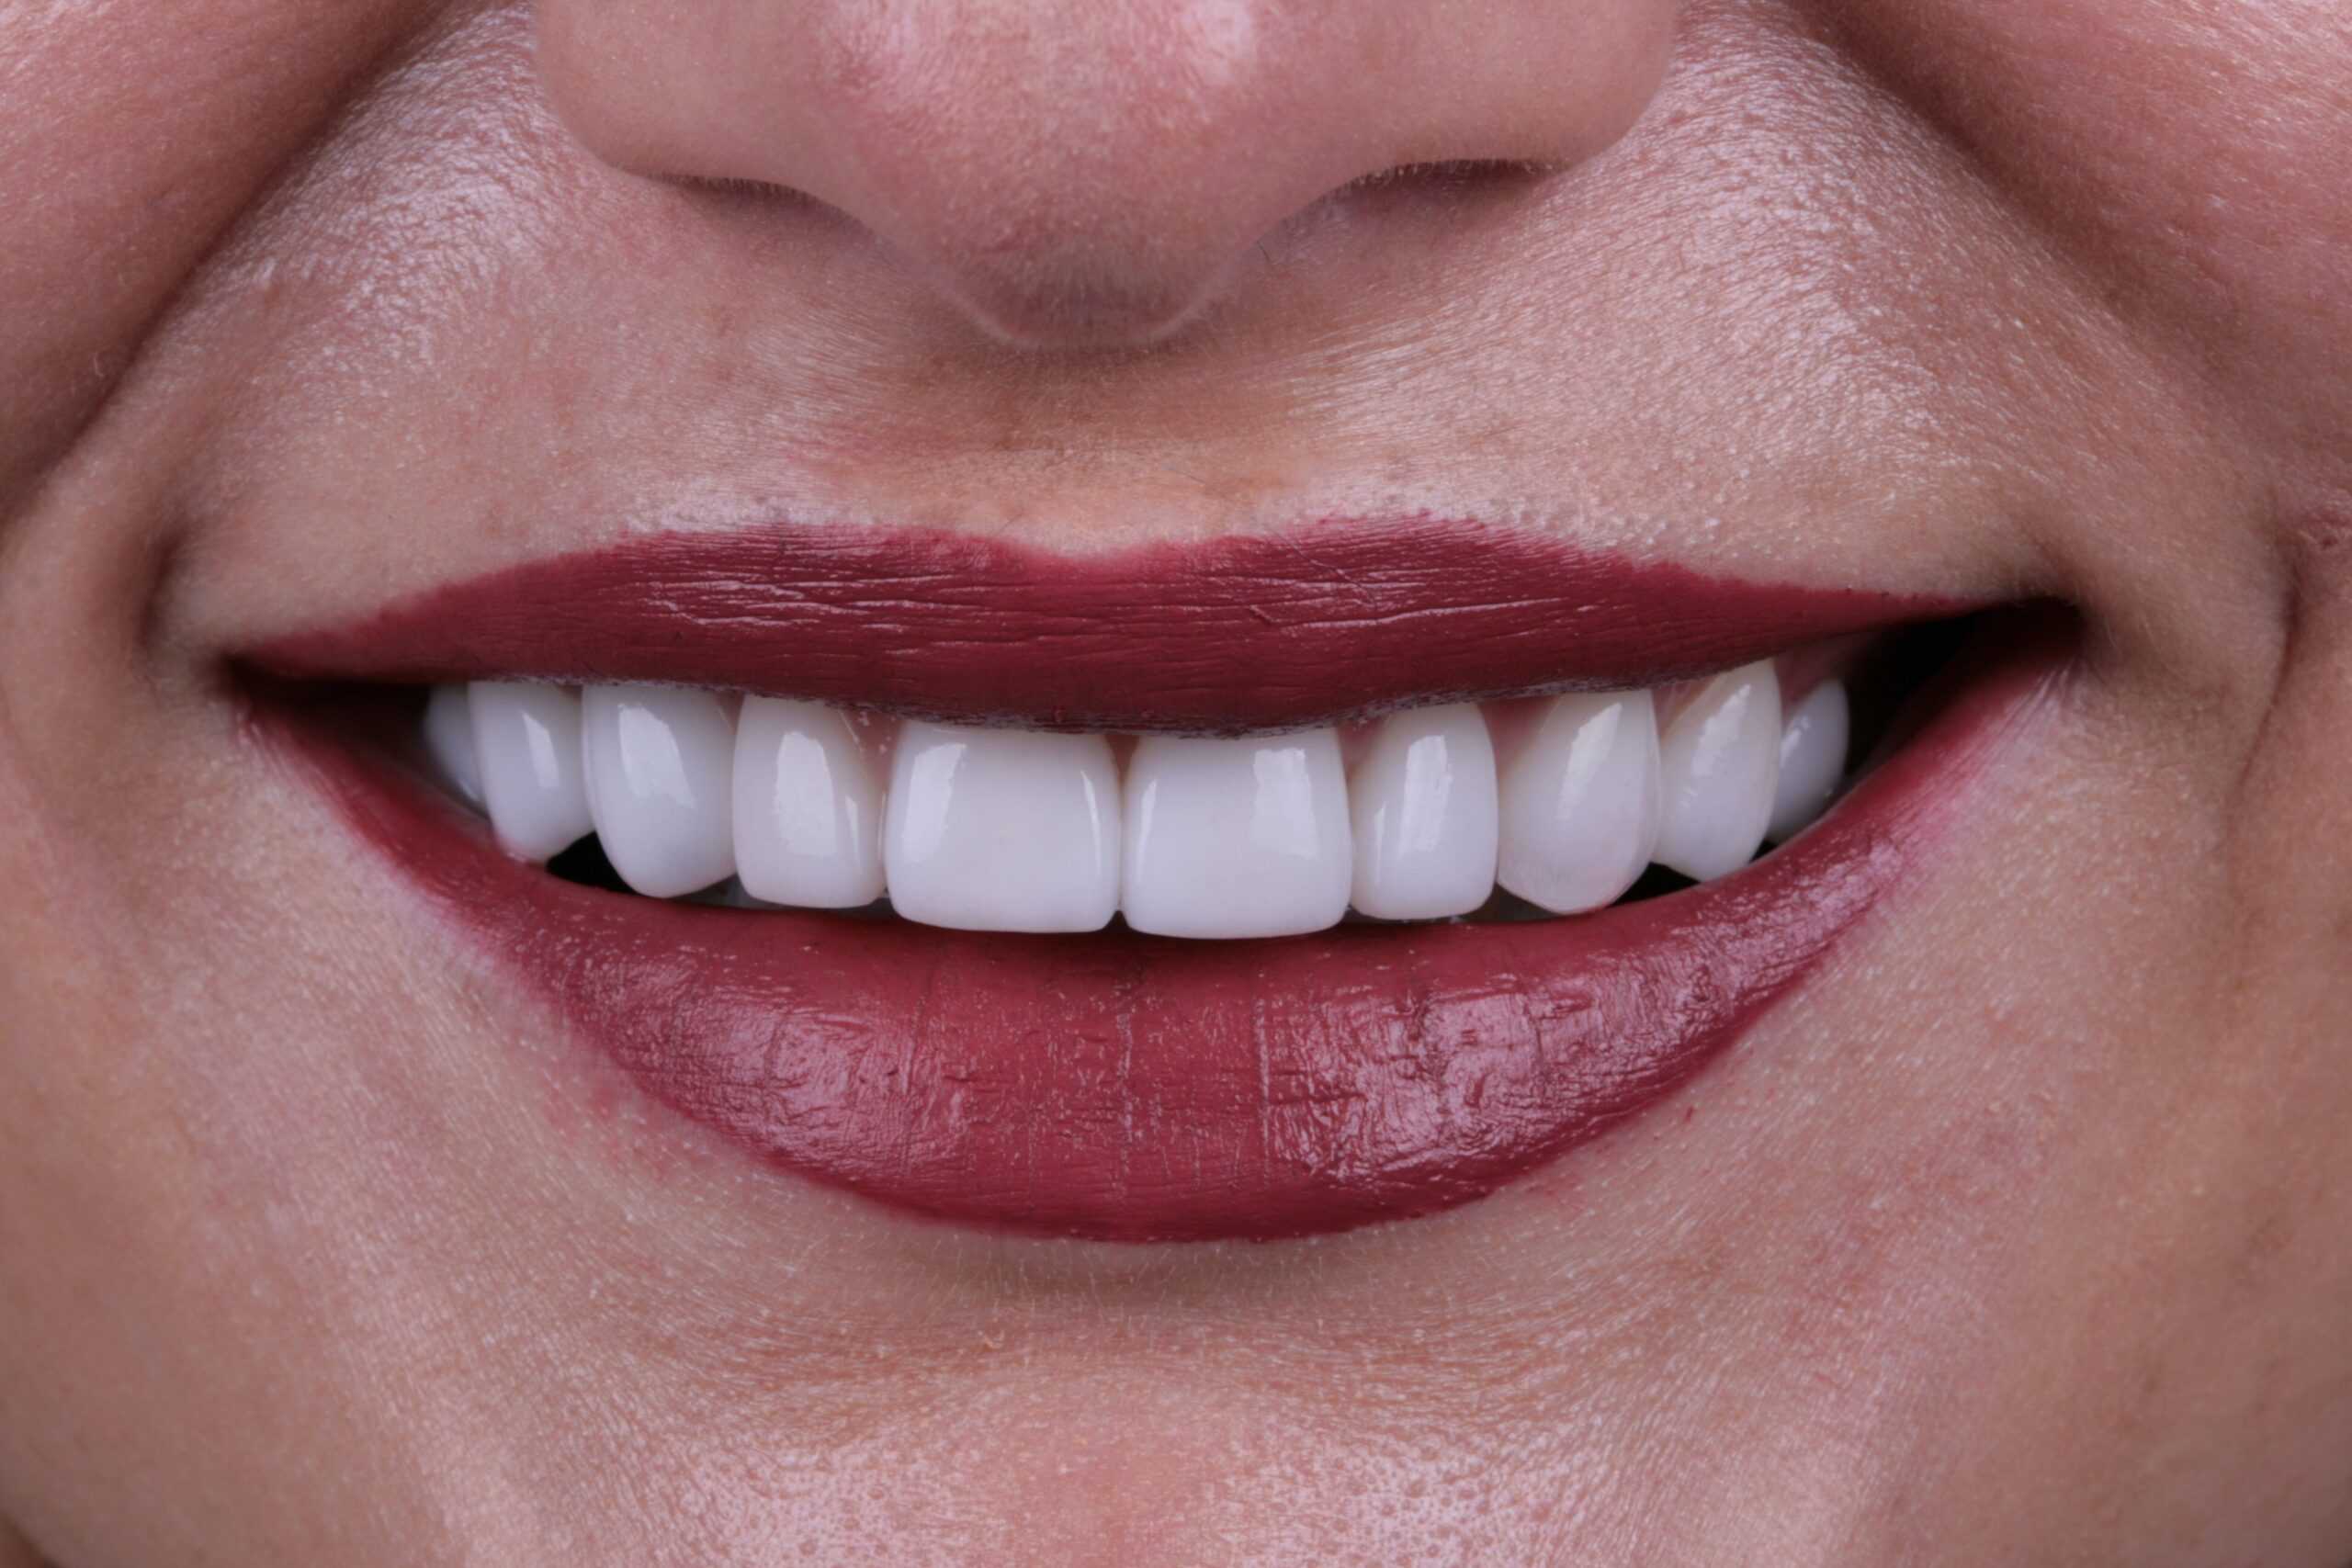
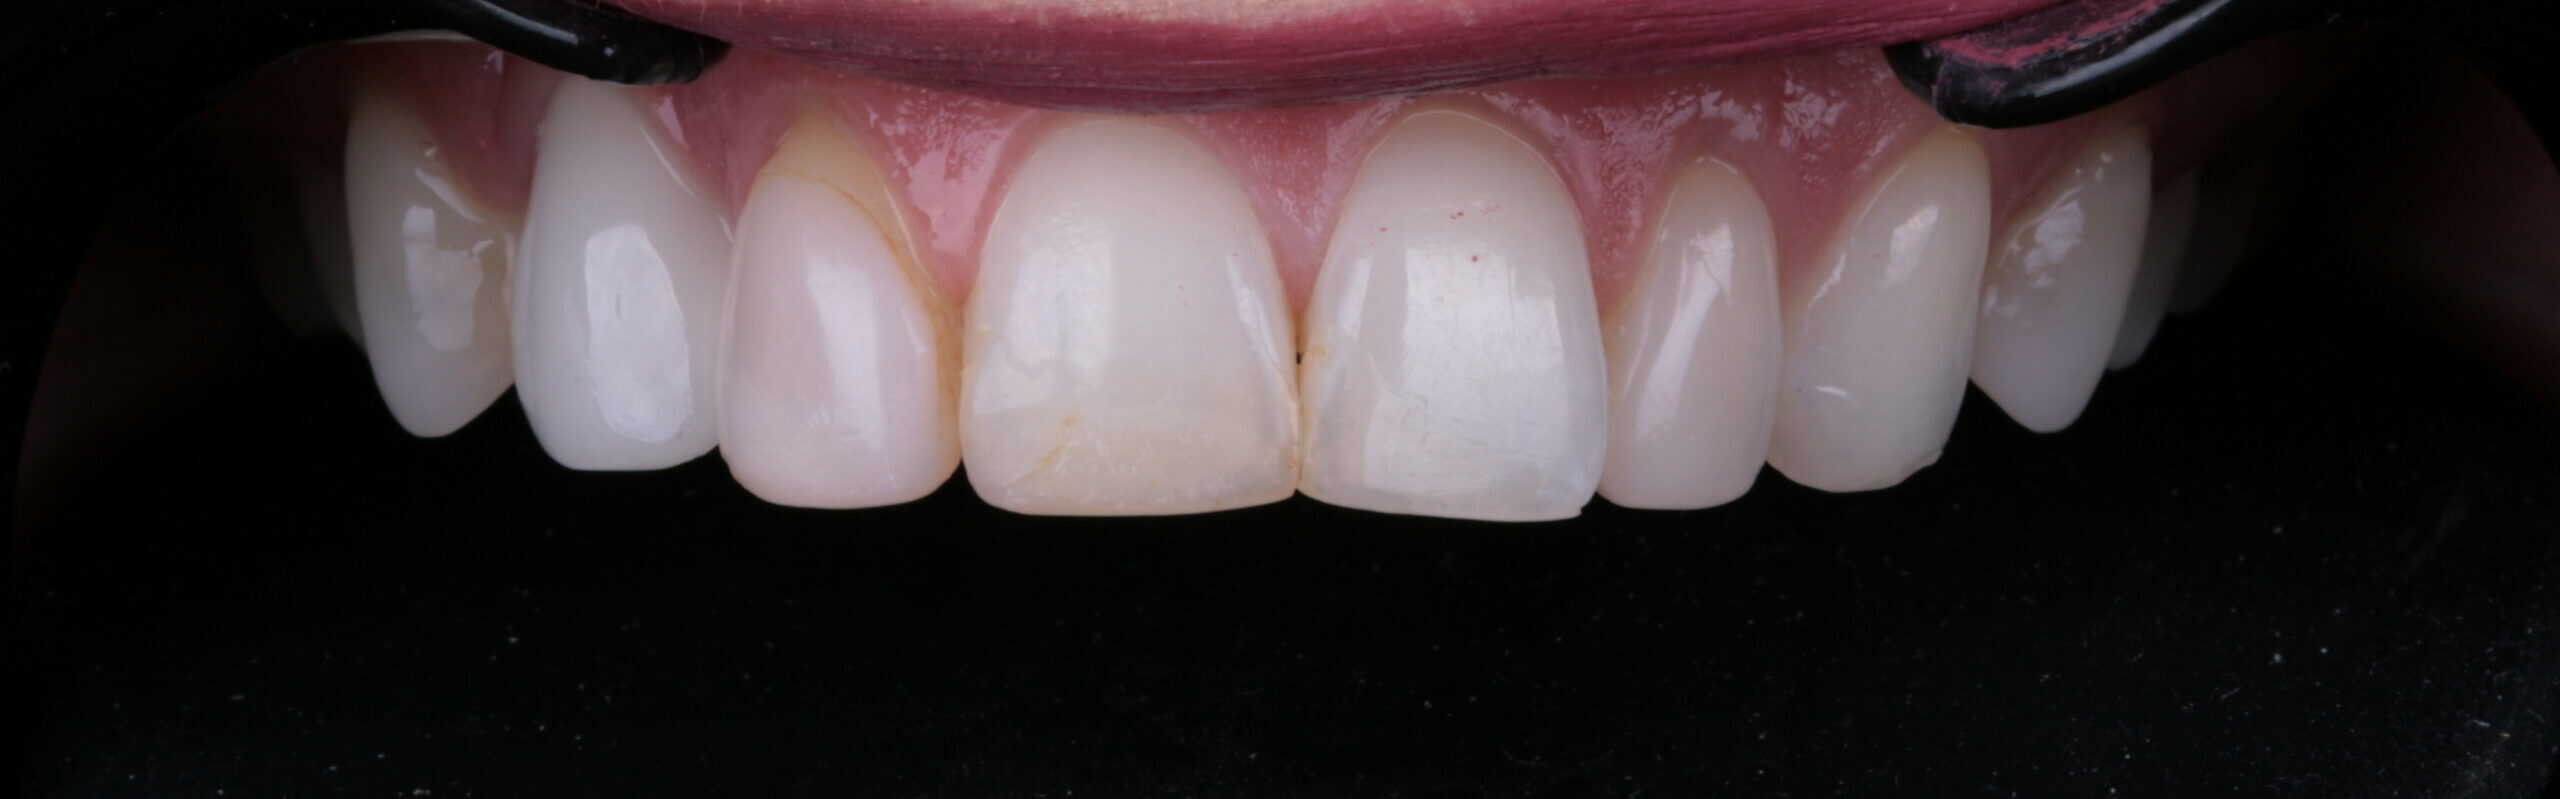
Dental photography is a great way to share your stunning case results with anyone who visits your website, finds you on social media or comes into the office. When potential patients see your smile transformations, improving their own smile seems attainable and they will be more motivated to seek-out and move forward with treatment.
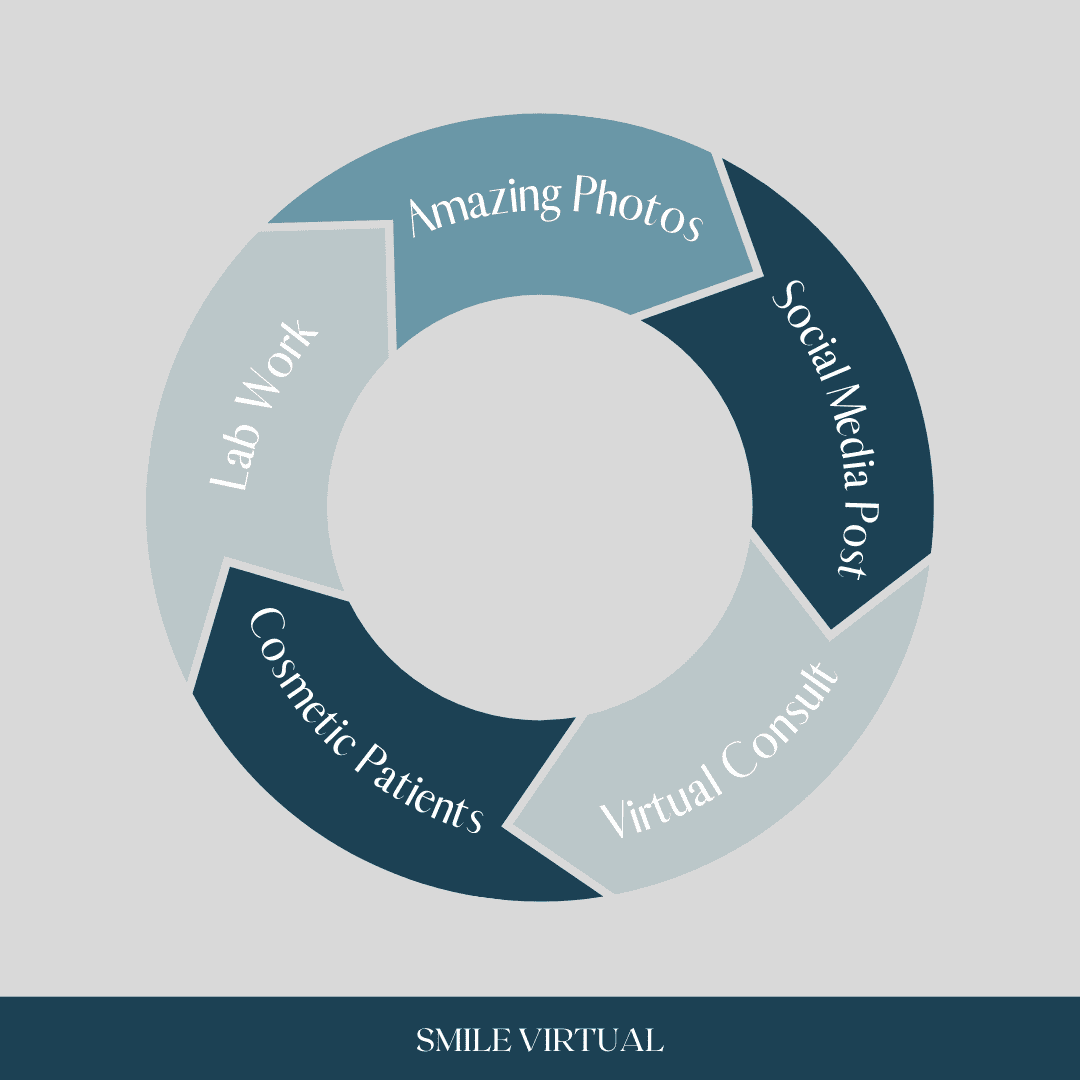
Driving patients who view your beautiful case photos to a virtual consult further boosts your treatment acceptance rate because you can interact with more patients in less time, reserving valuable chair time for your most serious patients.
Other benefits of maintaining a consistent in-office photography strategy include:
- More effective consultations that lead to better case acceptance
- Easier smile design and case planning
- Better lab communication
- Great marketing content for website and social media
It’s important to remember that each photographed case will attract the next case. That’s why photographing every patient is the key to increasing your cosmetic case-load.
Equipment
The equipment used for dental photography can be overwhelming. Dr. Berlin provides an in-depth walk-through of the equipment and features you’ll need.
Camera
The first decision to make when selecting a camera is whether you prefer a DSLR (Digital Single Lens Reflex) camera or a Mirrorless camera.
A DSLR camera uses a mirror to project the image your are photographing to your viewfinder. These cameras tend to be heavier weight, but less expensive.
A Mirrorless camera uses a video screen that connects to your viewfinder to display the image you are trying to capture. These cameras tend to be lighter weight, but more expensive.
Some professional photographers object to mirrorless cameras because they don’t like that they are viewing a recording of their image, but in reality, both camera types take photos that are of comparable quality.
If you’re in the market for a new camera, the Canon EOS Rebel T6i or the Nikon D7100 are highly recommended.
Lens
It is imperative that you use a macro lens. A macro lens will give the desired 1:1 ratio for your photos. A telephoto lens is built to magnify a far-away object which is why it is not ideal for dental photography.
Flash Systems
When taking photos, avoid using the pop up flash because it does not provide sufficient lighting. Your camera may already be on a setting that automatically triggers this action but you’ll get a better photo if you use other forms of lighting.
Ring and point flash is a good option for a beginning photographer. You’ll get quality photos at an affordable price.
Twin flash provides even illumination and a clean, natural look. It is Dr. Berlin’s preferred system.
Ring flash provides soft, even illumination, but you tend to lose some shadowing and facial anatomy
Soft boxes are external lighting boxes that create crisp, polished photos. Soft boxes create some of the best quality photos you can take, but they can be bulky and inconvenient depending on the set-up of your office. There is also the matter of ethics. Since soft boxes enhance images so drastically, using an alternative flash system for the before photo and soft boxes for the after photo portrays an unrealistic transformation.
Dental Photography Principles 101
The last portion of the webinar focuses on the number one principle of photography which is exposure.
Exposure is the volume of light that hits your camera sensor. In layman’s terms, it’s simply how light or dark your image is.
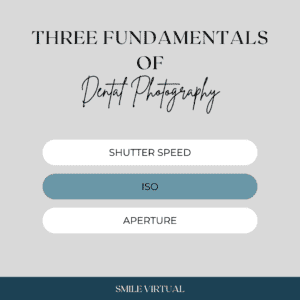
You can control your exposure in 3 different ways:
- Shutter speed – The longer your shutter speed is set, the more light you’ll allow in.
- ISO – This is the sensitivity of your sensor. The higher you turn this up, the more distortion you will experience.
- Aperture is arguably the most important aspect of dental photography because it controls the amount of light coming through your lens, as well as your depth of field which is how much of the image is in focus
Creating your Photography Workflow
- Take 10 photos for each new patient. This should be a combination of full face, profile and smile photos. Try to designate an area to take these photos so you have consistent lighting and positioning.
- Review each photo before moving on. You only have one opportunity to capture this valuable content.
- Upload the photos to a computer and edit them.
- Transfer them to your photo management system or CRM for storage.
- Share them!

We hope you learned some valuable information from this webinar and recap! Stay tuned for our upcoming webinars by following us on Instagram, @smilevirtual.